
1. 基本环境
SpringBoot2.2.1 + Spring Web
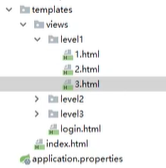
引入thymeleaf模板
<!--thymeleaf模板-->
<dependency>
    <groupId>org.thymeleaf</groupId>
    <artifactId>thymeleaf-spring5</artifactId>
</dependency>
<dependency>
    <groupId>org.thymeleaf.extras</groupId>
    <artifactId>thymeleaf-extras-java8time</artifactId>
</dependency>
2. 引入静态资源
2.1 关闭模版引擎的缓存
spring.thymeleaf.cache=false
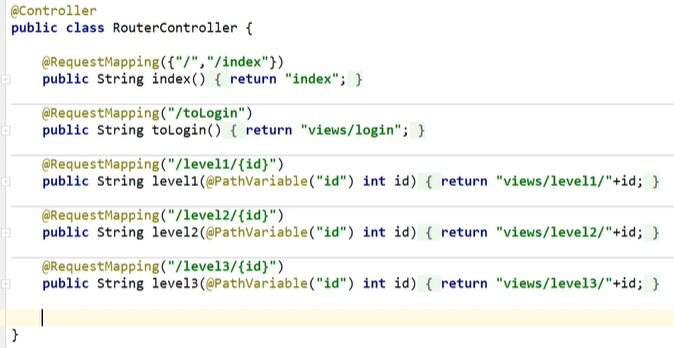
3. 路由跳转Controller
RouterController
4. 导入SpringSecurity依赖
<!--security-->
<dependency>
    <groupId>org.springframework.boot</groupId>
    <artifactId>spring-boot-starter-security</artifactId>
</dependency>
5. Security配置类
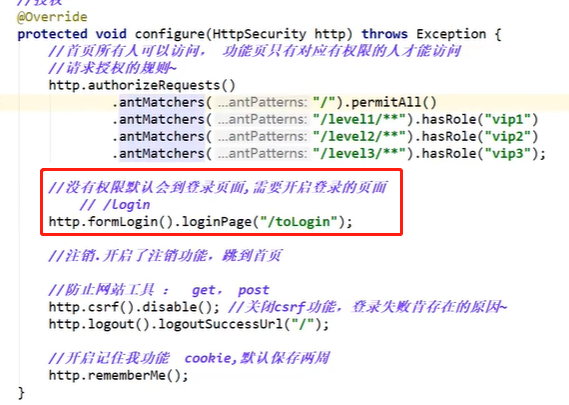
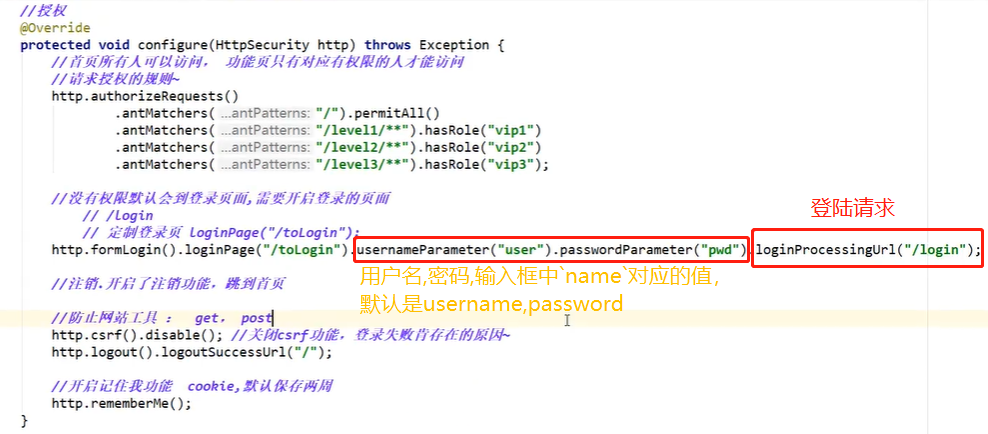
5.1 SecurityConfig继承WebSecurityConfigurerAdapter
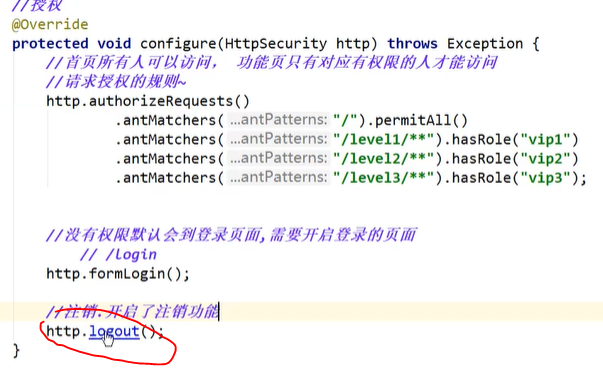
重写configure(HttpSecurity http)授权方法
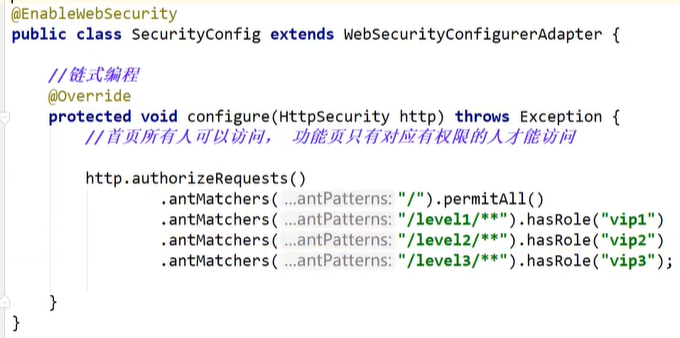
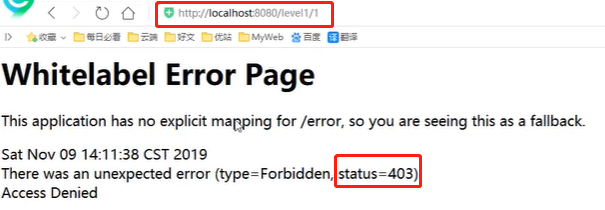
没有该角色将会报403无权限错误
添加没有权限默认到登陆页面代码
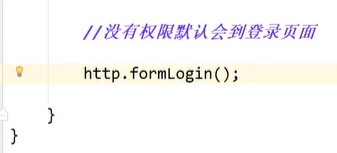
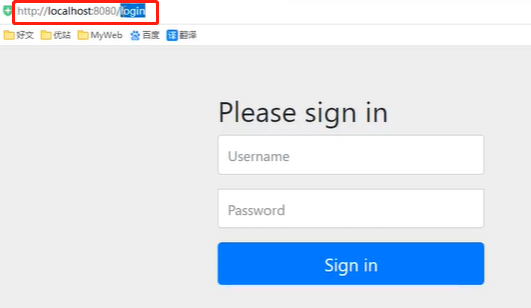
跳转到登陆页面
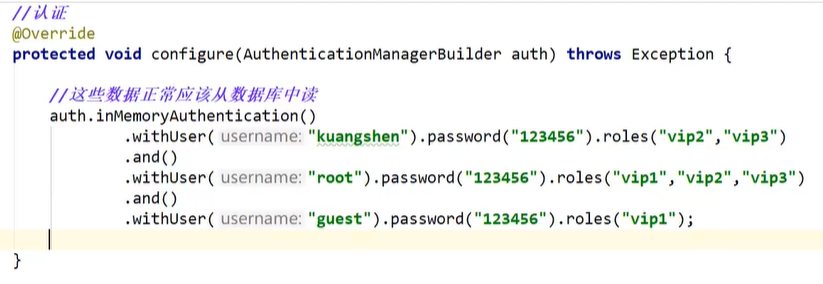
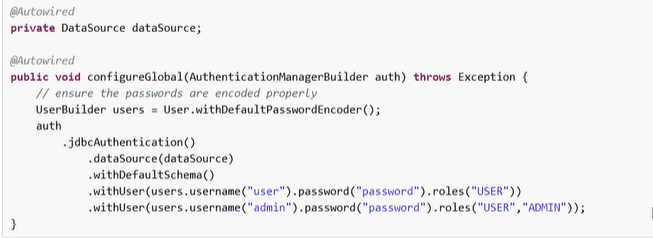
5.2 重写configure(AuthenticationManagerBuilder auth)认证方法
配置用户和权限
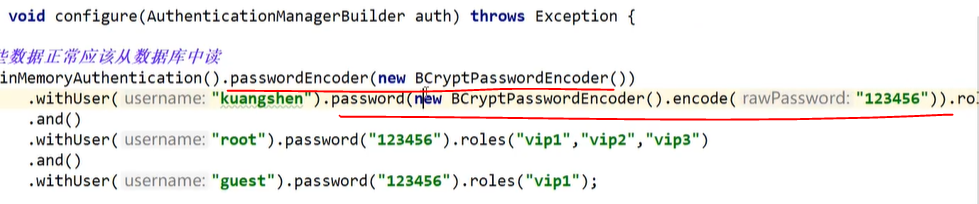
5.3 密码需要编码
5.4 连接数据库的配置
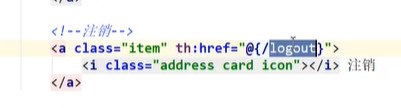
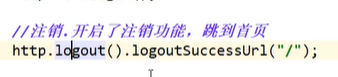
5.5 注销功能开启
按钮绑定
指定注销后跳转的位置
6. security-thymeleaf整合
6.1 导入依赖
<!--security-thymeleaf 整合包-->
<dependency>
    <groupId>org.thymeleaf.extras</groupId>
    <artifactId>thymeleaf-extras-springsecurity4</artifactId>
    <version>3.0.4.RELEASE</version>
</dependency>
6.2 导入命名空间

6.3 版本不兼容
2.2.1更换为2.0.9

6.4 使用标签区别登陆与未登陆
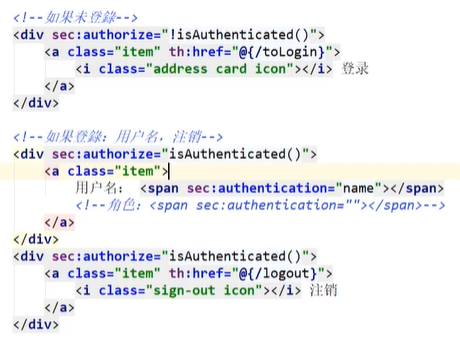
后来知道的角色的获取
<span sec:authentication="authorities"></span>
6.5 关闭防止网址攻击的功能
登出失败可能的原因

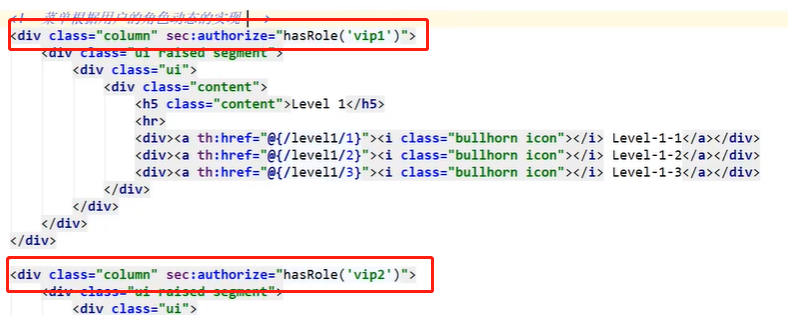
6.6 菜单的动态实现
6.7 开启记住我功能

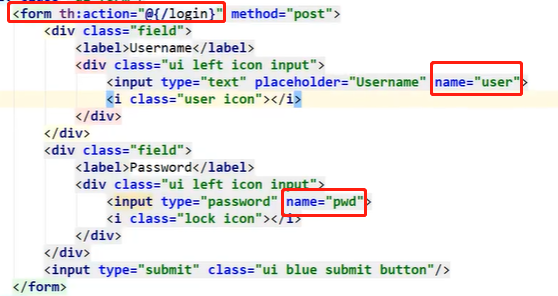
6.8 设置登陆页面为自己的页面
6.9 login请求处理
登陆请求
6.10 记住我功能
在自己的登陆页面加入按钮

在配置类中自定义接收前端的参数


