目录
三、SpringBoot整合微服务&gateway&nginx
一、微服务项目集成MybatisPlus
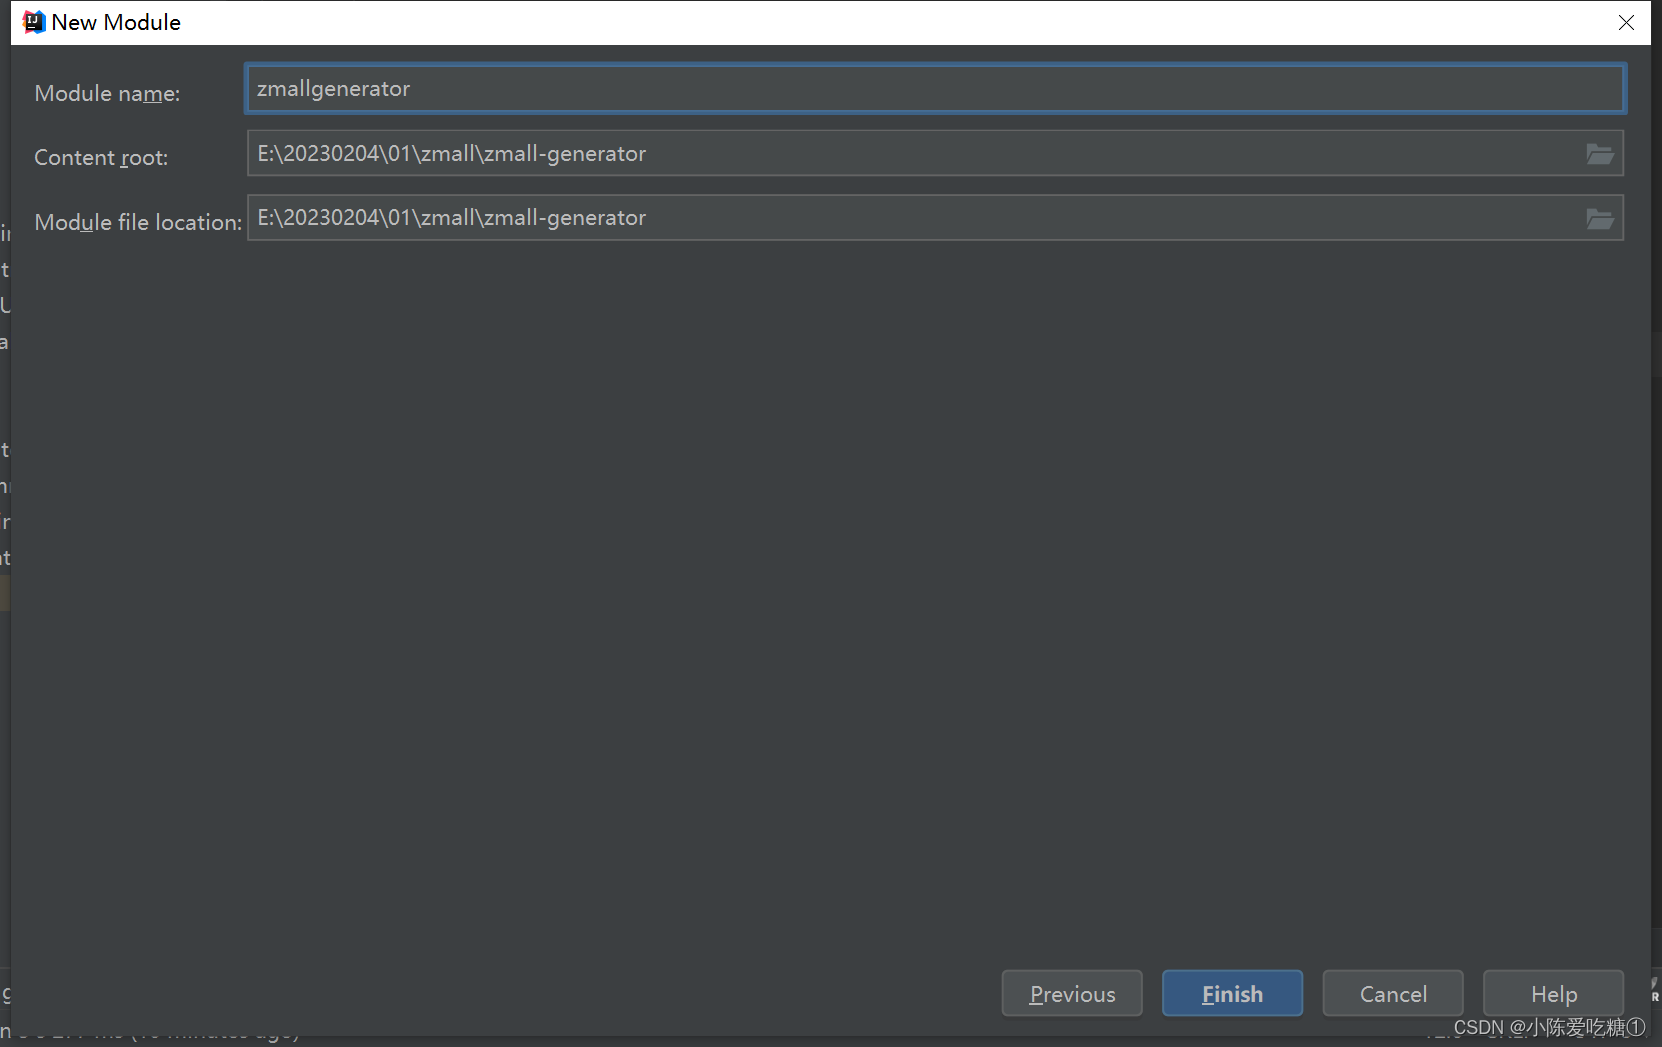
创建自动生成代码子模块
1.基于maven方式创建子模块zmall-generator,用于结合mybatis-plus生成代码。
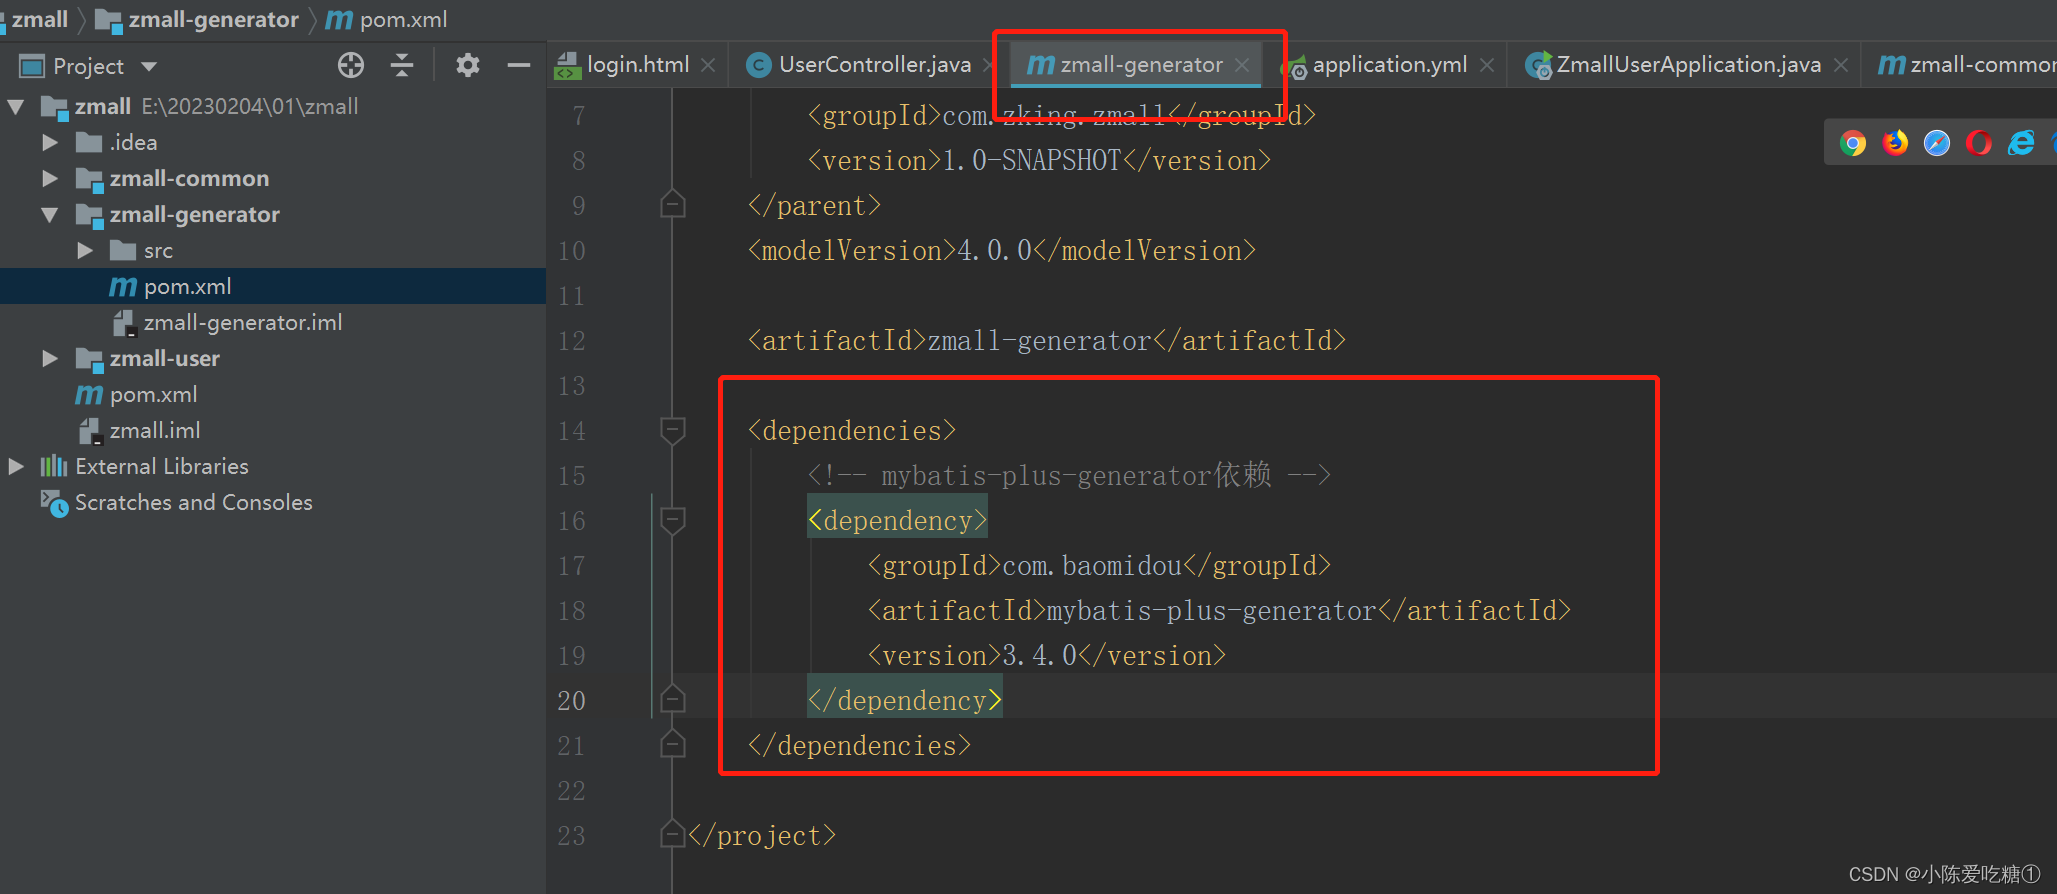
2. 在zmall-generator中引入mybatis-plus-generator依赖。该模块专用于mybatis-plus的代码生成,所以单独在此引入该依赖即可。
3. 在src/main/resources下创建templates目录,并导入mybatis-generator生成代码模板页

4.在src/main/java下创建包com.zking.zmall,并导入generator下的CodeGenerator类用于代码生成
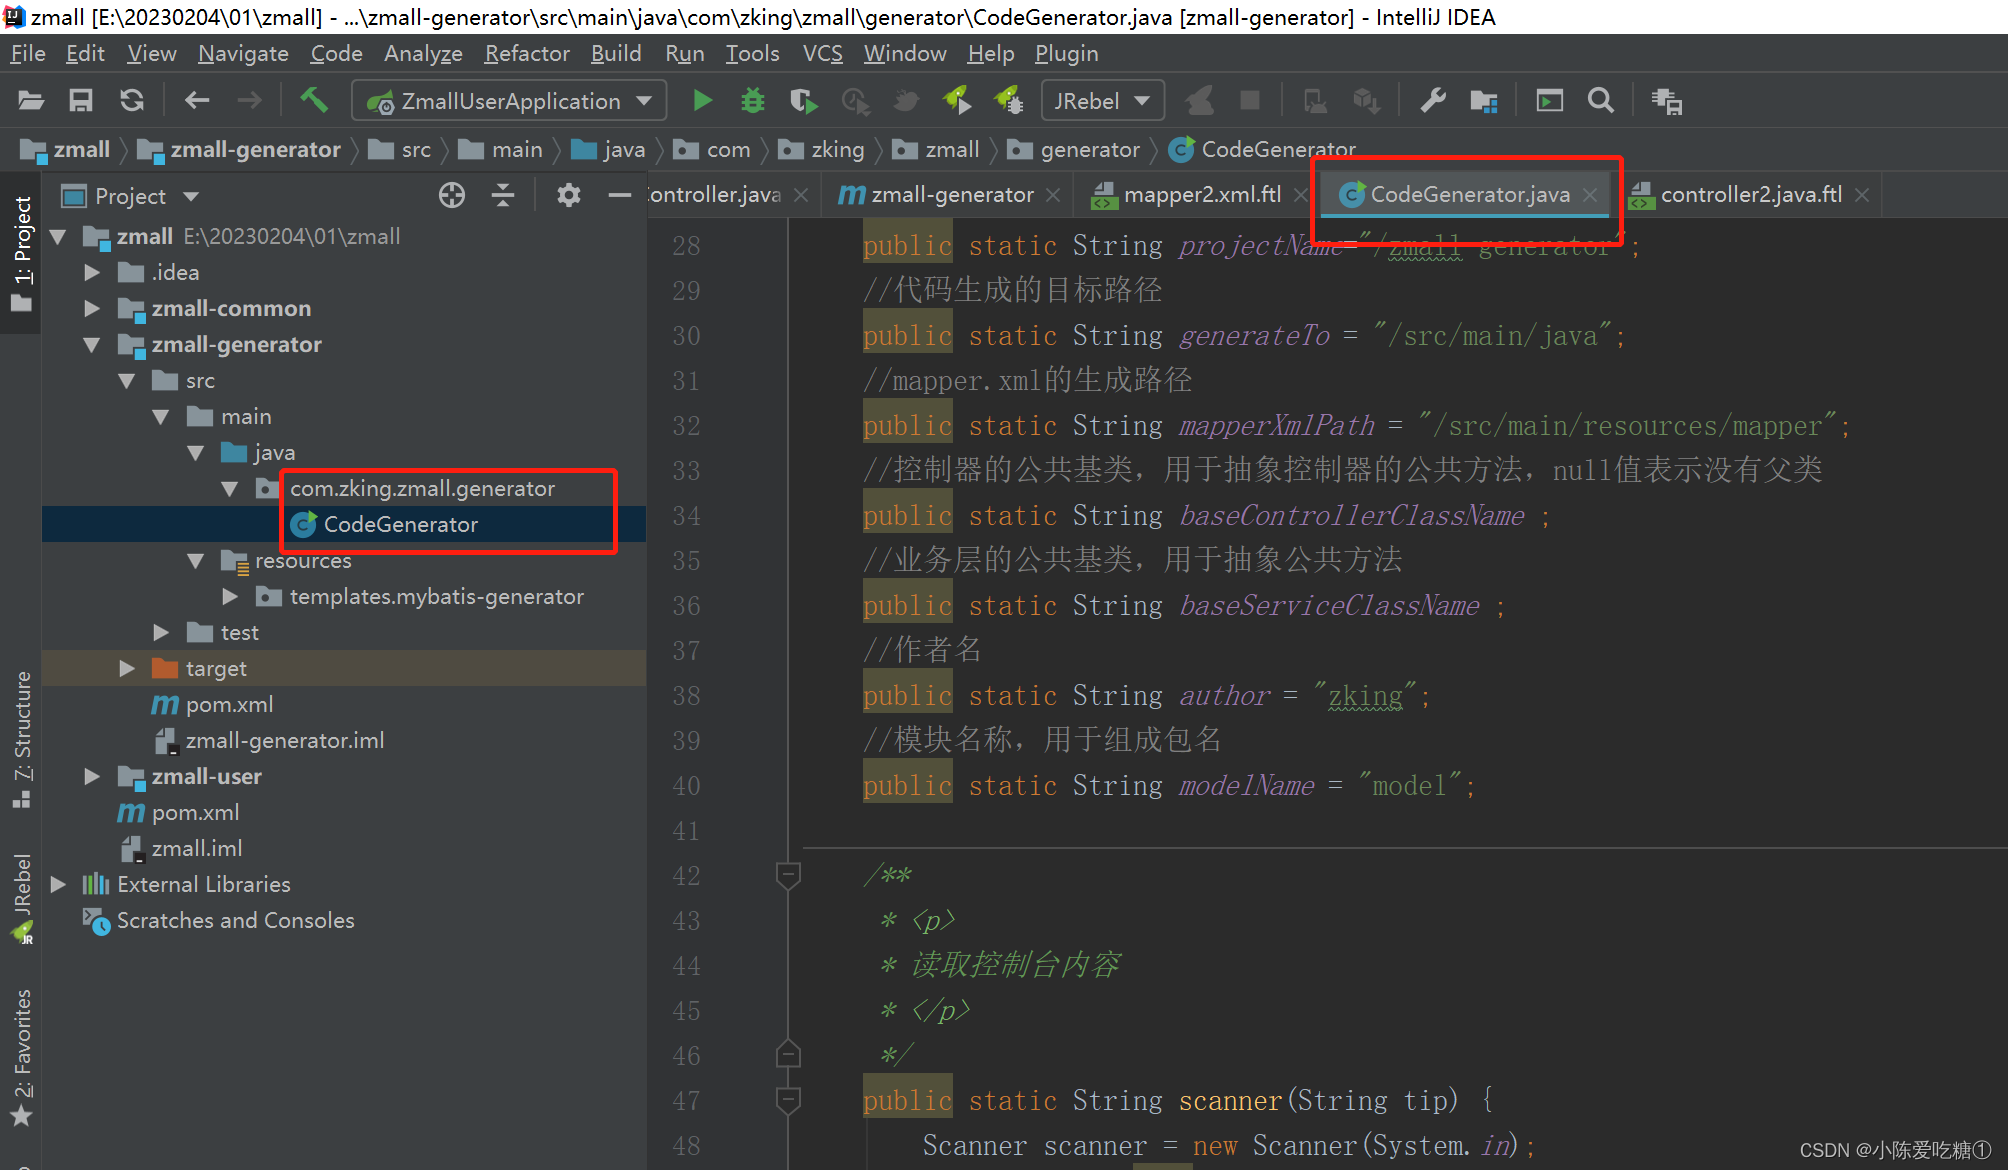
CodeGenerator
package com.zking.zmall.generator;

import com.baomidou.mybatisplus.core.exceptions.MybatisPlusException;
import com.baomidou.mybatisplus.core.toolkit.StringPool;
import com.baomidou.mybatisplus.core.toolkit.StringUtils;
import com.baomidou.mybatisplus.generator.AutoGenerator;
import com.baomidou.mybatisplus.generator.InjectionConfig;
import com.baomidou.mybatisplus.generator.config.*;
import com.baomidou.mybatisplus.generator.config.po.TableInfo;
import com.baomidou.mybatisplus.generator.config.rules.DateType;
import com.baomidou.mybatisplus.generator.config.rules.NamingStrategy;
import com.baomidou.mybatisplus.generator.engine.FreemarkerTemplateEngine;

import java.util.ArrayList;
import java.util.List;
import java.util.Scanner;

public class CodeGenerator {

    //数据库连接参数
    public static String driver = "com.mysql.jdbc.Driver";
    public static String url = "jdbc:mysql://localhost:3306/zmall?characterEncoding=utf8&useSSL=false&serverTimezone=Asia/Shanghai&rewriteBatchedStatements=true";
    public static String username="root";
    public static String password="123456";
    //父级别包名称
    public static String parentPackage = "com.zking.zmall";
    //项目名设置(如果是SpringCloud项目则需要设置,其他为""即可)
    public static String projectName="/zmall-generator";
    //代码生成的目标路径
    public static String generateTo = "/src/main/java";
    //mapper.xml的生成路径
    public static String mapperXmlPath = "/src/main/resources/mapper";
    //控制器的公共基类,用于抽象控制器的公共方法,null值表示没有父类
    public static String baseControllerClassName ;
    //业务层的公共基类,用于抽象公共方法
    public static String baseServiceClassName ;
    //作者名
    public static String author = "zking";
    //模块名称,用于组成包名
    public static String modelName = "model";

    /**
     * <p>
     * 读取控制台内容
     * </p>
     */
    public static String scanner(String tip) {
        Scanner scanner = new Scanner(System.in);
        StringBuilder help = new StringBuilder();
        help.append("请输入" + tip + ":");
        System.out.println(help.toString());
        if (scanner.hasNext()) {
            String ipt = scanner.next();
            if (StringUtils.isNotBlank(ipt)) {
                return ipt;
            }
        }
        throw new MybatisPlusException("请输入正确的" + tip + "!");
    }

    public static void main(String[] args) {
        // 代码生成器
        AutoGenerator mpg = new AutoGenerator();

        // 全局配置
        GlobalConfig gc = new GlobalConfig();
        //设置代码输出目录
        String projectPath = System.getProperty("user.dir");
        gc.setOutputDir(projectPath + projectName + generateTo);
        //作者
        gc.setAuthor(author);
        //设置时间类型为Date
        gc.setDateType(DateType.TIME_PACK);
        gc.setOpen(false);
        //设置Mapper.xml的BaseColumnList
        gc.setBaseColumnList(true);
        //设置Mapper.xml的BaseResultMap
        gc.setBaseResultMap(true);
        // 设置实体属性 Swagger2 注解
        // gc.setSwagger2(true);
        mpg.setGlobalConfig(gc);

        // 数据源配置
        DataSourceConfig dsc = new DataSourceConfig();
        dsc.setUrl(url);
        dsc.setDriverName(driver);
        dsc.setUsername(username);
        dsc.setPassword(password);
        mpg.setDataSource(dsc);

        // 包配置
        PackageConfig pc = new PackageConfig();
        //pc.setModuleName(scanner("模块名"));
        pc.setParent(parentPackage);
        //设置包名
        pc.setEntity(modelName);
        mpg.setPackageInfo(pc);

        // 自定义配置
        InjectionConfig cfg = new InjectionConfig() {
            @Override
            public void initMap() {
                // to do nothing
            }
        };

        // 如果模板引擎是 freemarker
        String templatePath = "/templates/mybatis-generator/mapper2.xml.ftl";
        // 如果模板引擎是 velocity
        // String templatePath = "/templates/mapper.xml.vm";

        // 自定义输出配置
        List<FileOutConfig> focList = new ArrayList<>();
        // 自定义配置会被优先输出
        focList.add(new FileOutConfig(templatePath) {
            @Override
            public String outputFile(TableInfo tableInfo) {
                // 自定义输出文件名 , 如果你 Entity 设置了前后缀、此处注意 xml 的名称会跟着发生变化!!
                return projectPath + projectName + mapperXmlPath + pc.getModuleName()
                        + "/" + tableInfo.getEntityName() + "Mapper" + StringPool.DOT_XML;
            }
        });

        cfg.setFileOutConfigList(focList);
        mpg.setCfg(cfg);

        // 配置模板
        TemplateConfig templateConfig = new TemplateConfig();

        // 配置自定义输出模板
        //指定自定义模板路径,注意不要带上.ftl/.vm, 会根据使用的模板引擎自动识别
        templateConfig.setMapper("templates/mybatis-generator/mapper2.java");
        templateConfig.setEntity("templates/mybatis-generator/entity2.java");
        templateConfig.setService("templates/mybatis-generator/service2.java");
        templateConfig.setServiceImpl("templates/mybatis-generator/serviceImpl2.java");
        templateConfig.setController("templates/mybatis-generator/controller2.java");
        templateConfig.setXml(null);
        mpg.setTemplate(templateConfig);

        // 策略配置
        StrategyConfig strategy = new StrategyConfig();
        strategy.setNaming(NamingStrategy.underline_to_camel);
        strategy.setColumnNaming(NamingStrategy.underline_to_camel);
        strategy.setEntityLombokModel(true);
        strategy.setRestControllerStyle(true);
        strategy.setEntitySerialVersionUID(false);
        //设置controller的父类
        if (baseControllerClassName!=null) strategy.setSuperControllerClass(baseControllerClassName);
        //设置服务类的父类
        if (baseServiceClassName !=null ) strategy.setSuperServiceImplClass(baseServiceClassName);
        // 写于父类中的公共字段
        //strategy.setSuperEntityColumns("id");
        strategy.setInclude(scanner("表名,多个英文逗号分割").split(","));
        strategy.setControllerMappingHyphenStyle(true);
        strategy.setTablePrefix("t_","zmall_");
        mpg.setStrategy(strategy);
        mpg.setTemplateEngine(new FreemarkerTemplateEngine());
        mpg.execute();
    }
}
5.修改CodeGenerator类基本生成参数,并生成代码
//数据库连接参数
public static String driver = "com.mysql.jdbc.Driver";
public static String url = "jdbc:mysql://localhost:3306/zmall?characterEncoding=utf8&useSSL=false&serverTimezone=Asia/Shanghai&rewriteBatchedStatements=true";
public static String username="root";
public static String password="123456";
//父级别包名称
public static String parentPackage = "com.zking.zmall";
//项目名设置(如果是SpringCloud项目则需要设置,其他为""即可)
public static String projectName="/zmall-generator";
//代码生成的目标路径
public static String generateTo = "/src/main/java";
//mapper.xml的生成路径
public static String mapperXmlPath = "/src/main/resources/mapper";
//控制器的公共基类,用于抽象控制器的公共方法,null值表示没有父类
public static String baseControllerClassName ;
//业务层的公共基类,用于抽象公共方法
public static String baseServiceClassName ;
//作者名
public static String author = "zking";
//模块名称,用于组成包名
public static String modelName = "model";
先生成
此时直接运行代码生成类会报错,因为还缺少mybatis-plus的依赖

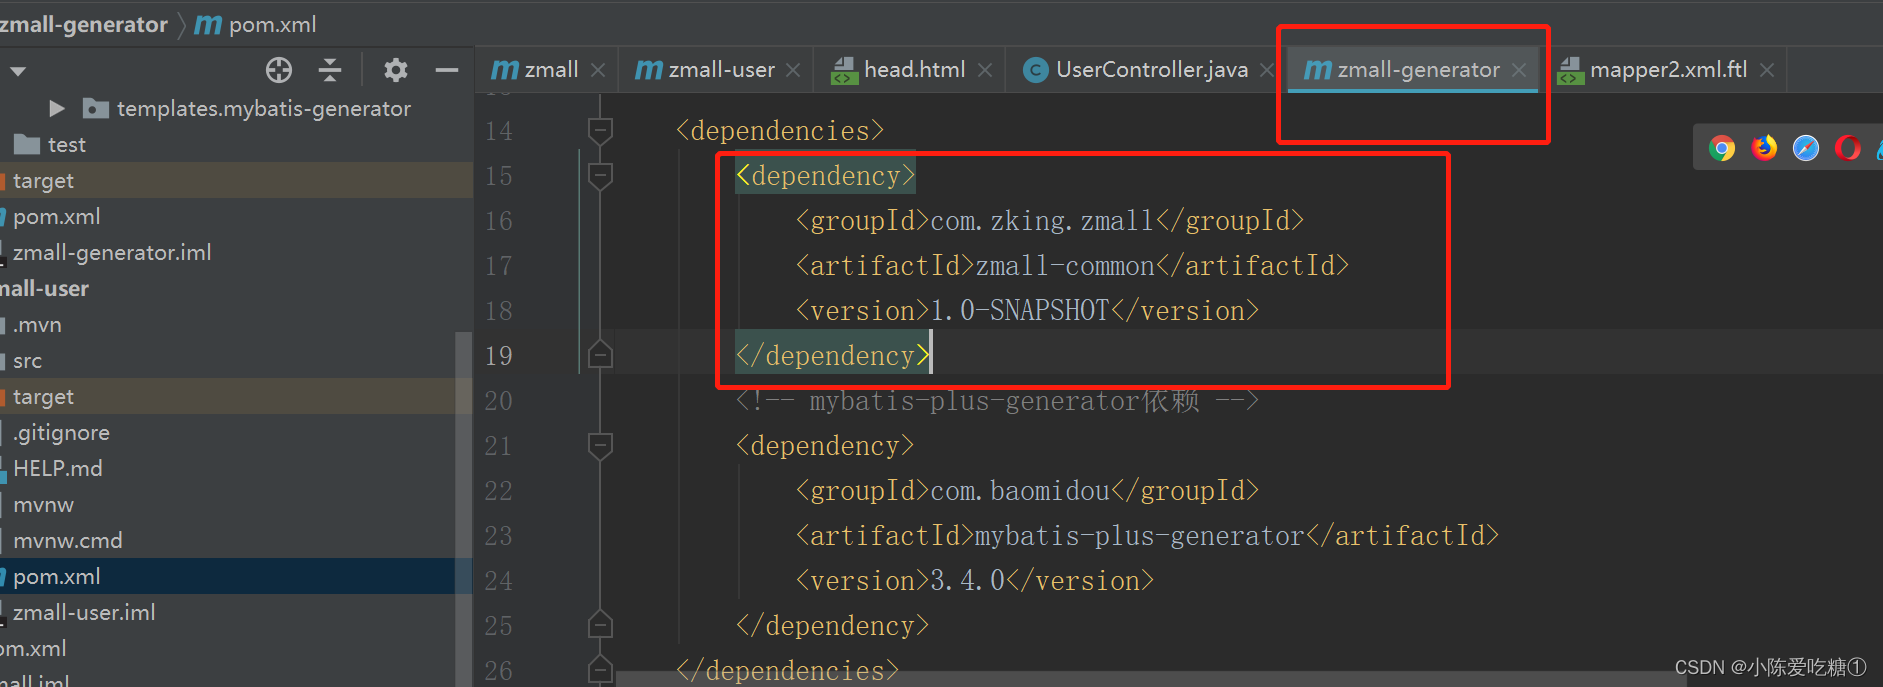
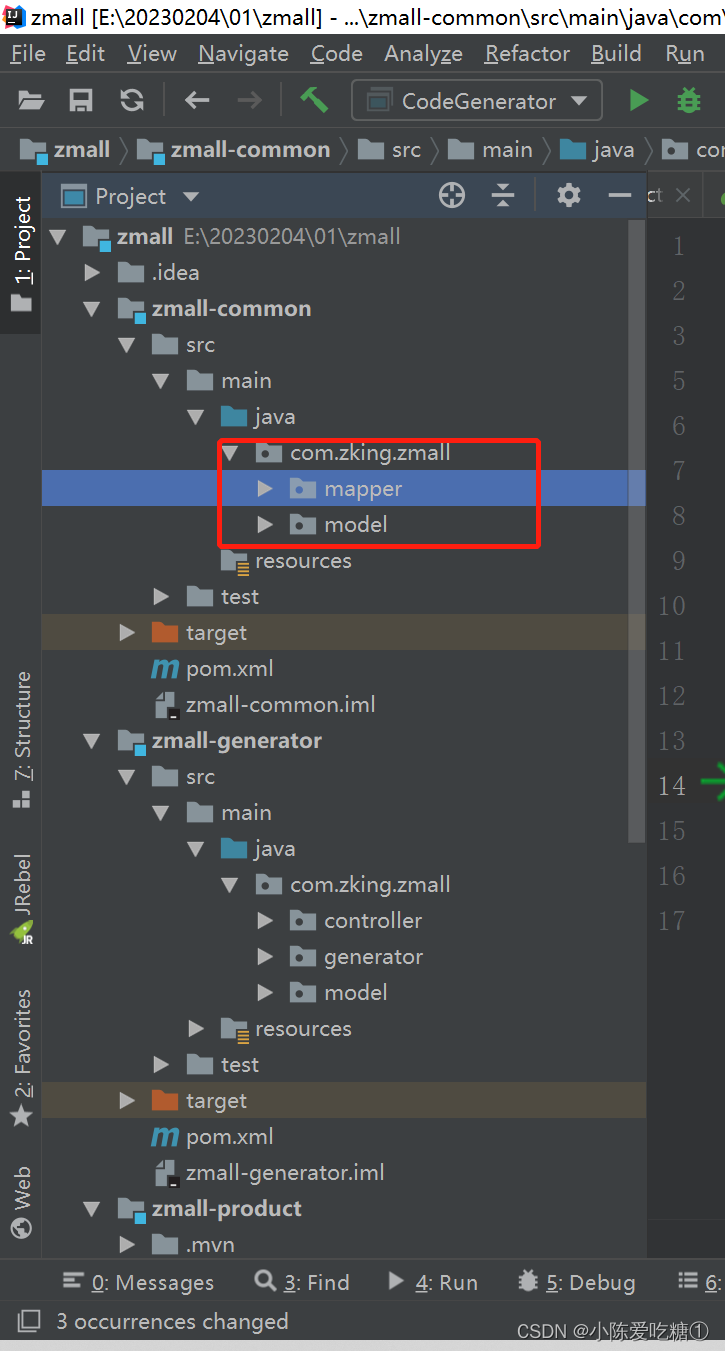
在自动生成代码子模块添加公共模块
此时再运行
就可以生成了
创建商品服务子模块
1.基于Spring Initializr方式创建商品服务模块zmall-product

2.在主模块pom.xml中加入商品服务子模块zmall-product
修改zmall-product的pom.xml
<?xml version="1.0" encoding="UTF-8"?>
<project xmlns="http://maven.apache.org/POM/4.0.0" xmlns:xsi="http://www.w3.org/2001/XMLSchema-instance"
         xsi:schemaLocation="http://maven.apache.org/POM/4.0.0 https://maven.apache.org/xsd/maven-4.0.0.xsd">
    <modelVersion>4.0.0</modelVersion>
    <parent>
        <groupId>com.zking.zmall</groupId>
        <artifactId>zmall</artifactId>
        <version>1.0-SNAPSHOT</version>
    </parent>
    <artifactId>zmall-product</artifactId>
    <dependencies>
        <dependency>
            <groupId>com.zking.zmall</groupId>
            <artifactId>zmall-common</artifactId>
            <version>1.0-SNAPSHOT</version>
        </dependency>
    </dependencies>


</project>
<modules>
    <module>zmall-common</module>
    <module>zmall-user</module>
    <module>zmall-generator</module>
    <module>zmall-product</module>
</modules>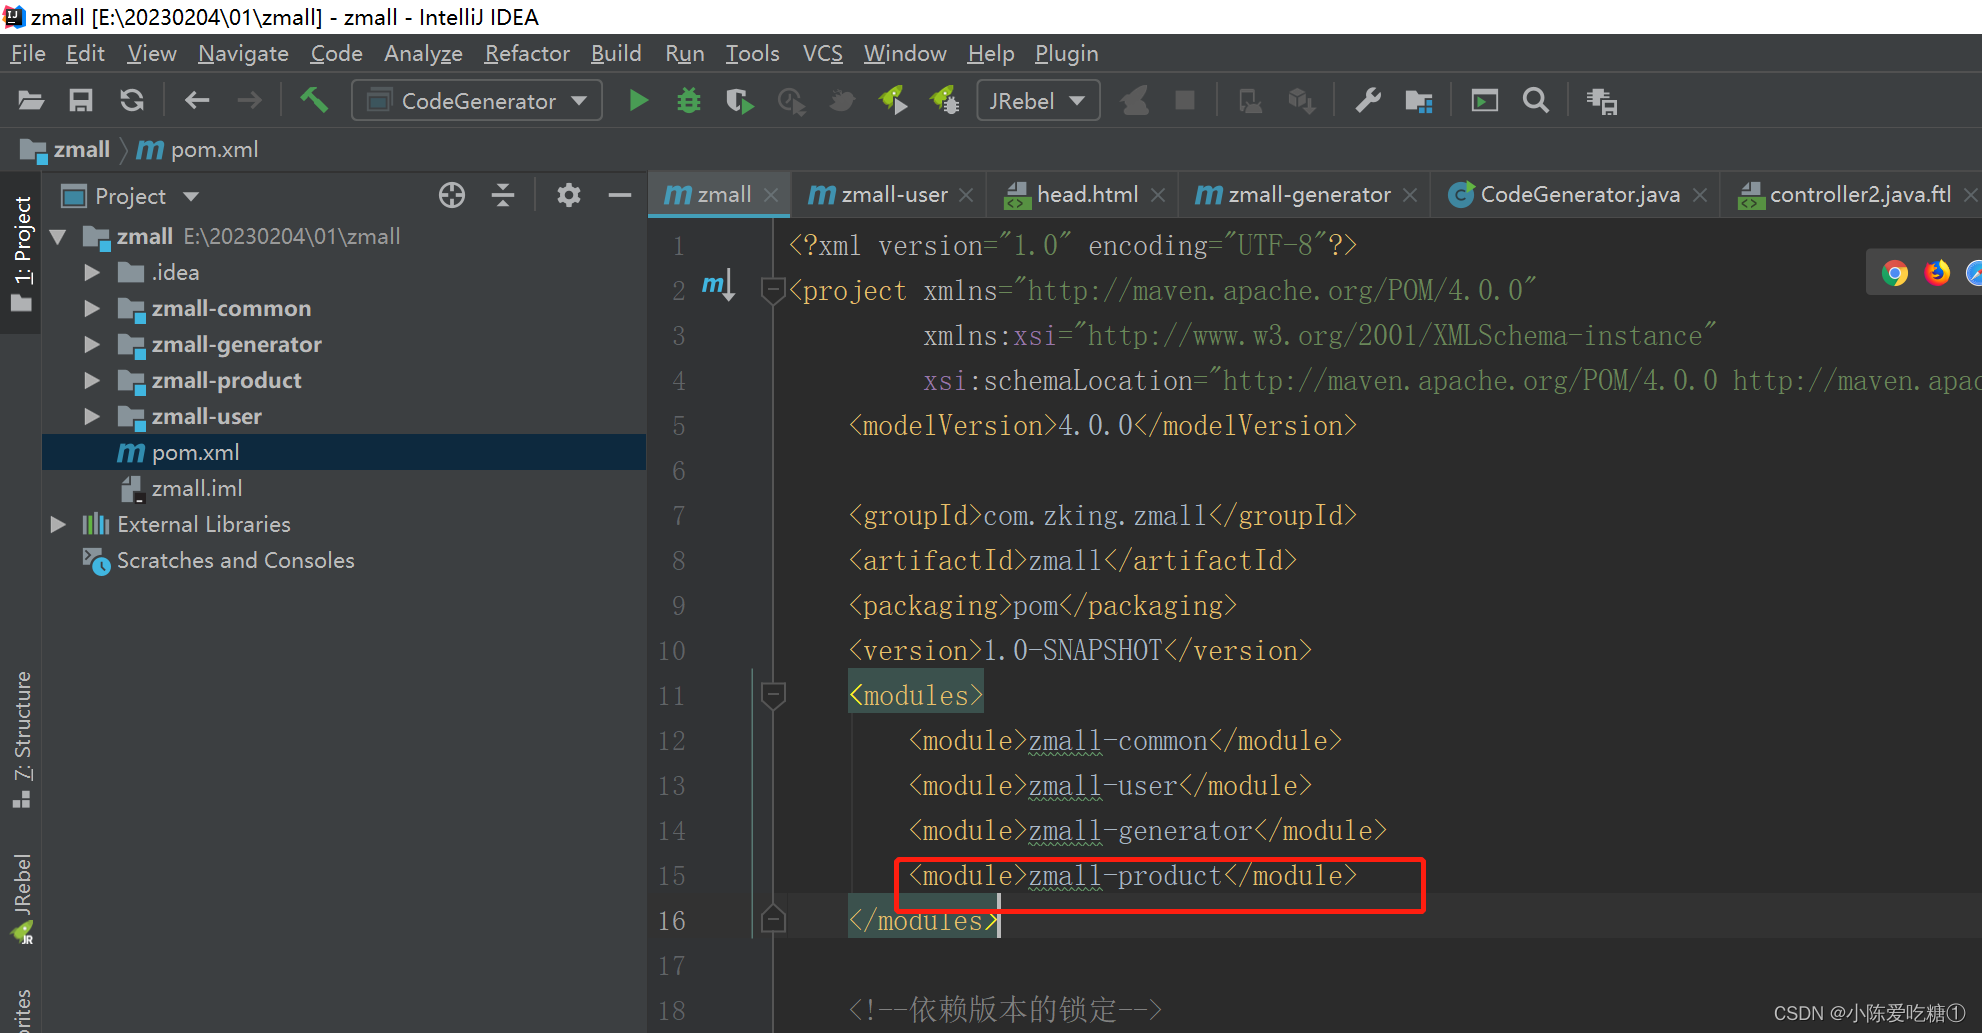
3.配置商品服务子模块zmall-product的application.yml配置文件
server:
  port: 8020
spring:
  application:
    name: zmall-product
  datasource:
    #type连接池类型 DBCP,C3P0,Hikari,Druid,默认为Hikari
    type: com.zaxxer.hikari.HikariDataSource
    driver-class-name: com.mysql.jdbc.Driver
    url: jdbc:mysql://localhost:3306/zmall?characterEncoding=utf8&useSSL=false&serverTimezone=Asia/Shanghai&rewriteBatchedStatements=true
    username: root
    password: 123456
  freemarker:
    suffix: .html
    template-loader-path: classpath:/templates/
#mybatis-plus配置
mybatis-plus:
  #所对应的 XML 文件位置
  mapper-locations: classpath*:/mapper/*Mapper.xml
  #别名包扫描路径
  type-aliases-package: com.zking.zmall.model
  configuration:
    #驼峰命名规则
    map-underscore-to-camel-case: true
#日志配置
logging:
  level:
    com.zking.zmall.mapper: debug
4. 在商品服务子模块中启动类上添加
ZmallProductApplication
package com.zking.zmall;

import org.mybatis.spring.annotation.MapperScan;
import org.springframework.boot.SpringApplication;
import org.springframework.boot.autoconfigure.SpringBootApplication;

@SpringBootApplication
@MapperScan({"com.zking.zmall.mapper"})
public class ZmallProductApplication {

    public static void main(String[] args) {
        SpringApplication.run(ZmallProductApplication.class, args);
    }

}
5.将公共子模块中生成的service层代码复制到商品服务子模块zmall-product中,并删除掉非商品相关的service接口及实现类

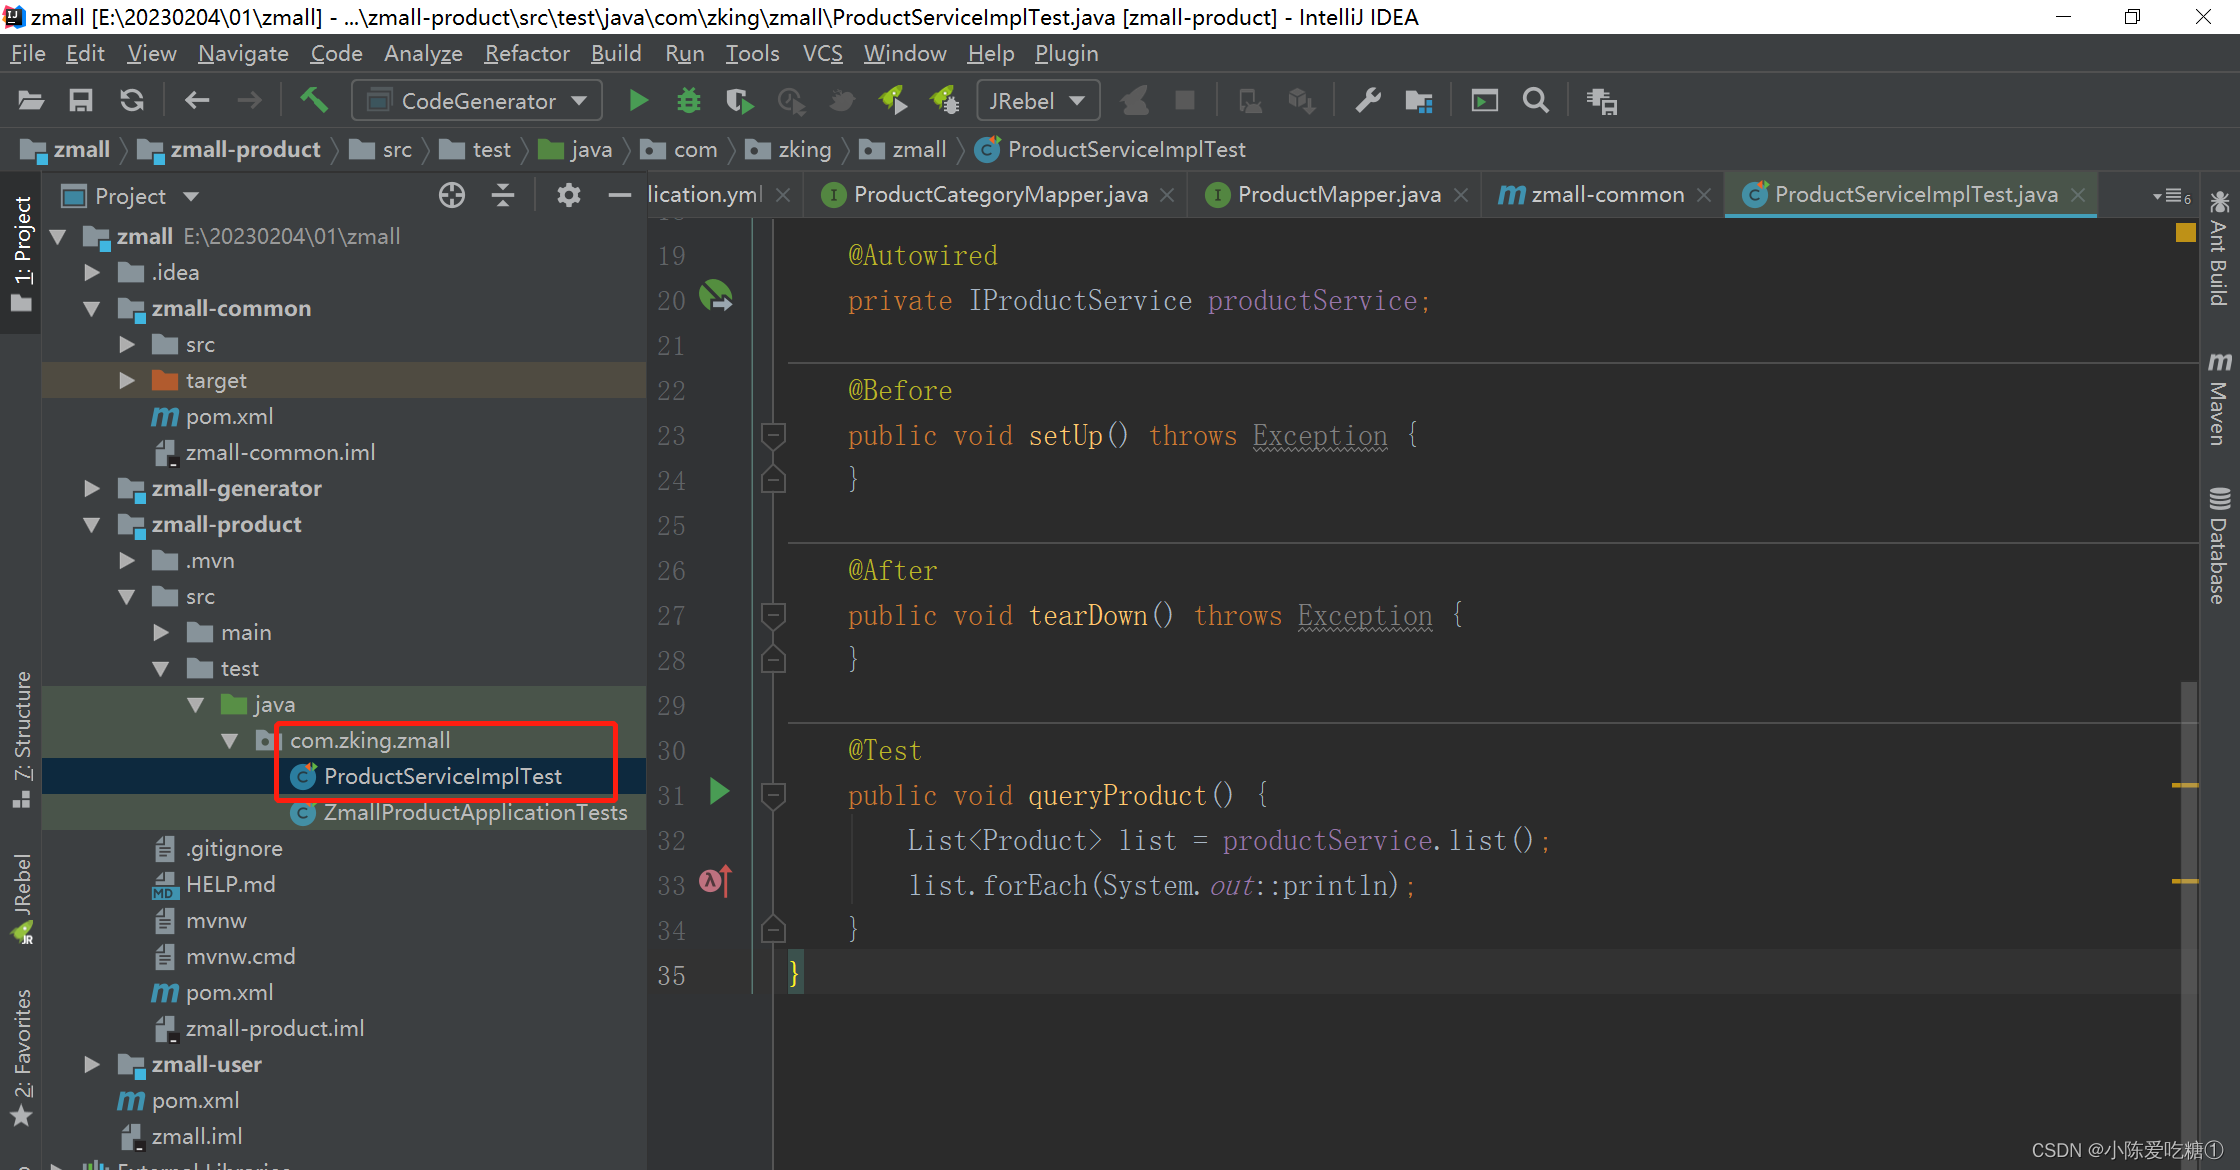
6.创建junit实现接口测试
zmall-common模块
ProductServiceImplTest
@RunWith(SpringJUnit4ClassRunner.class)
@SpringBootTest
public class ProductServiceImplTest {
@Autowired
private IProductService productService;
@Before
public void setUp() throws Exception {
}
@After
public void tearDown() throws Exception {
}
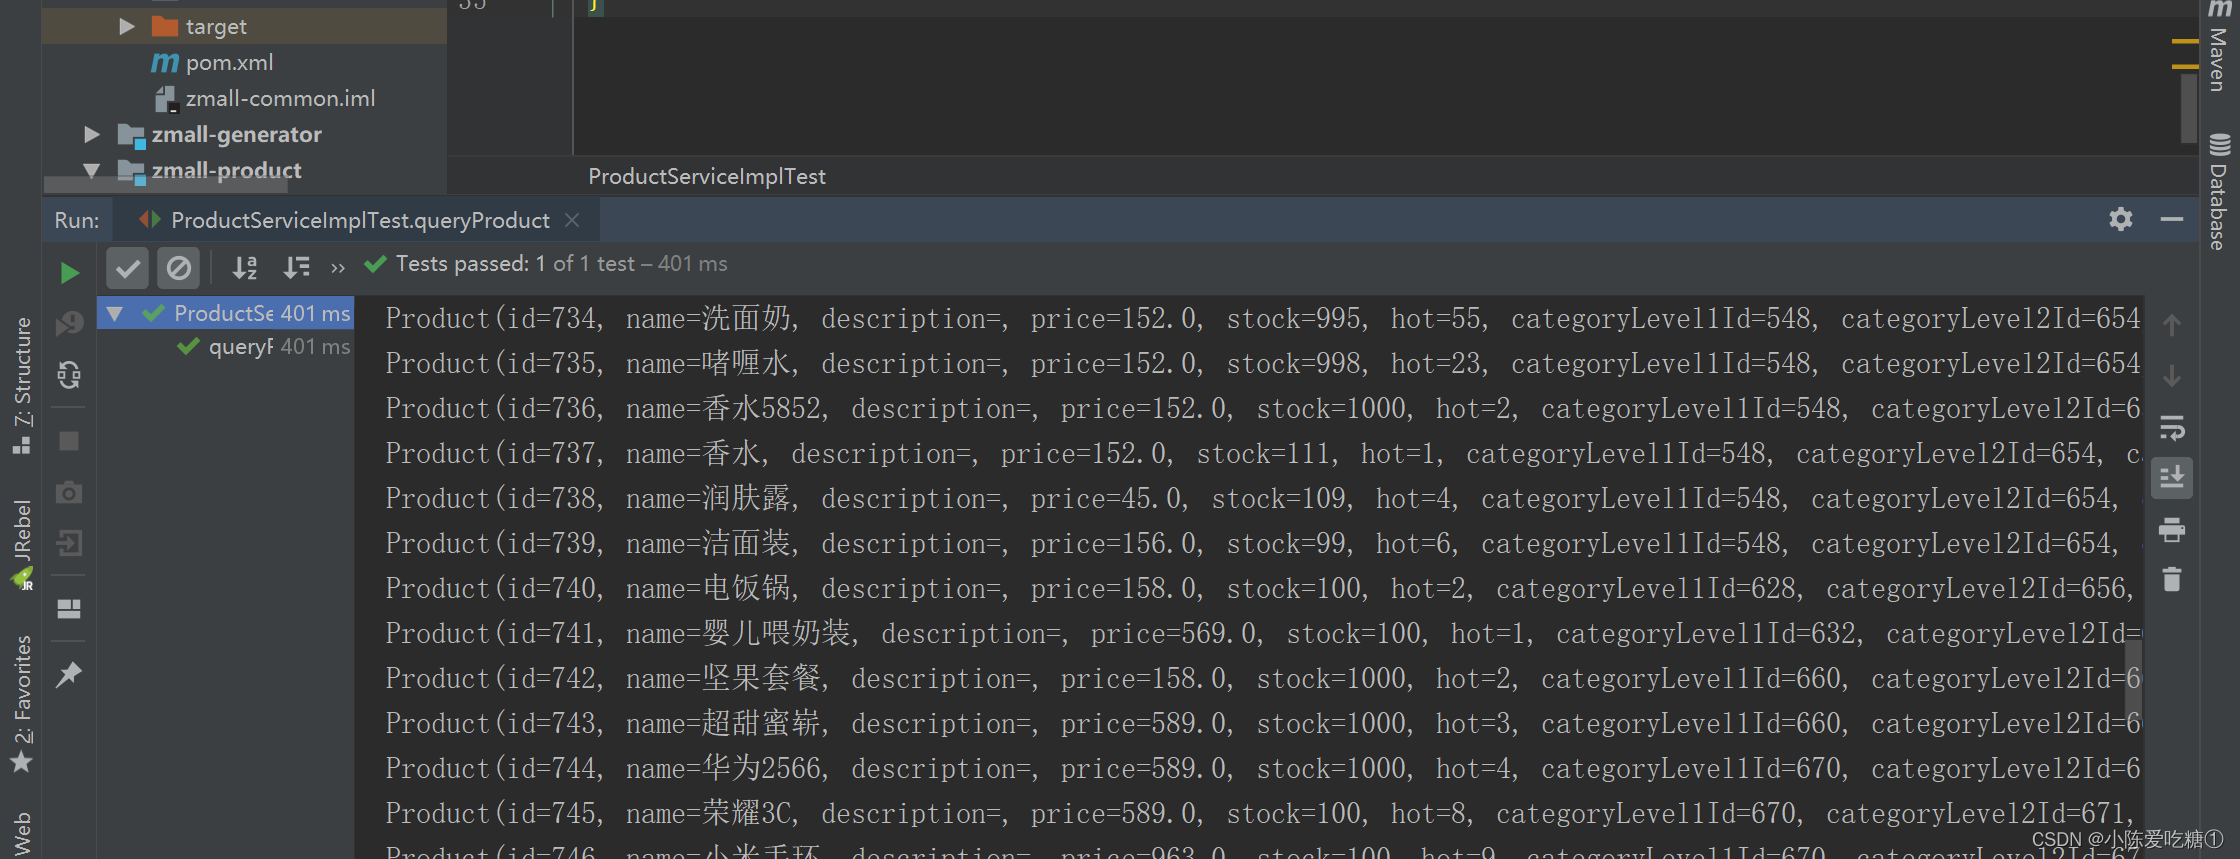
@Test
public void queryProduct() {
List<Product> list = productService.list();
list.forEach(System.out::println);
}
}
拿到所有的数据
二、微服务项目集成Freemarker
1.在公共模块zmall-common中引入freemarker依赖
2.在商品子模块zmall-product中添加首页和商品详情页面及公共资源(js/css/images)
3.创建ProductController定义请求方法
ProductController
package com.zking.zmall.controller;

import com.baomidou.mybatisplus.core.conditions.query.QueryWrapper;
import com.zking.zmall.model.Product;
import com.zking.zmall.service.IProductService;
import org.springframework.beans.factory.annotation.Autowired;
import org.springframework.stereotype.Controller;
import org.springframework.ui.Model;
import org.springframework.web.bind.annotation.RequestMapping;

import java.util.List;

@Controller
public class ProductController {

    @Autowired
    private IProductService productService;

    @RequestMapping("/index.html")
    public String index(Model model){
        //按照商品的销量降序排序获取销量排名Top5的商品
        List<Product> products = productService.list(new QueryWrapper<Product>()
                .orderByDesc("hot")
                .last("limit 5"));
        model.addAttribute("hots",products);
        return "index";
    }

    @RequestMapping("/product.html")
    public String detail(Model model,Integer pid){
        //根据商品ID查询商品详情信息
        Product product = productService.getById(pid);
        model.addAttribute("product",product);
        return "product";
    }
}
运行启动类

4. 在index.html中绑定热门数据和product.html中绑定商品详情数据
index.html
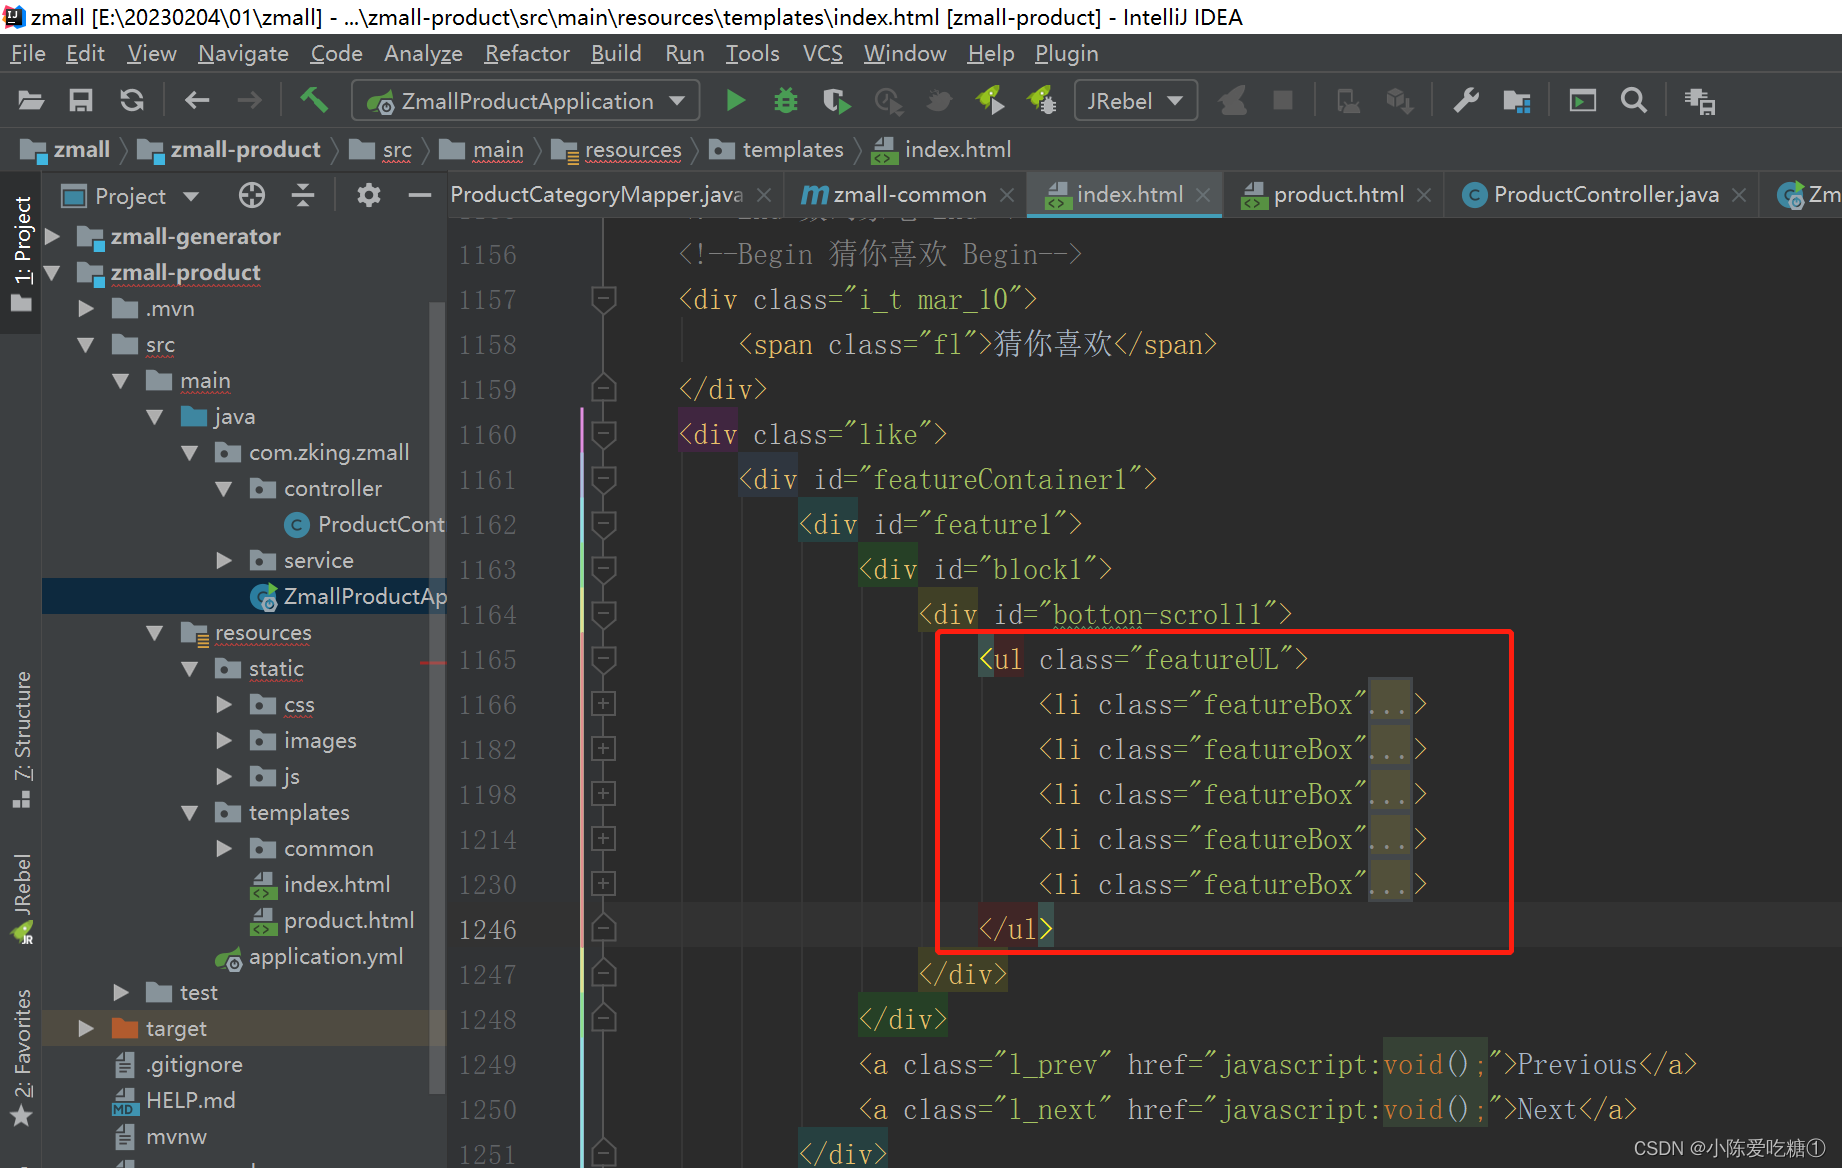
替换为
<ul class="featureUL">
<#--判断hots是否为空-->
<#if hots??>
<#--循环遍历热销商品-->
<#list hots as it>
<li class="featureBox">
<div class="box">
<div class="h_icon"><img src="images/hot.png" width="50" height="50" /></div>
<div class="imgbg">
<a href="../product.html?pid=${(it.id)!}"><img src="${(it.fileName)!}" width="160" height="136" /></a>
</div>
<div class="name">
<a href="../product.html?pid=${(it.id)!}">
<#-- <h2>德国进口</h2>-->
${(it.name)!}
</a>
</div>
<div class="price">
<font>¥<span>${(it.price)!}</span></font> 26R
</div>
</div>
</li>
</#list>
</#if>
</ul>product.html
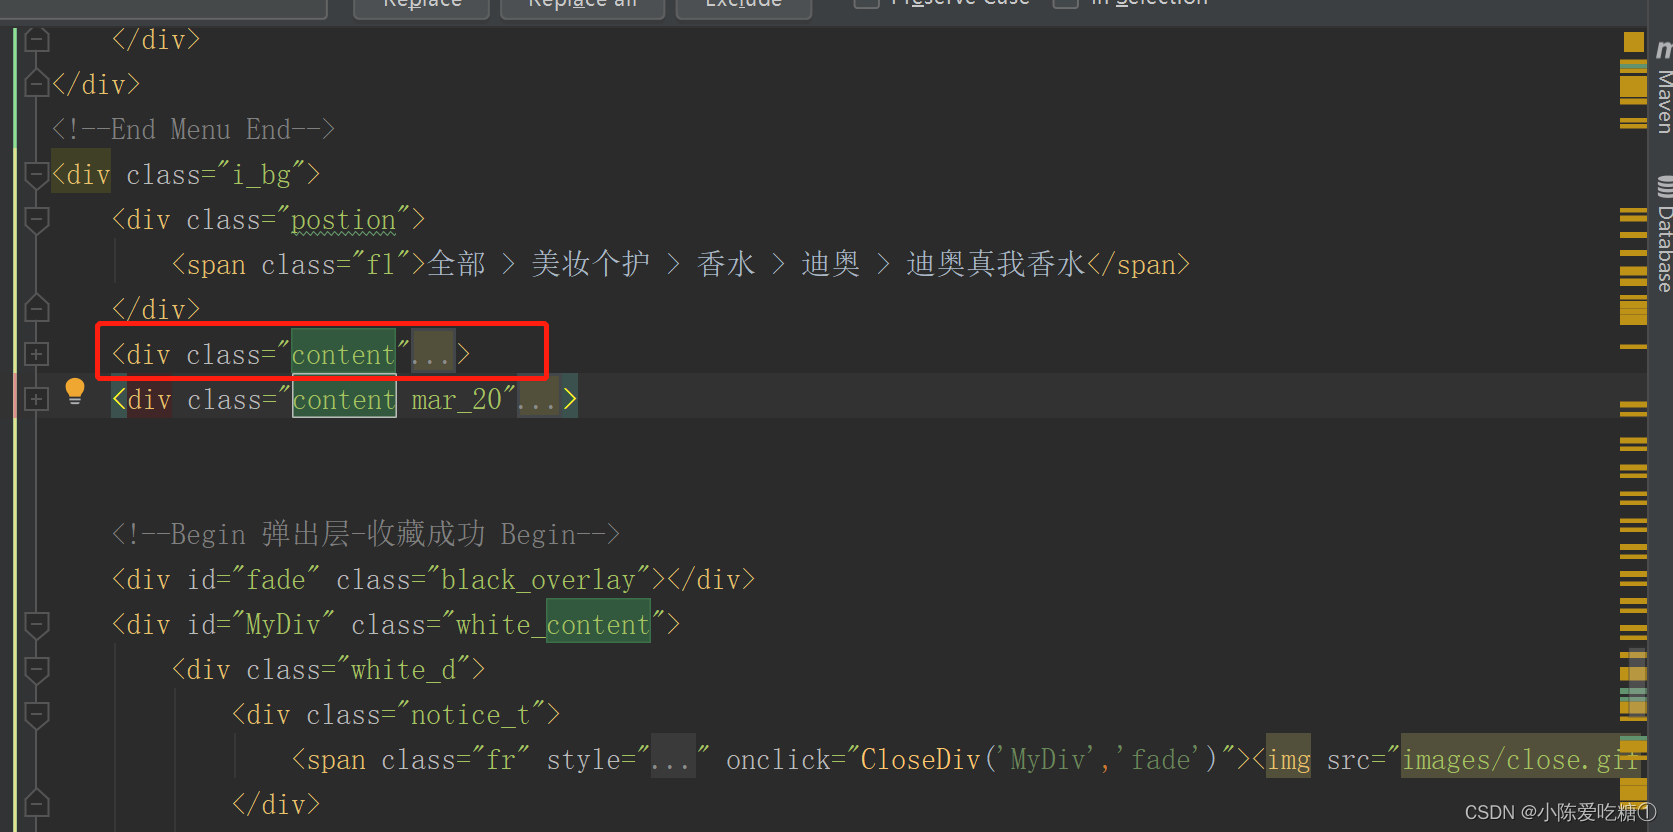
替换为
<div class="content">
<div id="tsShopContainer">
<div id="tsImgS"><a href="${(product.fileName)!}" title="Images" class="MagicZoom" id="MagicZoom"><img src="${(product.fileName)!}" width="390" height="390" /></a></div>
<div id="tsPicContainer">
<div id="tsImgSArrL" onclick="tsScrollArrLeft()"></div>
<div id="tsImgSCon">
<ul>
<li onclick="showPic(0)" rel="MagicZoom" class="tsSelectImg"><img src="images/ps1.jpg" tsImgS="images/ps1.jpg" width="79" height="79" /></li>
<li onclick="showPic(1)" rel="MagicZoom"><img src="images/ps2.jpg" tsImgS="images/ps2.jpg" width="79" height="79" /></li>
<li onclick="showPic(2)" rel="MagicZoom"><img src="images/ps3.jpg" tsImgS="images/ps3.jpg" width="79" height="79" /></li>
<li onclick="showPic(3)" rel="MagicZoom"><img src="images/ps4.jpg" tsImgS="images/ps4.jpg" width="79" height="79" /></li>
<li onclick="showPic(4)" rel="MagicZoom"><img src="images/ps1.jpg" tsImgS="images/ps1.jpg" width="79" height="79" /></li>
<li onclick="showPic(5)" rel="MagicZoom"><img src="images/ps2.jpg" tsImgS="images/ps2.jpg" width="79" height="79" /></li>
<li onclick="showPic(6)" rel="MagicZoom"><img src="images/ps3.jpg" tsImgS="images/ps3.jpg" width="79" height="79" /></li>
<li onclick="showPic(7)" rel="MagicZoom"><img src="images/ps4.jpg" tsImgS="images/ps4.jpg" width="79" height="79" /></li>
</ul>
</div>
<div id="tsImgSArrR" onclick="tsScrollArrRight()"></div>
</div>
<img class="MagicZoomLoading" width="16" height="16" src="images/loading.gif" alt="Loading..." />
</div>
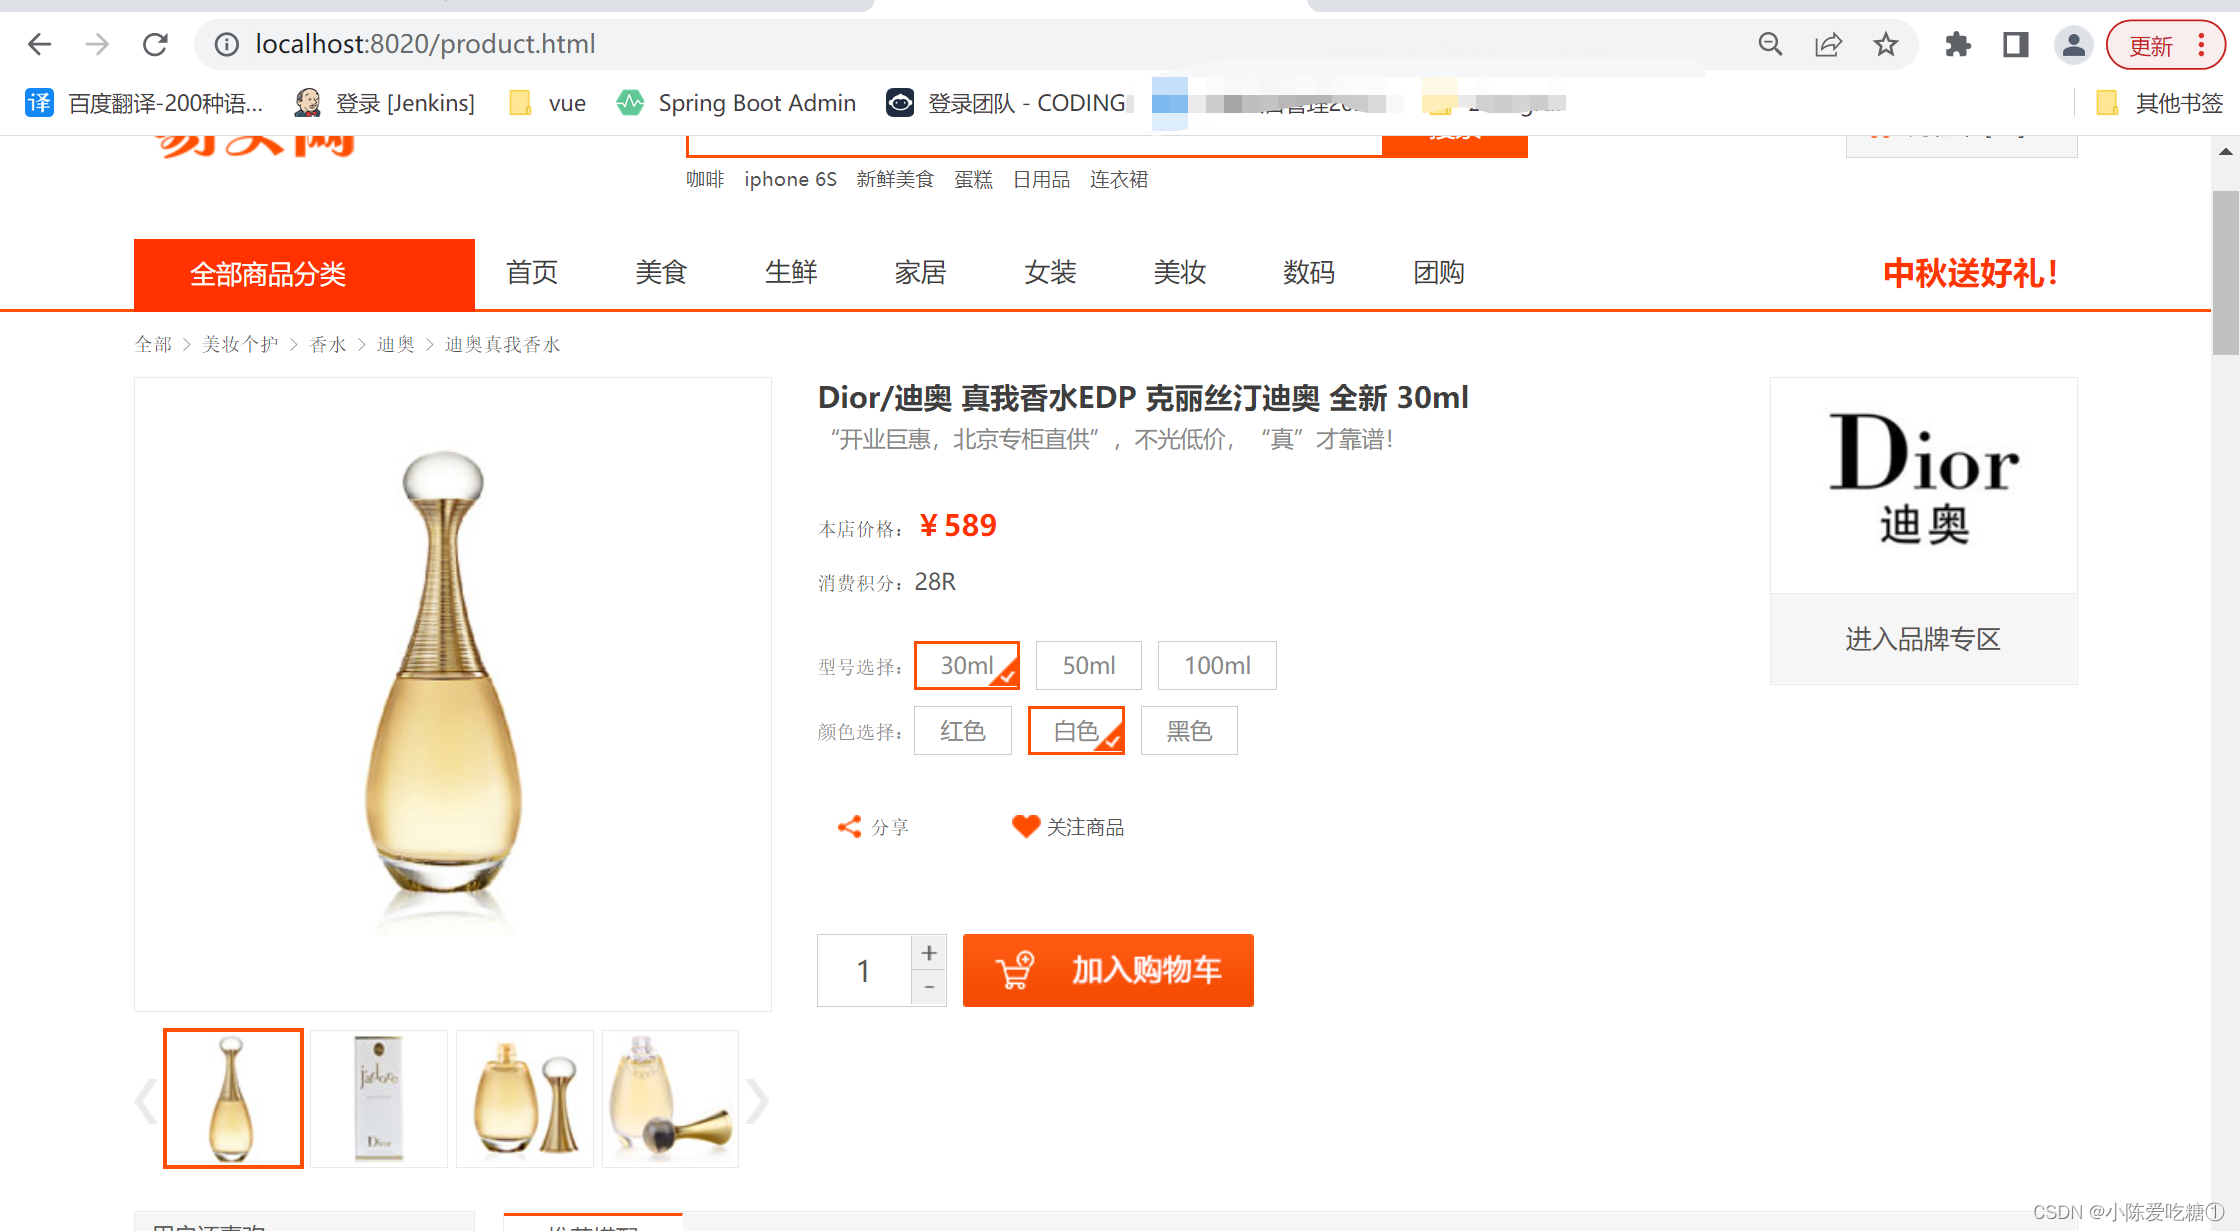
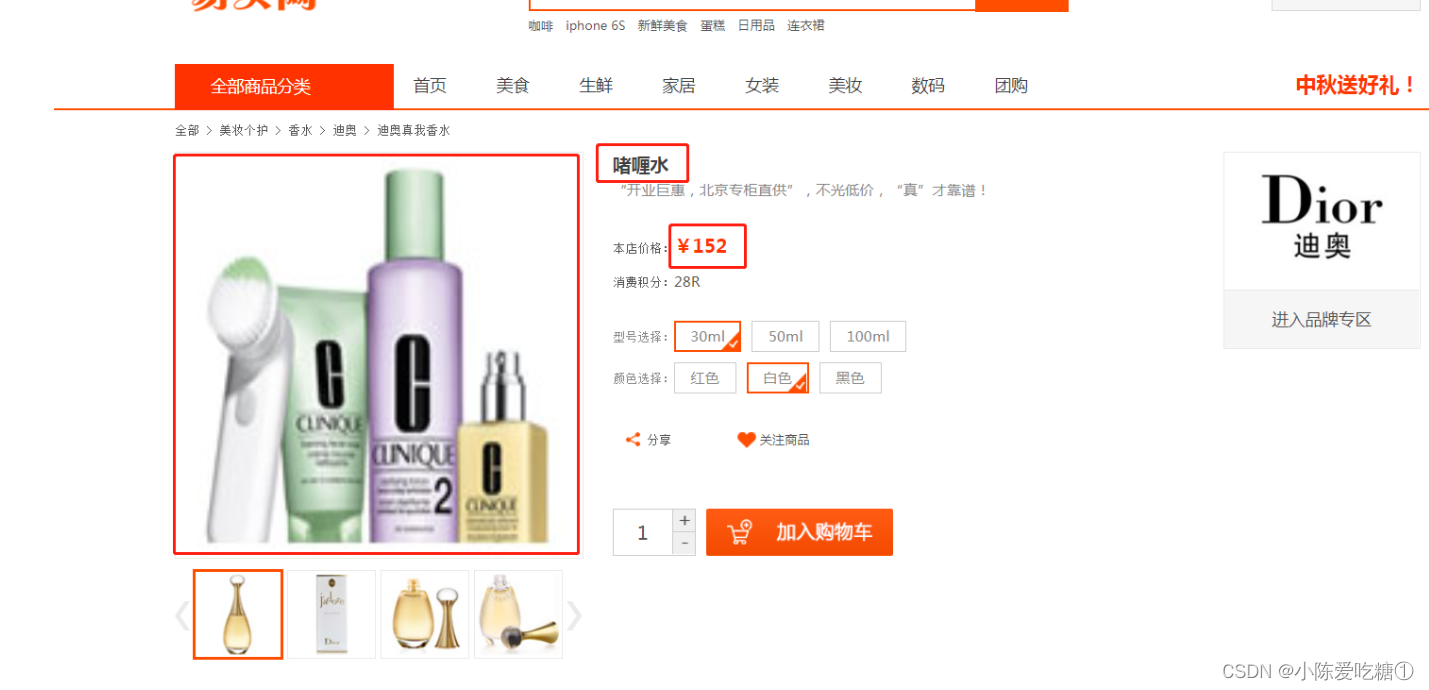
<div class="pro_des">
<div class="des_name">
<p>${(product.name)!}</p>
“开业巨惠,北京专柜直供”,不光低价,“真”才靠谱!
</div>
<div class="des_price">
本店价格:<b>¥${(product.price)}</b><br />
消费积分:<span>28R</span>
</div>
<div class="des_choice">
<span class="fl">型号选择:</span>
<ul>
<li class="checked">30ml<div class="ch_img"></div></li>
<li>50ml<div class="ch_img"></div></li>
<li>100ml<div class="ch_img"></div></li>
</ul>
</div>
<div class="des_choice">
<span class="fl">颜色选择:</span>
<ul>
<li>红色<div class="ch_img"></div></li>
<li class="checked">白色<div class="ch_img"></div></li>
<li>黑色<div class="ch_img"></div></li>
</ul>
</div>
<div class="des_share">
<div class="d_sh">
分享
<div class="d_sh_bg">
<a href="#"><img src="images/sh_1.gif" /></a>
<a href="#"><img src="images/sh_2.gif" /></a>
<a href="#"><img src="images/sh_3.gif" /></a>
<a href="#"><img src="images/sh_4.gif" /></a>
<a href="#"><img src="images/sh_5.gif" /></a>
</div>
</div>
<div class="d_care"><a onclick="ShowDiv('MyDiv','fade')">关注商品</a></div>
</div>
<div class="des_join">
<div class="j_nums">
<input type="text" value="1" name="" class="n_ipt" />
<input type="button" value="" onclick="addUpdate(jq(this));" class="n_btn_1" />
<input type="button" value="" onclick="jianUpdate(jq(this));" class="n_btn_2" />
</div>
<span class="fl"><a onclick="ShowDiv_1('MyDiv1','fade1')"><img src="images/j_car.png" /></a></span>
</div>
</div>
<div class="s_brand">
<div class="s_brand_img"><img src="images/sbrand.jpg" width="188" height="132" /></div>
<div class="s_brand_c"><a href="#">进入品牌专区</a></div>
</div>
</div>效果图:

三、SpringBoot整合微服务&gateway&nginx
gateway
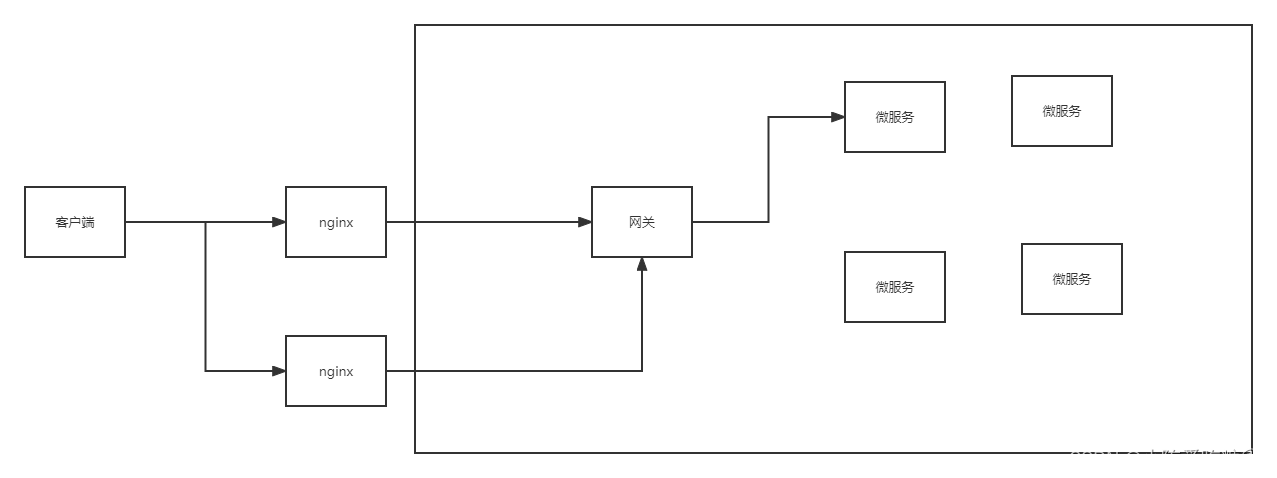
整合微服务之商品服务zmall-product
在公共模块zmall-common中导入微服务相关依赖
<!--nacos客户端-->
<dependency>
<groupId>com.alibaba.cloud</groupId>
<artifactId>spring-cloud-starter-alibaba-nacos-discovery</artifactId>
</dependency>
<!--fegin组件-->
<dependency>
<groupId>org.springframework.cloud</groupId>
<artifactId>spring-cloud-starter-openfeign</artifactId>
</dependency>
<!--nacos配置中心-->
<dependency>
<groupId>com.alibaba.cloud</groupId>
<artifactId>spring-cloud-starter-alibaba-nacos-config</artifactId>
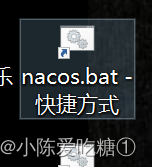
</dependency>启动nacos(该快捷方式在之前的博客中有提到怎么设置的)
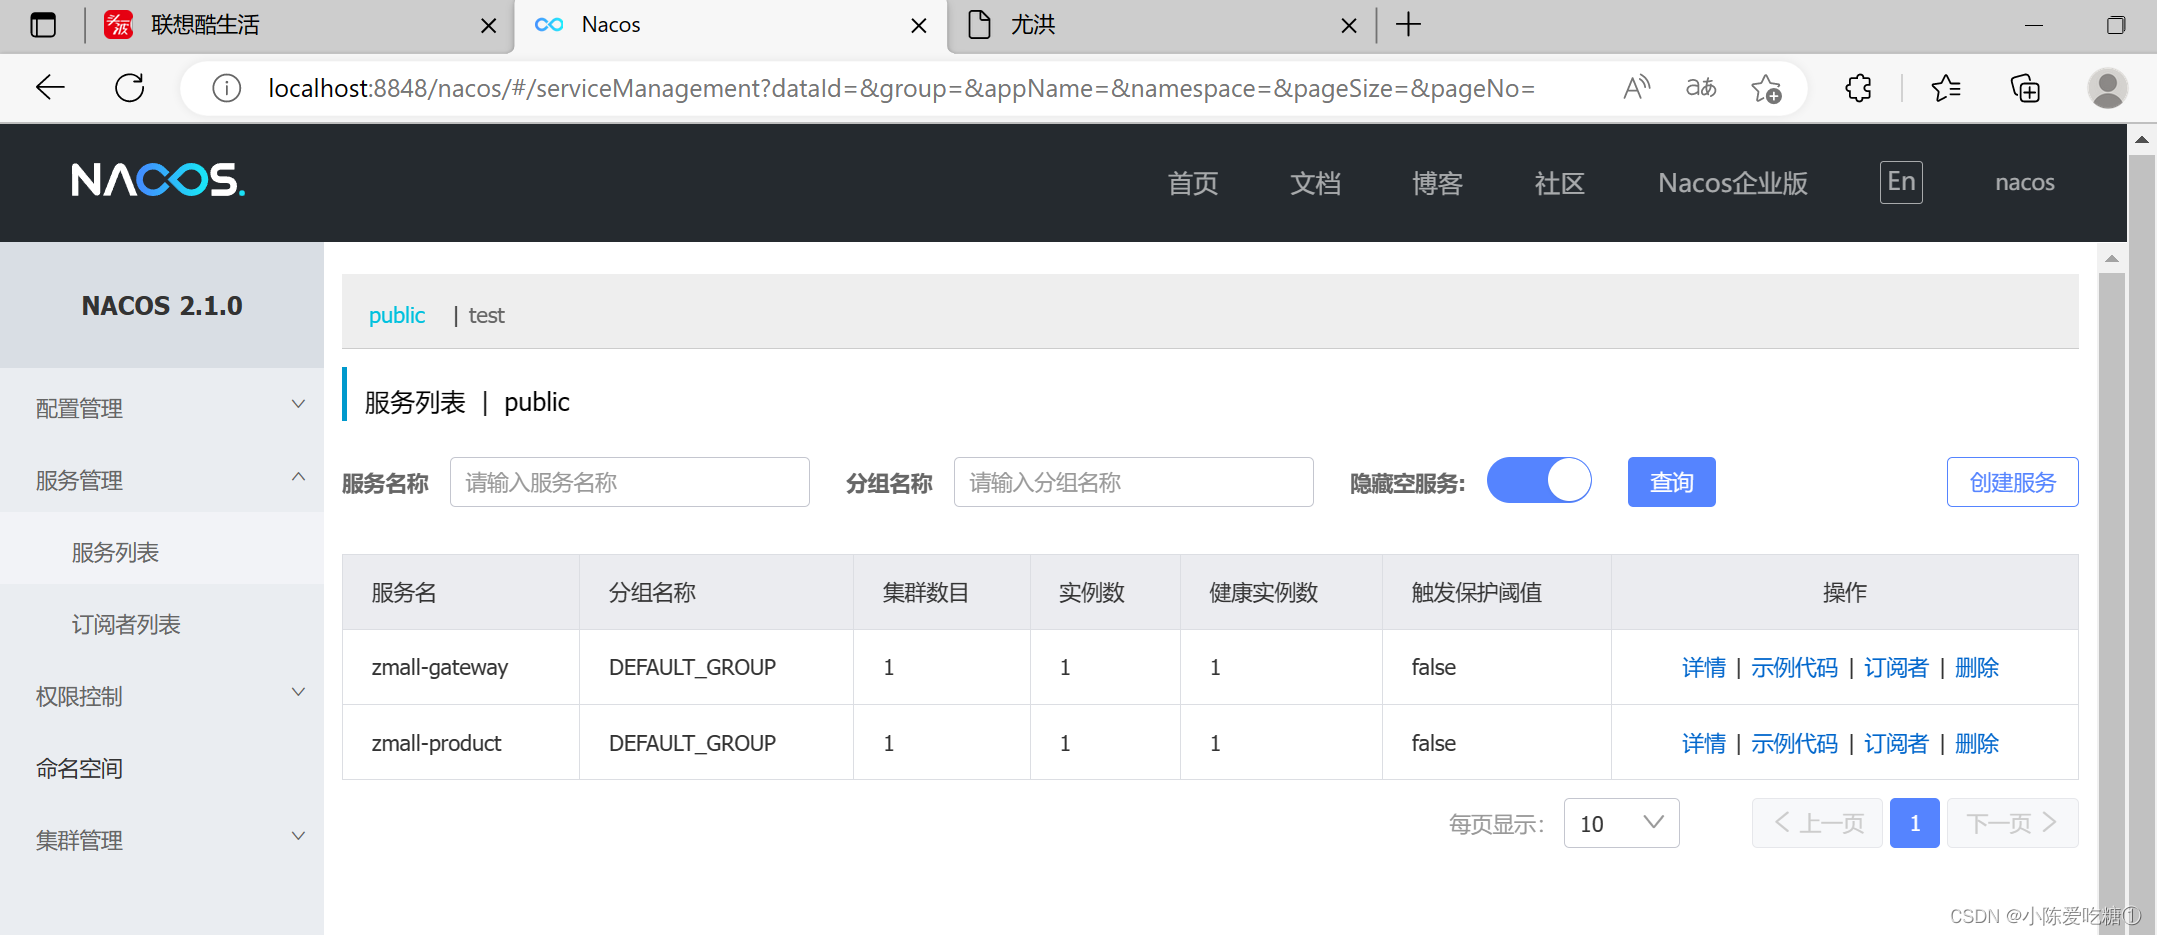
访问

配置商品服务模块zmall-product的application.yml文件
spring:
  application:
    name: zmall-product
  cloud:
    nacos:
      discovery:
        server-addr: localhost:8848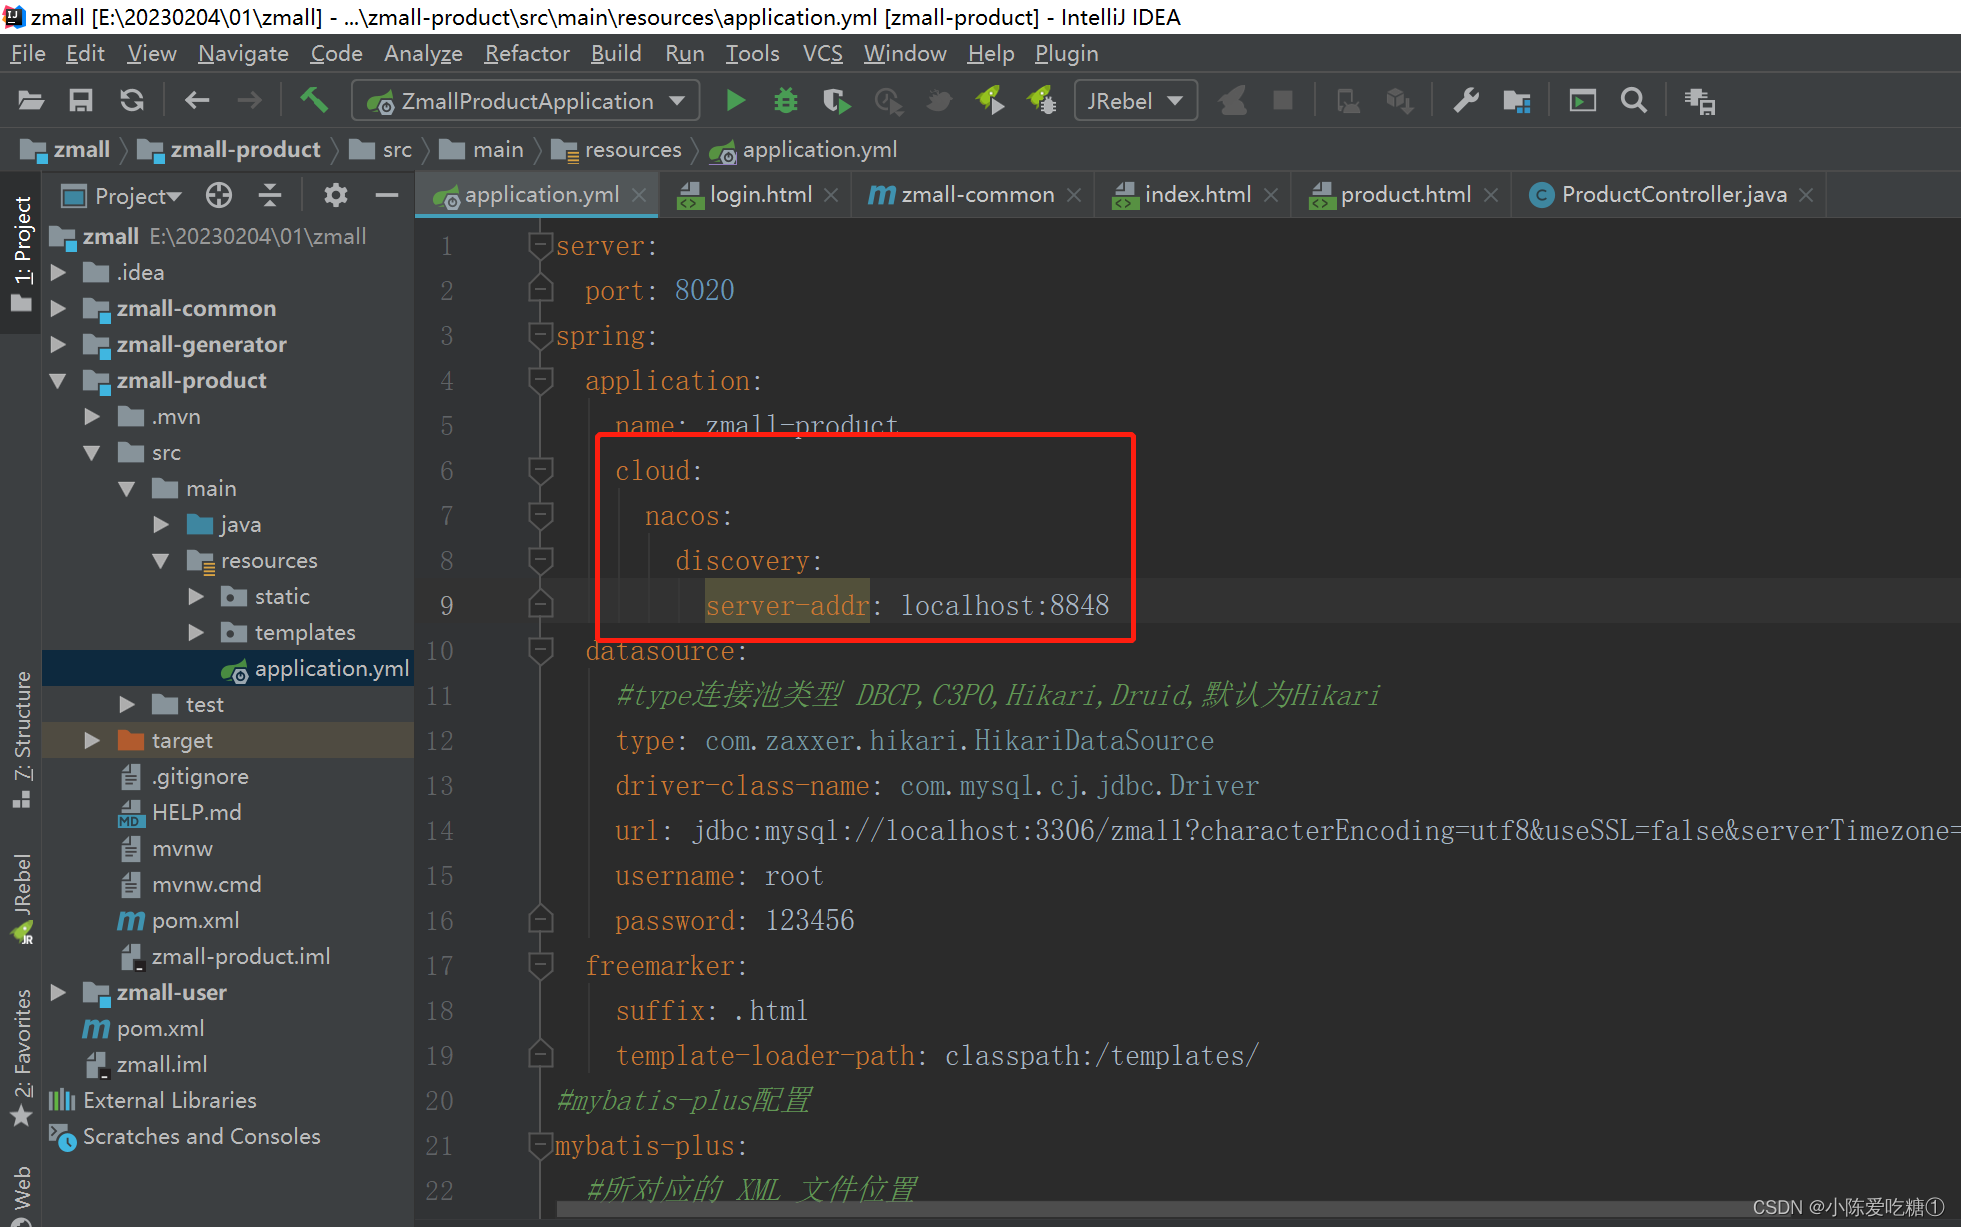
修改启动类,向nacos进行注册
package com.zking.zmall;

import org.mybatis.spring.annotation.MapperScan;
import org.springframework.boot.SpringApplication;
import org.springframework.boot.autoconfigure.SpringBootApplication;
import org.springframework.cloud.client.discovery.EnableDiscoveryClient;

@EnableDiscoveryClient
@SpringBootApplication
@MapperScan({"com.zking.zmall.mapper"})
public class ZmallProductApplication {

    public static void main(String[] args) {
        SpringApplication.run(ZmallProductApplication.class, args);
    }

}
创建并配置网关gateway服务
1.基于Spring initializr方式创建网关模块zmall-gateway
并且将网关模块zmall-gateway和父模块进行关联

2.配置pom.xml添加nacos和gateway的依赖
<modelVersion>4.0.0</modelVersion>
<parent>
        <groupId>com.zking.zmall</groupId>
        <artifactId>zmall</artifactId>
        <version>1.0-SNAPSHOT</version>
    </parent>
<artifactId>zmall-gateway</artifactId>
<dependencies>
    <!--gateway 注意 此模式不能引入starter-web -->
    <dependency>
        <groupId>org.springframework.cloud</groupId>
        <artifactId>spring-cloud-starter-gateway</artifactId>
    </dependency>

    <!--nacos客户端-->
    <dependency>
        <groupId>com.alibaba.cloud</groupId>
        <artifactId>spring-cloud-starter-alibaba-nacos-discovery</artifactId>
    </dependency>

    <dependency>
        <groupId>org.projectlombok</groupId>
        <artifactId>lombok</artifactId>
    </dependency>

    <dependency>
        <groupId>org.apache.commons</groupId>
        <artifactId>commons-lang3</artifactId>
    </dependency>
</dependencies>
此时网关模块的pom依赖
<?xml version="1.0" encoding="UTF-8"?>
<project xmlns="http://maven.apache.org/POM/4.0.0" xmlns:xsi="http://www.w3.org/2001/XMLSchema-instance"
         xsi:schemaLocation="http://maven.apache.org/POM/4.0.0 https://maven.apache.org/xsd/maven-4.0.0.xsd">
    <modelVersion>4.0.0</modelVersion>
    <parent>
        <groupId>com.zking.zmall</groupId>
        <artifactId>zmall</artifactId>
        <version>1.0-SNAPSHOT</version>
    </parent>
    <groupId>com.zking</groupId>
    <artifactId>zmall-gateway</artifactId>

    <dependencies>
        <!--gateway 注意 此模式不能引入starter-web -->
        <dependency>
            <groupId>org.springframework.cloud</groupId>
            <artifactId>spring-cloud-starter-gateway</artifactId>
        </dependency>

        <!--nacos客户端-->
        <dependency>
            <groupId>com.alibaba.cloud</groupId>
            <artifactId>spring-cloud-starter-alibaba-nacos-discovery</artifactId>
        </dependency>

        <dependency>
            <groupId>org.projectlombok</groupId>
            <artifactId>lombok</artifactId>
        </dependency>

        <dependency>
            <groupId>org.apache.commons</groupId>
            <artifactId>commons-lang3</artifactId>
        </dependency>
    </dependencies>

</project>
3.修改启动类,向nacos进行注册
package com.zking.zmall;

import org.springframework.boot.SpringApplication;
import org.springframework.boot.autoconfigure.SpringBootApplication;
import org.springframework.cloud.client.discovery.EnableDiscoveryClient;

@EnableDiscoveryClient
@SpringBootApplication
public class ZmallGatewayApplication {

    public static void main(String[] args) {
        SpringApplication.run(ZmallGatewayApplication.class, args);
    }

}
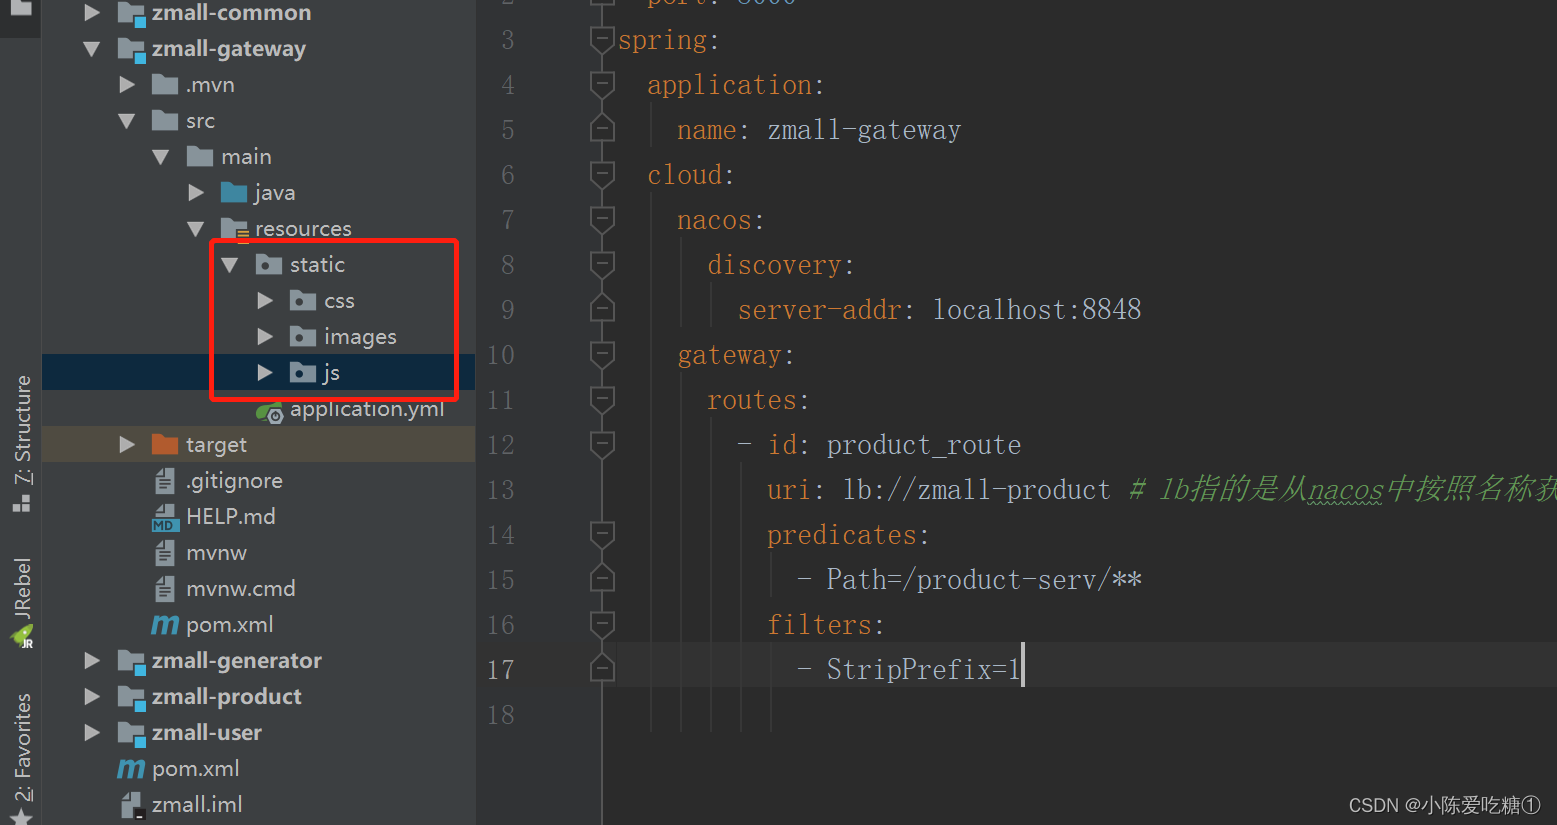
4.配置application.yml设置gateway路由转发规则
在gateway网关服务中配置一次易买网网页素材中的公共静态资源js/css/images前
在gateway网关服务中配置一次易买网网页素材中的公共静态资源js/css/images后

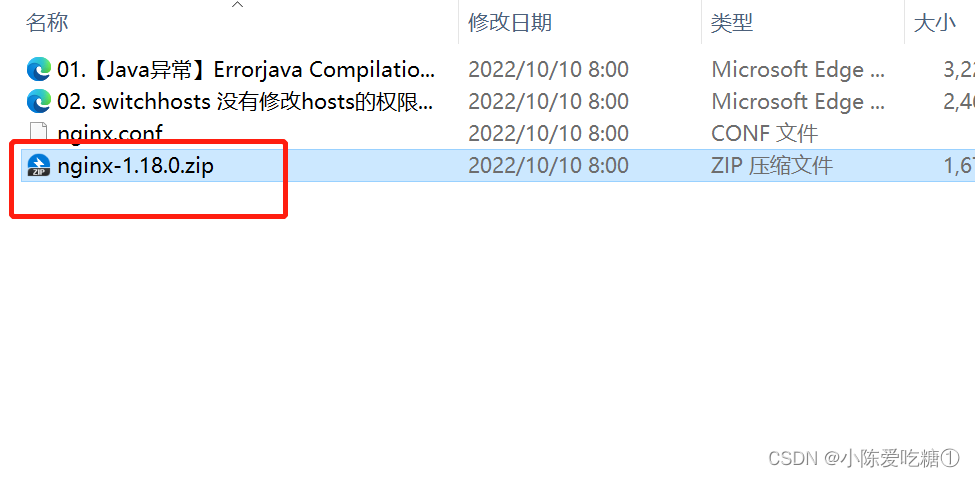
安装配置Windows版nginx
1.解压nginx-1.18.0.zip至任意目录
下载安装包
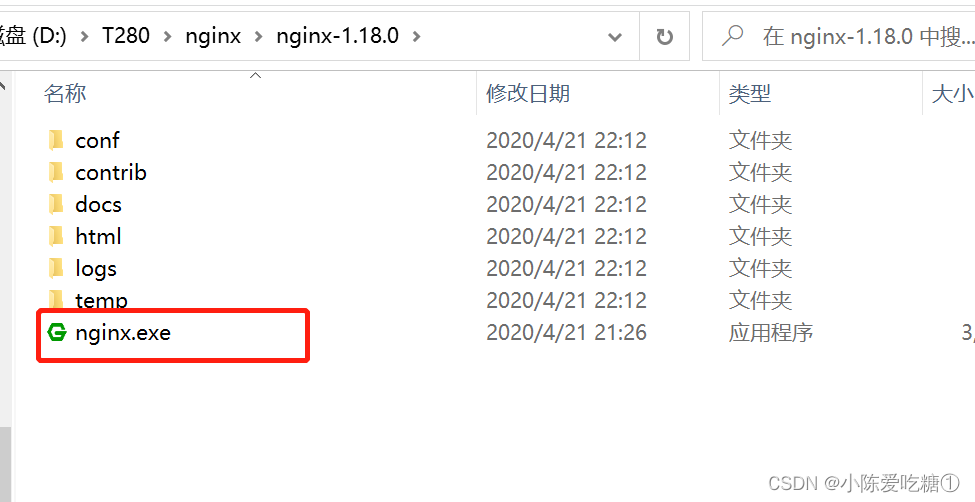
双击 以上红框 就可以访问到nginx了

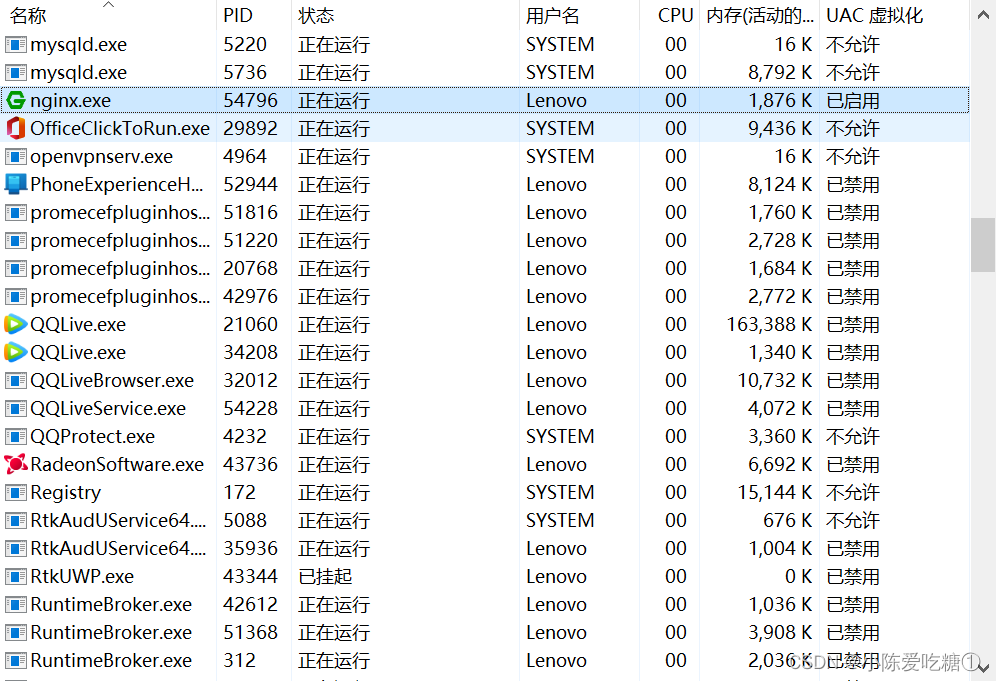
确保nginx是能用的 然后关掉进程 进行配置
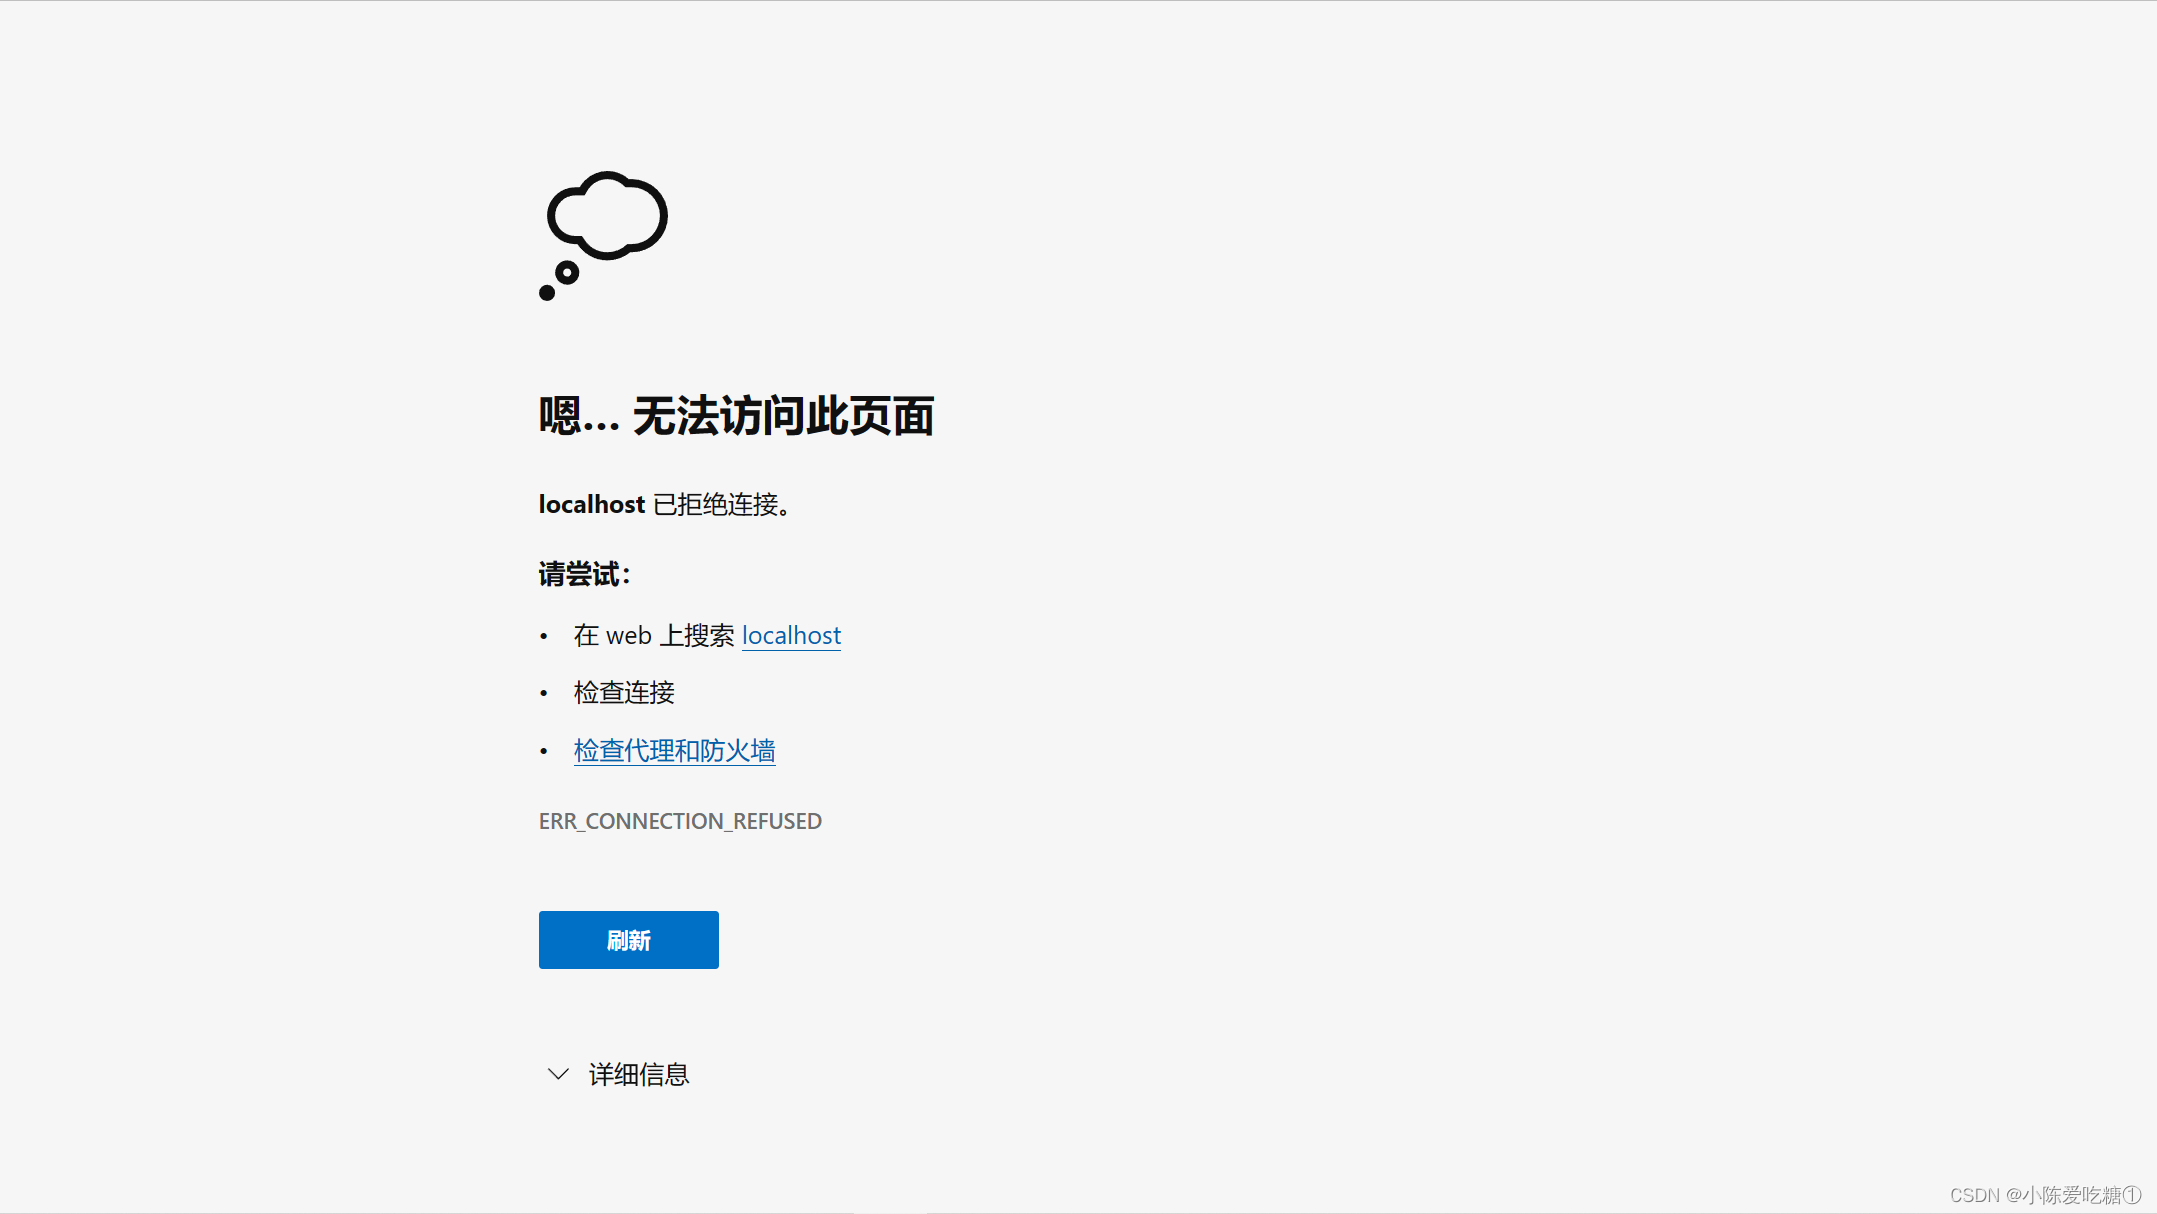
此时就访问不到了
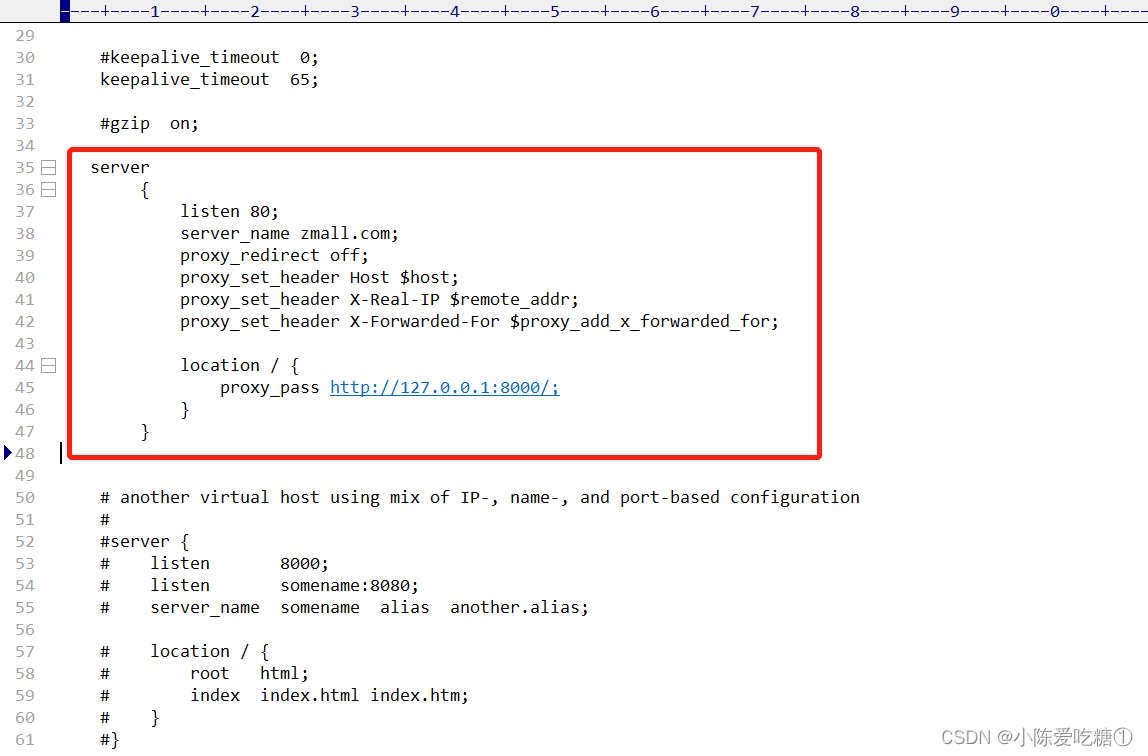
2.进入conf目录,并修改nginx.conf配置文件
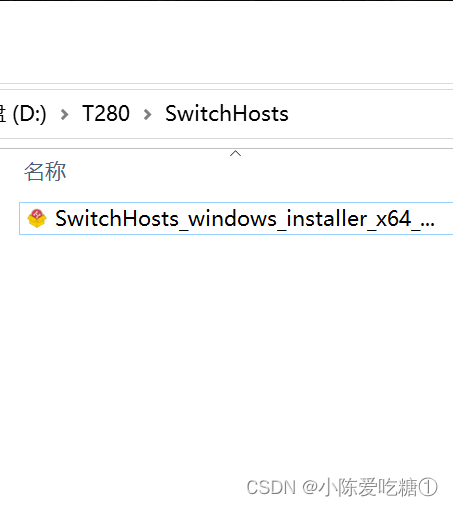
安装配置SwitchHosts
1.直接双击exe文件即可安装SwitchHosts
桌面就有这个
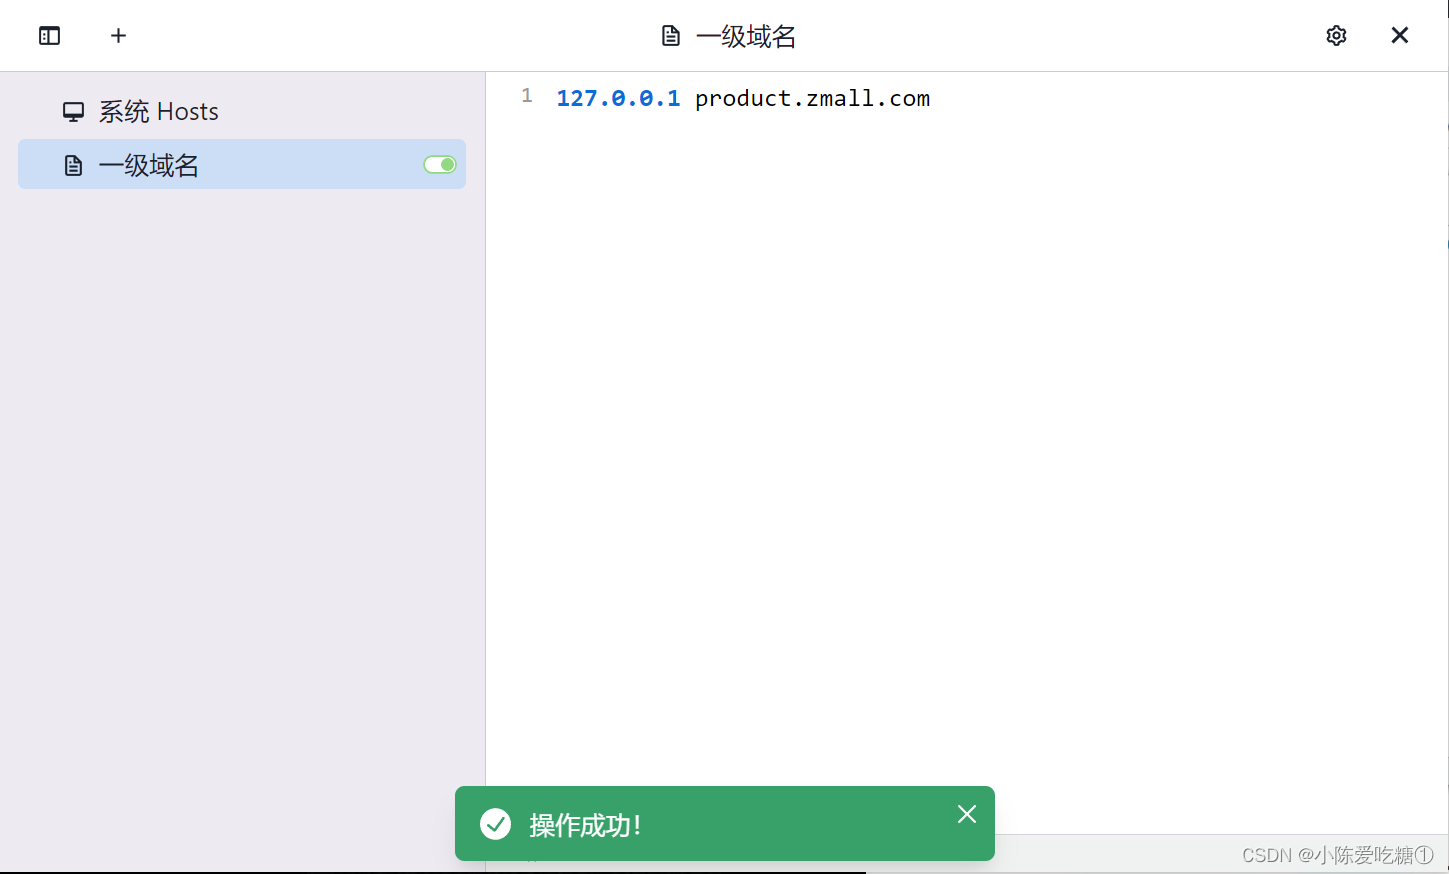
2. 打开SwitchHosts设置一级域名
出现这种情况
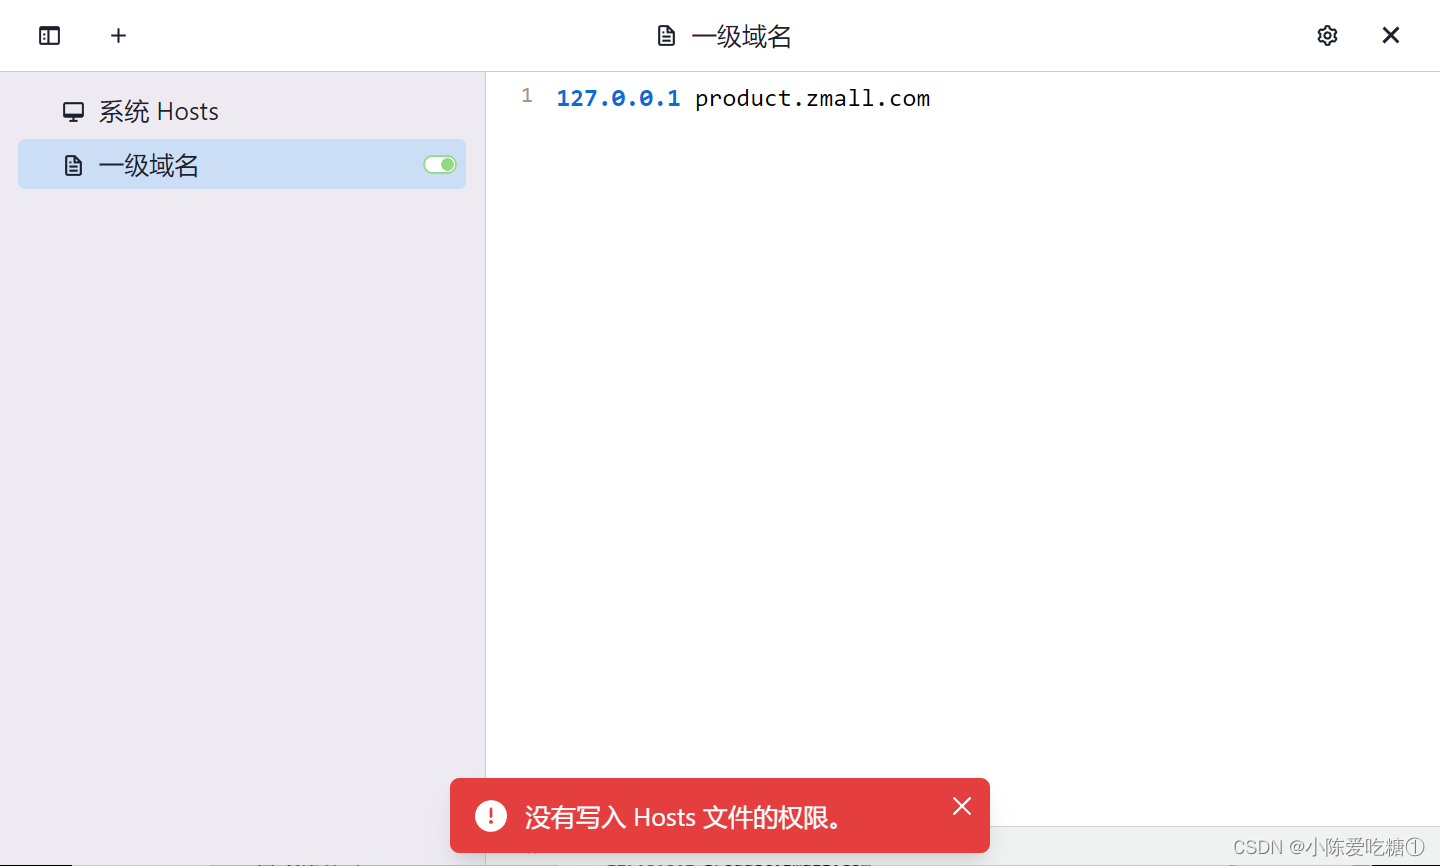
就用管理员身份运行

再次启动nginx(最后运行nginx根目录下的nginx.exe启动nginx )
如果出现IIS7,那么cmd窗口中执行下列指令

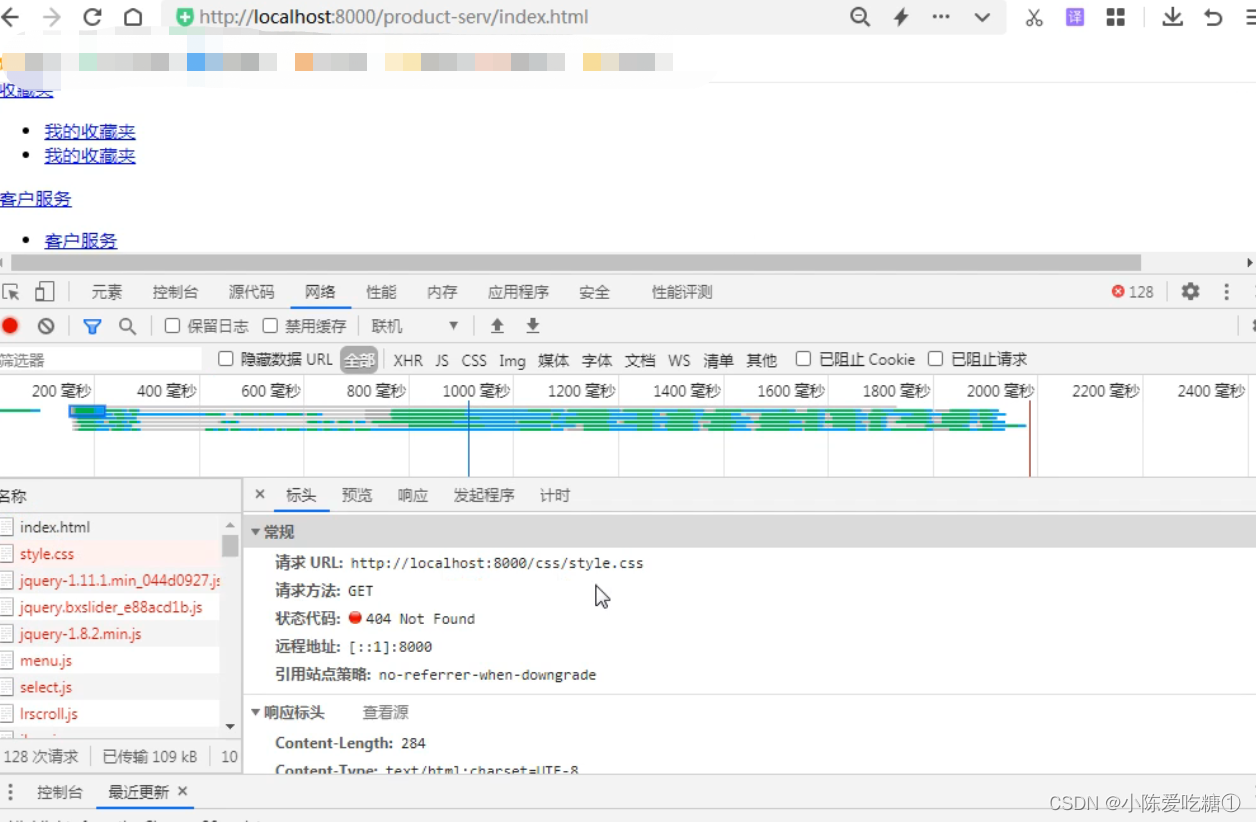
单独访问商品服务
通过gateway访问

通过nginx访问


