Spring Boot自动装配
1. 自动装配的原理
自动装配字面意思理解就是将Bean自动装配到IOC容器中,自动装配是Spring Boot的核心功能。我们可以通过Spring Boot整合redis的例子了解自动装配。
- 引入依赖:
        <dependency>
            <groupId>org.springframework.boot</groupId>
            <artifactId>spring-boot-starter-data-redis</artifactId>
        </dependency>
- 在application.properties中配置redis的数据源参数:
spring.redis.host = 127.0.0.1
spring.redis.port = 6379
- 在HelloServer中使用RedisTemplate实现对redis的操作:
@Service
public class HelloServer {

    @Autowired
    private RedisTemplate<String,String> redisTemplate;

    public String hello(){
        String hello = redisTemplate.opsForValue().get("hello");
        return hello;
    }
}
上面的例子,我们可以看出,我们并没有通过XML或注解的形式将RedisTemplate注入IOC容器中,却可以在HelloServer中用@Autowired注入RedisTemplate的实例,这说明容器中已经有了RedisTemplate实例,我们只是在配置文件中配置了host和port,这就是自动装配,也是Spring Boot的核心细想:约定大于配置
1.1自动装配的实现
1.1.1@EnableAutoConfiguration
自动装配在Spring Boot中是通过@EnableAutoConfiguration注解开启的,这个注解的声明在启动类注解SpringBootApplocation内。
进入SpringBootApplocation,可以看到@EnableAutoConfiguration的注解声明。
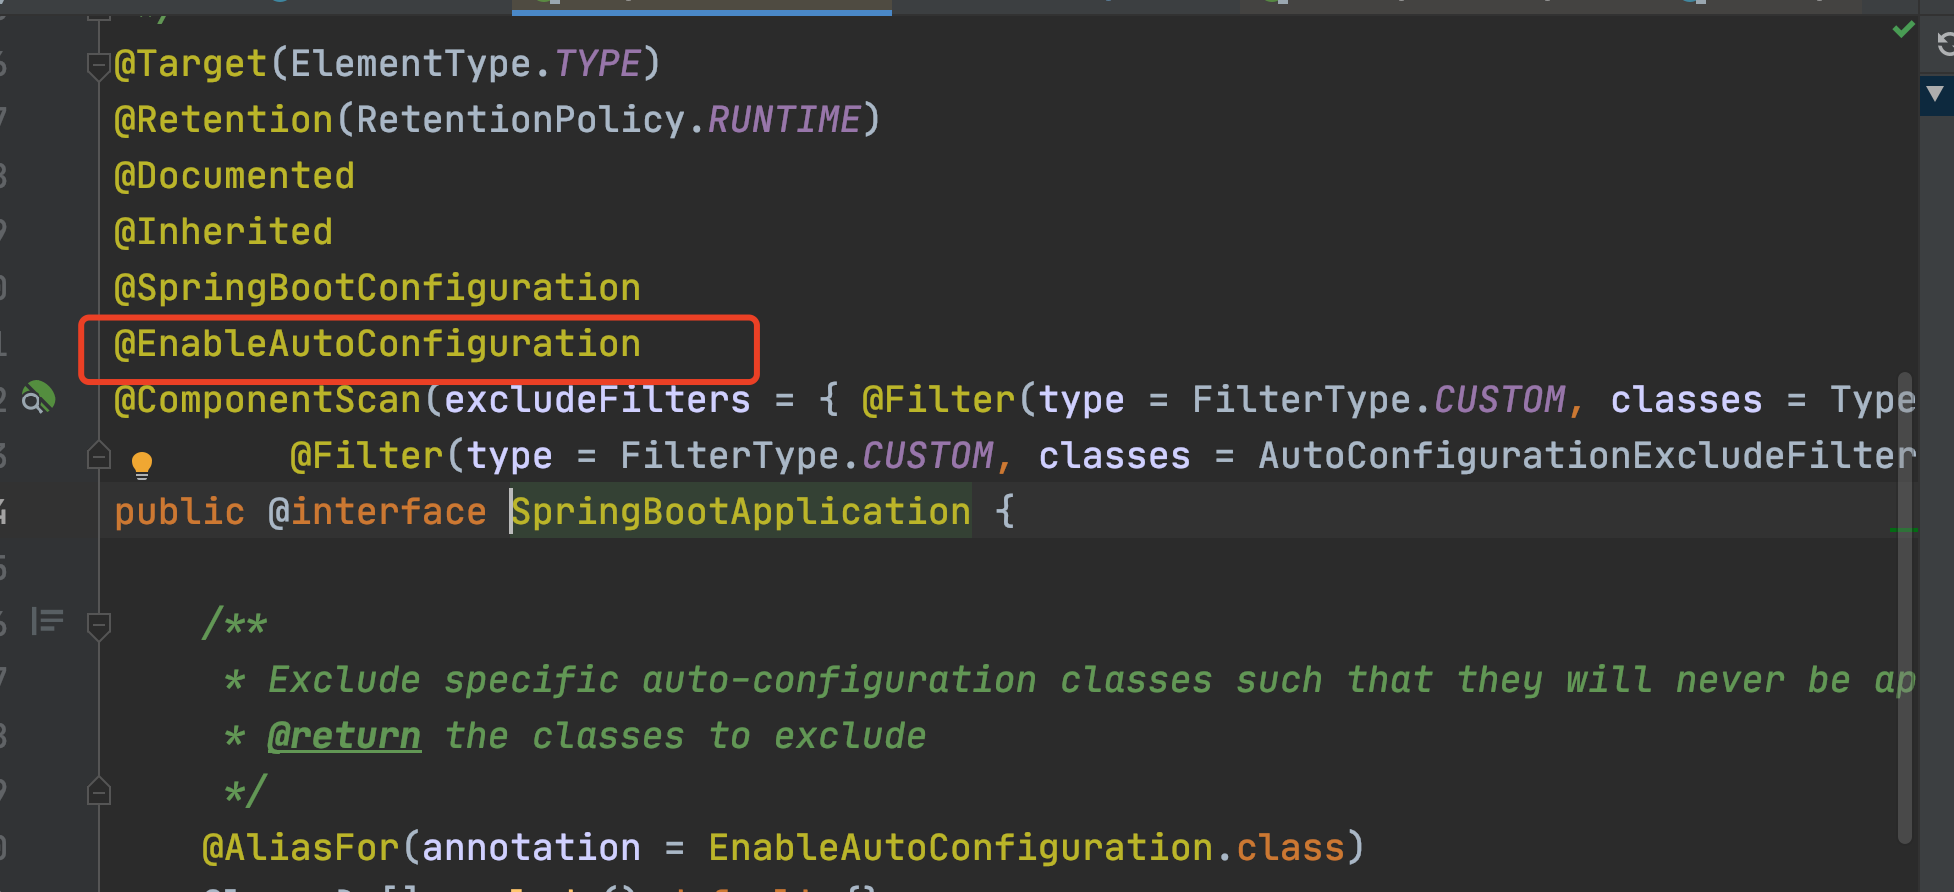
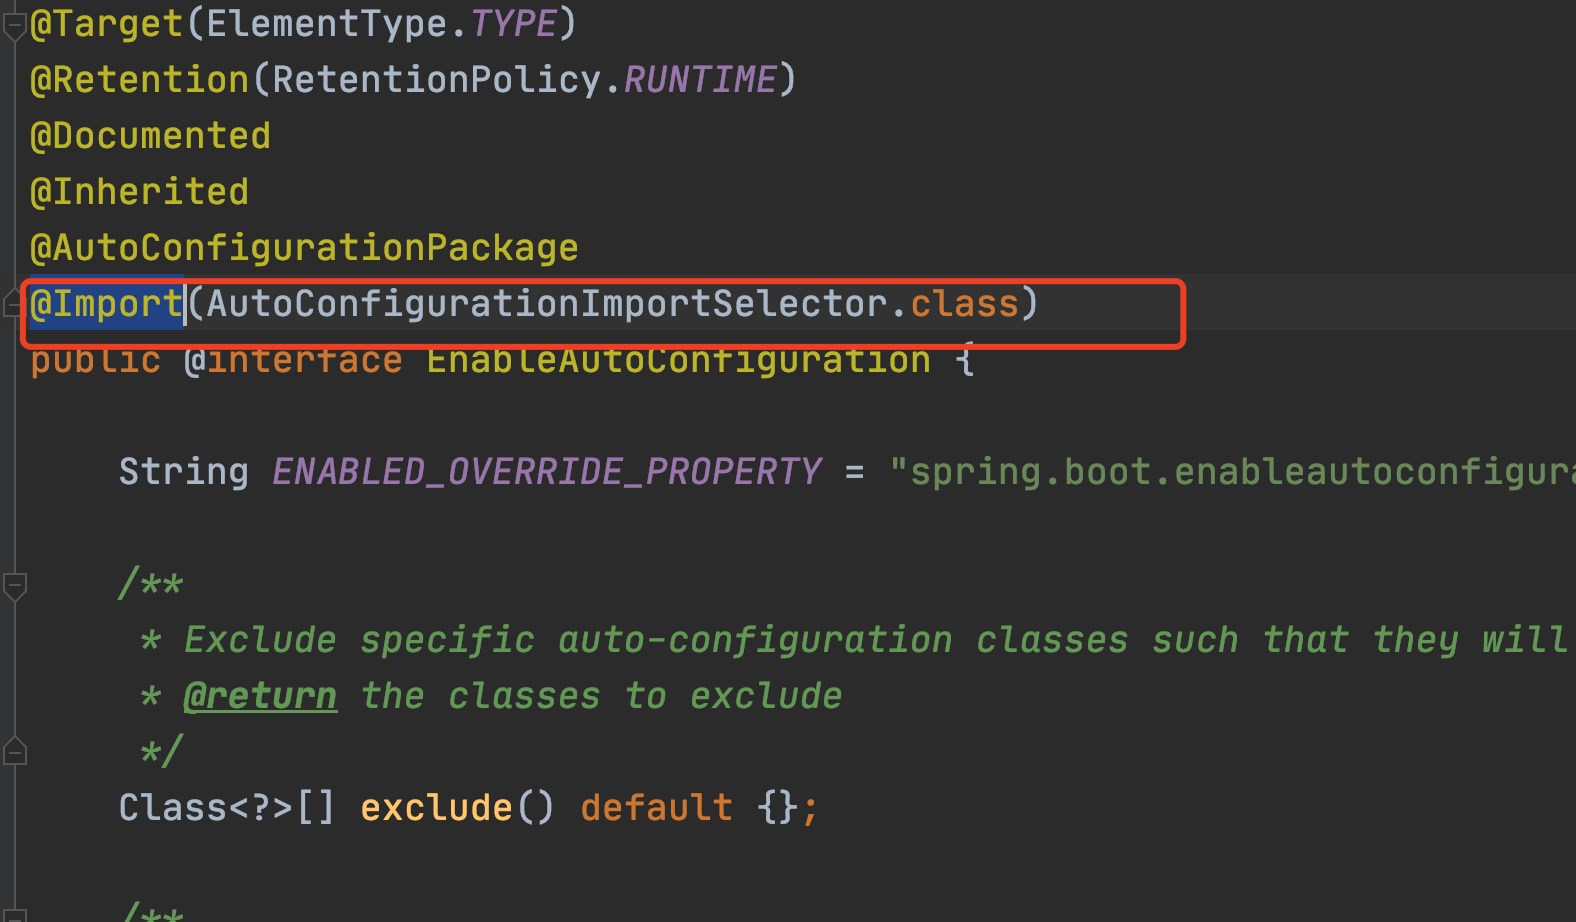
进入@EnableAutoConfiguration,可以看到@Import、AutoConfigurationPackage(使用该注解的类所在的包和子包下所有组件扫描到IOC容器中)的注解声明。
@Import导入了一个AutoConfigurationImportSelector类,我们会根据他的名字猜想一下,应该和自动注入有关,我们接着往下看。
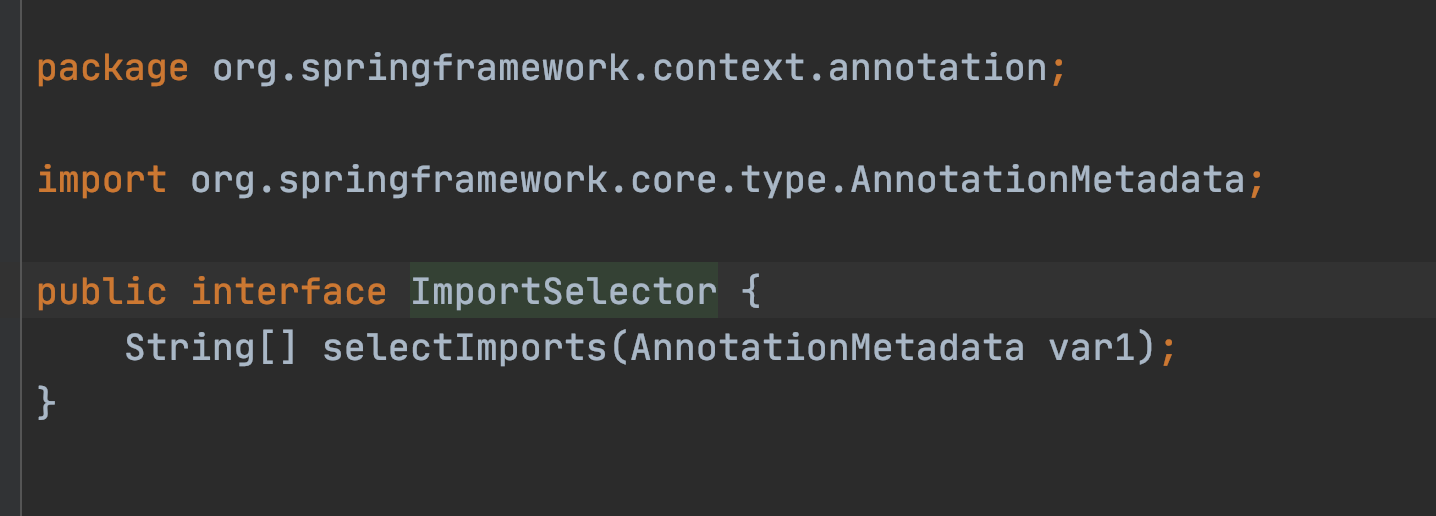
1.1.2 AutoConfigurationImportSelector
AutoConfigurationImportSelector 实现了ImportSelector,ImportSelector有一个返回字符串数组的方法,我们大胆猜想一下,这个数组是不是就是要注入容器的类的名称呢?
我们可以通过一个简单的例子了解一下ImportSelector。
- 创建两个类,我们要把把他们注入容器。
/**
 * @className: com.xd.learn.basic.boot-> TestOne
 * @description:
 * @author: lxd
 * @createDate: 2022-03-05 11:10 下午
 * @version: 1.0
 */
public class TestOne {
}
/**
 * @className: com.xd.learn.basic.boot-> TestTwo
 * @description:
 * @author: lxd
 * @createDate: 2022-03-05 11:10 下午
 * @version: 1.0
 */
public class TestTwo {
}
- 自定义一个ImportSelector的实现类XdImportSelector。
/**
 * @className: com.xd.learn.basic.boot-> XdImportSelector
 * @description:
 * @author: lxd
 * @createDate: 2022-03-05 11:11 下午
 * @version: 1.0
 */
public class XdImportSelector implements ImportSelector {
    @Override
    public String[] selectImports(AnnotationMetadata annotationMetadata) {
        return new String[]{TestOne.class.getName(),TestTwo.class.getName()};
    }
}
- 自定义一个注解@EnableAutoImport,通过Import导入自定义实现类XdImportSelector。
/**
 * @className: com.xd.learn.basic.boot-> EnableAutoImport
 * @description:
 * @author: lxd
 * @createDate: 2022-03-05 11:12 下午
 * @version: 1.0
 */
@Target(ElementType.TYPE)
@Retention(RetentionPolicy.RUNTIME)
@Documented
@Inherited
@AutoConfigurationPackage
@Import(XdImportSelector.class)
public @interface EnableAutoImport {
}
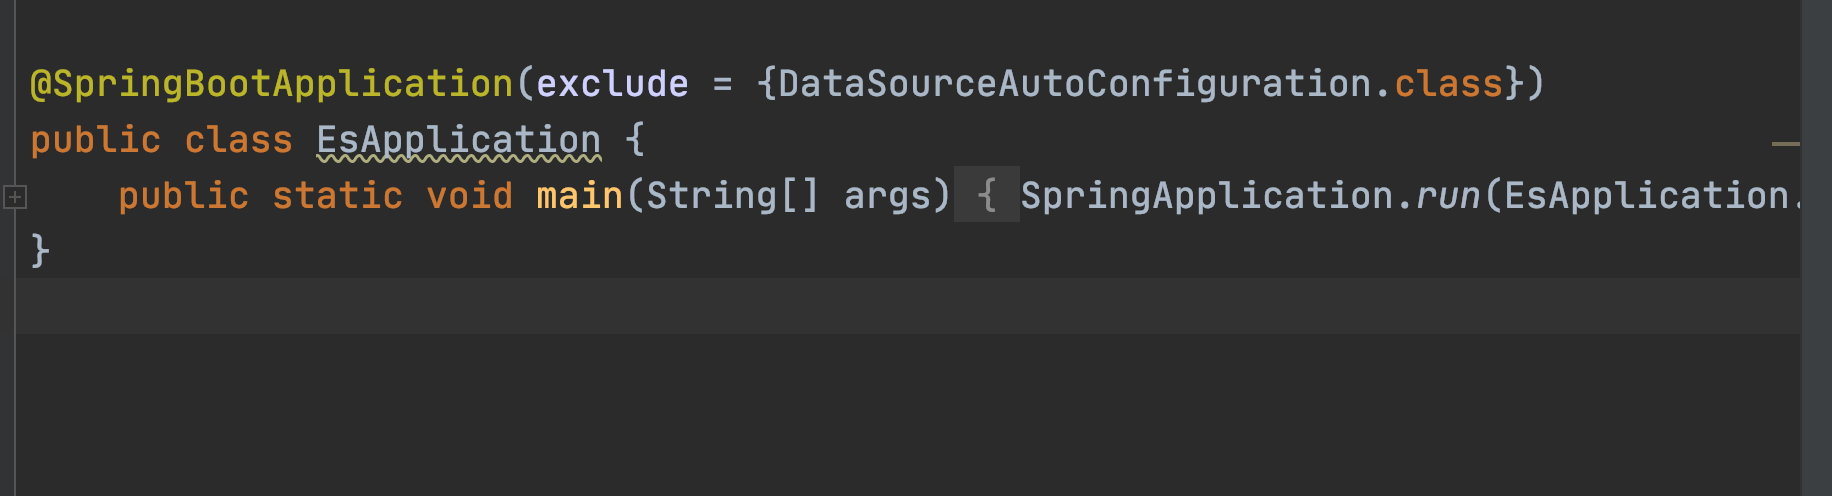
- 创建一个启动类,在启动类上使用@EnableAutoImport注解,即可通过run.getBean从容器中获取到对象。
@SpringBootApplication
@EnableAutoImport
public class EsApplication {
    public static void main(String[] args) {

        ConfigurableApplicationContext run = SpringApplication.run(EsApplication.class, args);
        TestOne testOne = (TestOne)run.getBean("TestOne");
    }
}
1.2自动装配原理分析
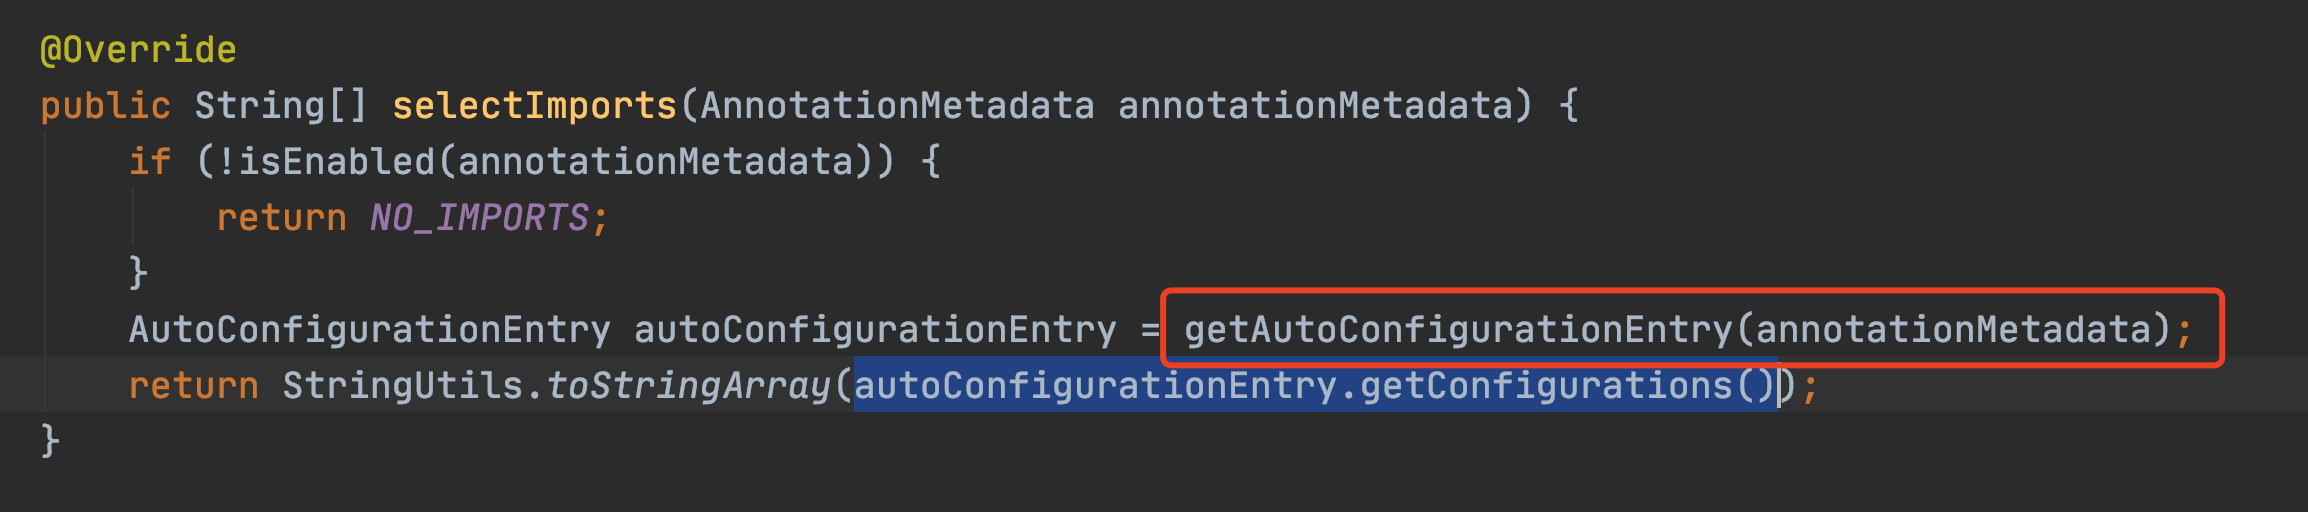
通过上面的例子,我们定位到了问题的关键AutoConfigurationImportSelector的实现方法selectImport,它主要有两个功能
- AutoConfigurationMetadataLoader.loadMetadata(classLoader)从META-INF中记载满族条件的元数据;
- autoConfigurationEntry.getConfigurations(),搜集所有符合条件的配置类完成自动装配
至此,自动装配的原理基本上及分析完了,简单总结一下核心流程
- 通过@Import(AutoConfigurationImportSelector)实现配置类的导入;
- AutoConfigurationImportSelector实现了ImportSelector的接口,用于实现选择性批量配置类的装配;
- 通过Spring提供的SpringFactoriesLoader机制,扫描classpath路径下的META-INF/spring.factories,读取需要实现的的自动配置类;
- 通过条件筛选的方式,把不符合条件的配置类移除,最终完成自动状态


