前言
自从用了 Win10,当开机的时候时不时会被惊艳到,有些推荐的背景图片真的很好看,比如下面这种:


1. 手动找到现有的方法
然后就开始在网上找方法,怎么下载这些图片。然后的确有方法,就是去到一个神不知鬼不觉的文件目录:C:\Users\用户名\AppData\Local\Packages\Microsoft.Windows.ContentDeliveryManager_cw5n1h2txyewy\LocalState\Assets 然后看到一堆什么乱七八糟的文件,就是这些图片存在的地方。

这些壁纸应该都是 Win10 从微软服务器下载的,所以不同人的电脑壁纸不一样
这些文件都默认没有后缀名,然后我们把上面的文件增加 .jpg 的后缀才可以看到图片的庐山真面目,这里当然可以手动增加后缀名;
也可以把上诉文件复制到另一个位置,比如 E 盘的 Wallpaper 目录下,然后用 cmd 的批量重命名工具,输入以下命令:
ren E:\Wallpaper\* *.jpg
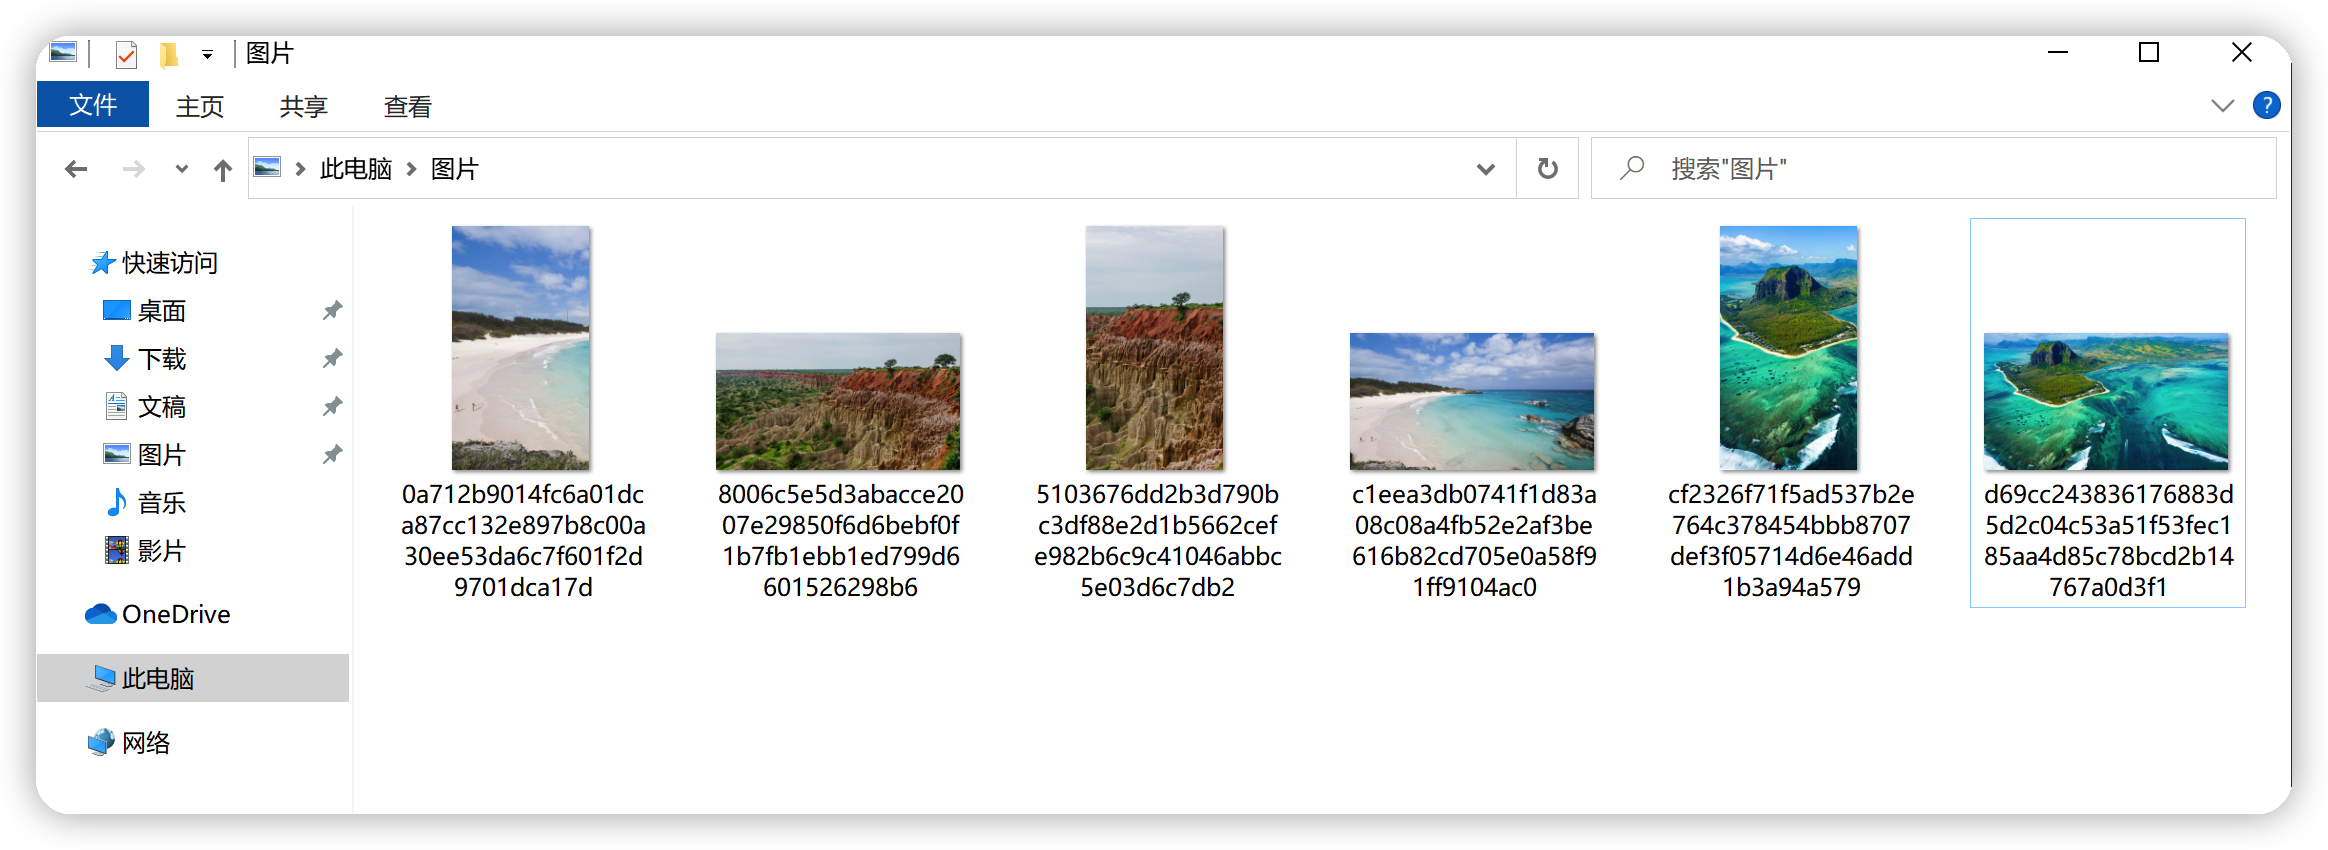
然后就能正确查看这些图片了。可以=看到图片有横版和竖版的,分别为电脑端和手机端:

你会看到,一般每个画面有两张壁纸,一张为 1920 * 1080 分辨率的横屏桌面壁纸,一张为 1080 * 1920 分辨率的竖屏手机桌面壁纸。
现在你就可以把这些图片用作其他电脑或手机的桌面壁纸了。
2. 使用 WIN + R 打开运行的方法
使用快捷键 WIN + R 打开如下的运行界面:
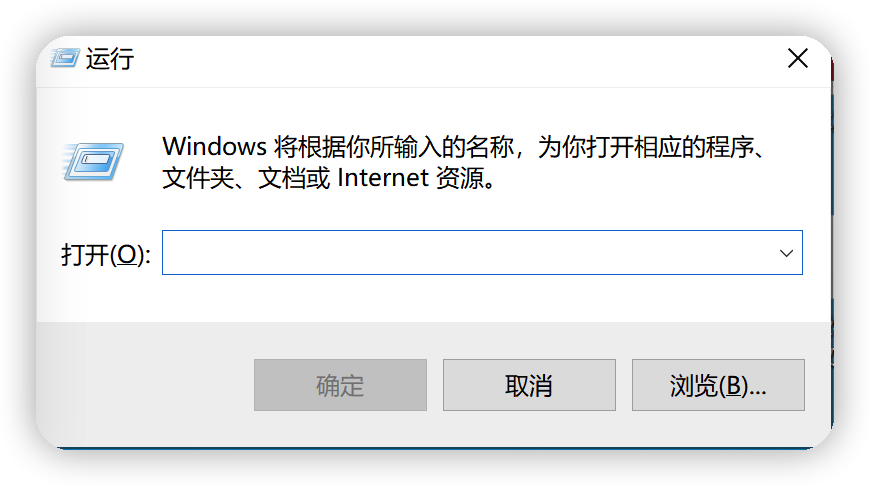
输入如下的值,快速打开我们的文件夹:
%localappdata%\Packages\Microsoft.Windows.ContentDeliveryManager_cw5n1h2txyewy\LocalState\Assets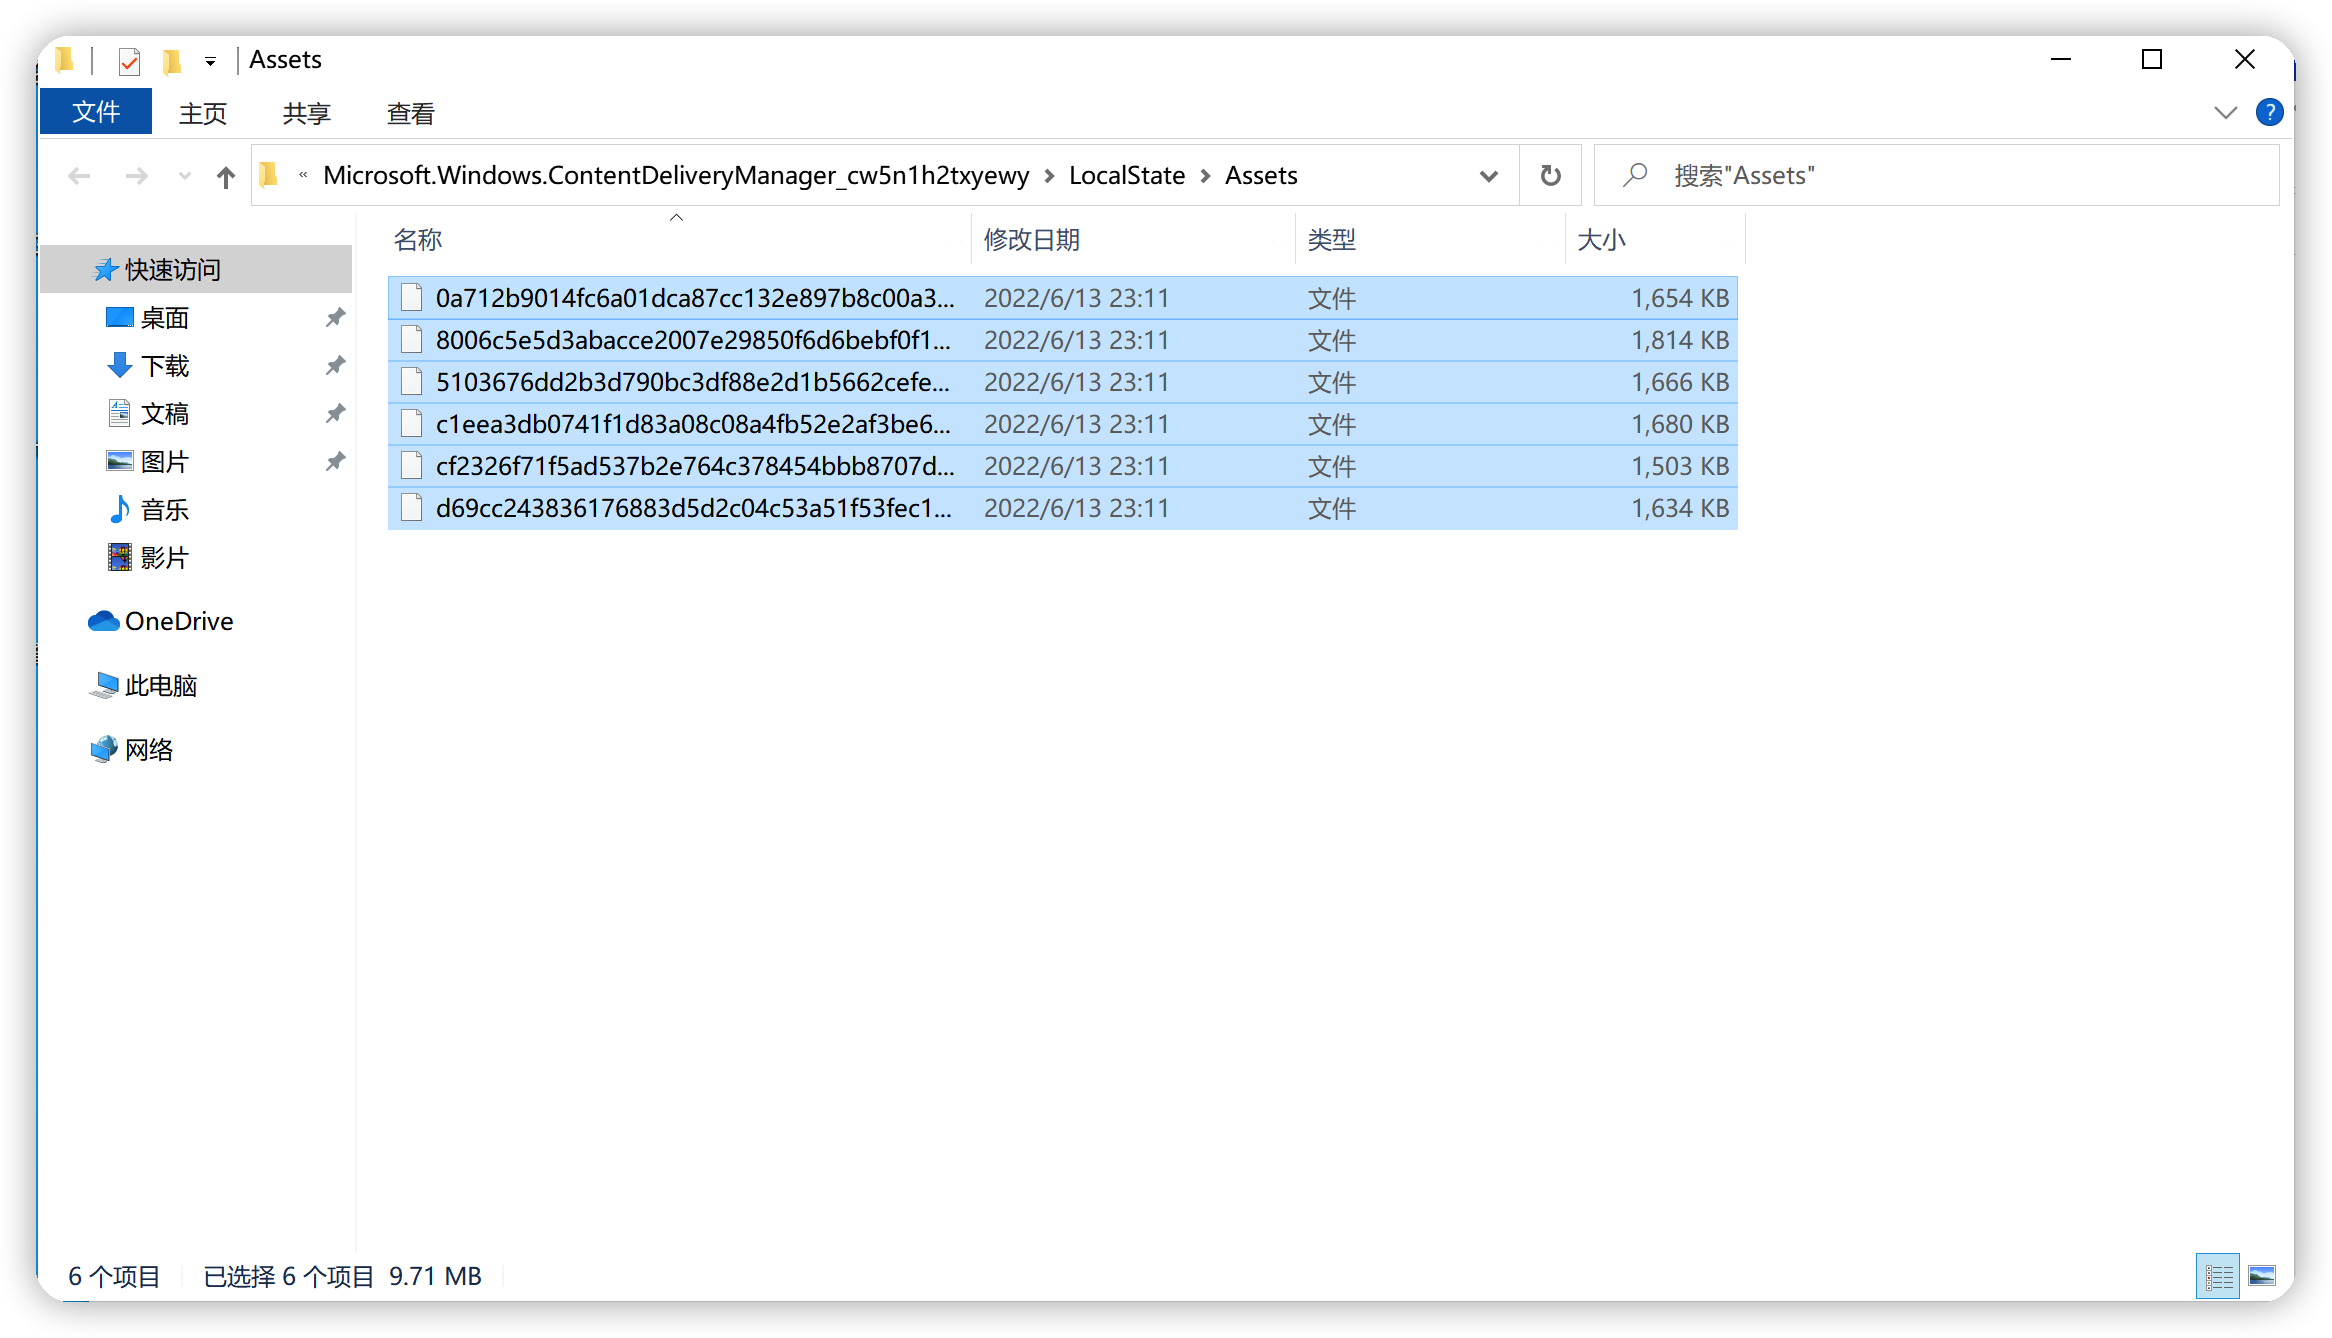
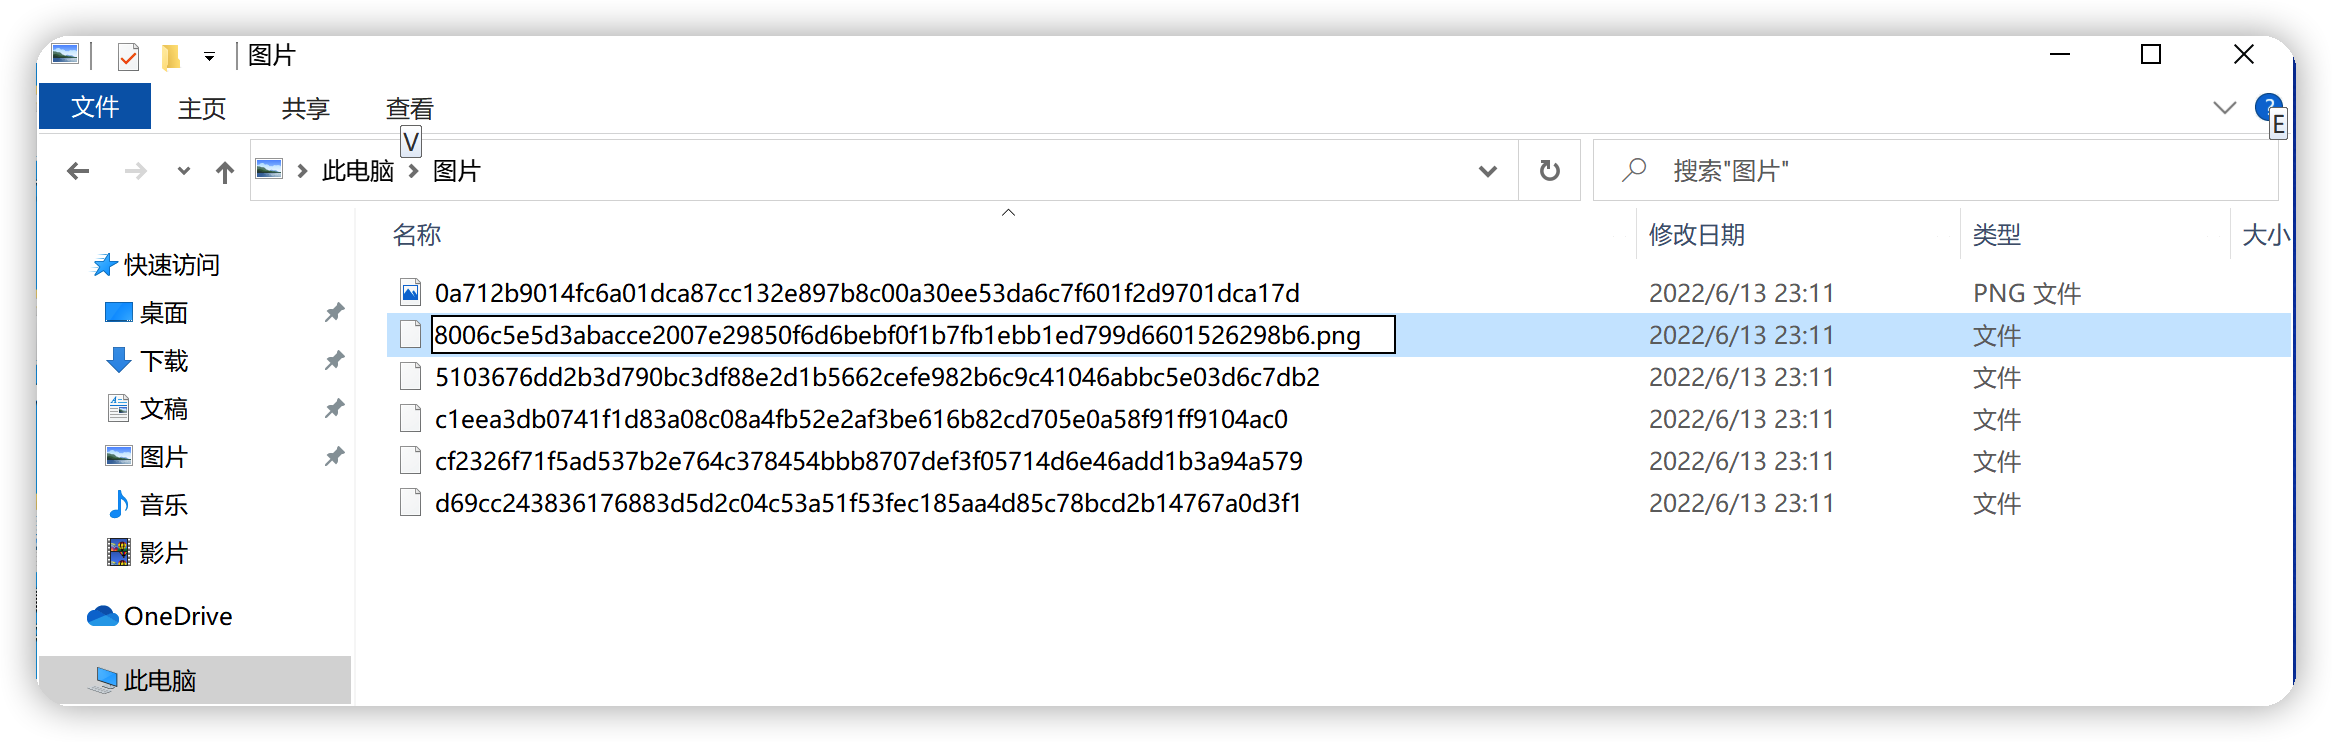
把我们的文章复制出来,更改文件后缀,比如我在此处加上 .png:
3. Python 脚本自动提取
作为程序员,怎么能自己手动一个个该文件后缀呢,不能忍受,所以我们利用 Python 这个脚本语言来进行自动化处理。
环境
- A Windows 10 PC
- Python 3x
- PIL Module For Python 3x
- 我们需要读取当前的用户名
# Set Environment Variables
username = os.environ['USERNAME']- 拼装文件路径:
# All file urls
    file_urls = {
        "wall_src": "C:\\Users\\" + username
                    + "\\AppData\\Local\\Packages\\Microsoft.Windows.ContentDeliveryManager_cw5n1h2txyewy\\"
                    + "LocalState\\Assets\\",
        "wall_dst": os.path.dirname(os.path.abspath(__file__)) + "\\Wallpapers\\",
        "wall_mobile": os.path.dirname(os.path.abspath(__file__)) + "\\Wallpapers\\mobile\\",
        "wall_desktop": os.path.dirname(os.path.abspath(__file__)) + "\\Wallpapers\\desktop\\"
}- 复制出文件:
# A method to import the wallpapers from src folder(dir_src)
    @staticmethod
    def copy_wallpapers():
        w = Wallpaper
        w.time_gap("Copying Wallpapers")
        # Copy All Wallpapers From Src Folder To Dest Folder
        for filename in os.listdir(w.file_urls["wall_src"]):
shutil.copy(w.file_urls["wall_src"] + filename, w.file_urls["wall_dst"])- 添加文件后缀:
# A method to Change all the Extensions
    @staticmethod
    def change_ext():
        w = Wallpaper
        w.time_gap("Changing Extensions")
        # Look into all the files in the executing folder and change extension
        for filename in os.listdir(w.file_urls["wall_dst"]):
            base_file, ext = os.path.splitext(filename)
            if ext == "":
                if not os.path.isdir(w.file_urls["wall_dst"] + filename):
                    os.rename(w.file_urls["wall_dst"] + filename,
                              w.file_urls["wall_dst"] + filename + ".jpg")
完整代码如下:
import os
import shutil
import time
from PIL import Image


class Wallpaper:
    # Set Environment Variables
    username = os.environ['USERNAME']

    # All file urls
    file_urls = {
        "wall_src": "C:\\Users\\" + username
                    + "\\AppData\\Local\\Packages\\Microsoft.Windows.ContentDeliveryManager_cw5n1h2txyewy\\"
                    + "LocalState\\Assets\\",
        "wall_dst": os.path.dirname(os.path.abspath(__file__)) + "\\Wallpapers\\",
        "wall_mobile": os.path.dirname(os.path.abspath(__file__)) + "\\Wallpapers\\mobile\\",
        "wall_desktop": os.path.dirname(os.path.abspath(__file__)) + "\\Wallpapers\\desktop\\"
    }
    msg = '''
                DDDDD      OOOOO    NN      N  EEEEEEE
                D    D    O     O   N N     N  E
                D     D   O     O   N  N    N  E
                D     D   O     O   N   N   N  EEEE
                D     D   O     O   N    N  N  E
                D    D    O     O   N     N N  E
                DDDDD      OOOOO    N      NN  EEEEEEE
            '''

    # A method to showcase time effect
    @staticmethod
    def time_gap(string):
        print(string, end='')
        time.sleep(1)
        print(".", end='')
        time.sleep(1)
        print(".")

    # A method to import the wallpapers from src folder(dir_src)
    @staticmethod
    def copy_wallpapers():
        w = Wallpaper
        w.time_gap("Copying Wallpapers")
        # Copy All Wallpapers From Src Folder To Dest Folder
        for filename in os.listdir(w.file_urls["wall_src"]):
            shutil.copy(w.file_urls["wall_src"] + filename, w.file_urls["wall_dst"])

    # A method to Change all the Extensions
    @staticmethod
    def change_ext():
        w = Wallpaper
        w.time_gap("Changing Extensions")
        # Look into all the files in the executing folder and change extension
        for filename in os.listdir(w.file_urls["wall_dst"]):
            base_file, ext = os.path.splitext(filename)
            if ext == "":
                if not os.path.isdir(w.file_urls["wall_dst"] + filename):
                    os.rename(w.file_urls["wall_dst"] + filename,
                              w.file_urls["wall_dst"] + filename + ".jpg")

    # Remove all files Not having Wallpaper Resolution
    @staticmethod
    def extract_wall():
        w = Wallpaper
        w.time_gap("Extracting Wallpapers")
        for filename in os.listdir(w.file_urls["wall_dst"]):
            base_file, ext = os.path.splitext(filename)
            if ext == ".jpg":
                try:
                    im = Image.open(w.file_urls["wall_dst"] + filename)
                except IOError:
                    print("This isn't a picture.", filename)
                if list(im.size)[0] != 1920 and list(im.size)[0] != 1080:
                    im.close()
                    os.remove(w.file_urls["wall_dst"] + filename)
                else:
                    im.close()
    # Arrange the wallpapers into the corresponding folders
    @staticmethod
    def arr_desk_wallpapers():
        w = Wallpaper
        w.time_gap("Arranging Desktop wallpapers")
        for filename in os.listdir(w.file_urls["wall_dst"]):
            base_file, ext = os.path.splitext(filename)
            if ext == ".jpg":
                try:
                    im = Image.open(w.file_urls["wall_dst"] + filename)

                    if list(im.size)[0] == 1920:
                        im.close()
                        os.rename(w.file_urls["wall_dst"] + filename,
                                  w.file_urls["wall_desktop"] + filename)
                    elif list(im.size)[0] == 1080:
                        im.close()
                        os.rename(w.file_urls["wall_dst"] + filename,
                                  w.file_urls["wall_mobile"] + filename)
                    else:
                        im.close()
                except FileExistsError:
                    print("File Already Exists!")
                    os.remove(w.file_urls["wall_dst"] + filename)

    @staticmethod
    def exec_all():
        w = Wallpaper
        w.copy_wallpapers()
        w.change_ext()
        w.extract_wall()
        w.arr_desk_wallpapers()
        print(w.msg)
        time.sleep(3)


wall = Wallpaper()
wall.exec_all()
然后直接在控制台 cmd 下,直接输入 python warllpaper_extract.py,但可能会发生如下错误:
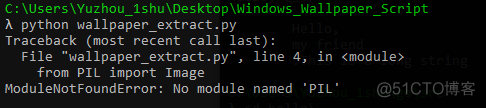
解决方法:找不到模块 PIL,我们可以用 pip install Pillow 来安装:

安装成功后,再次执行

运行结果
图片提取完成,而且能把桌面和手机端的图片分开,

点 desktop 下,成功看到我们想要的图片,恭喜你,一旦下次发现了有新的锁屏壁纸,你就可以运行一下这个 Python 脚本,然后去选自己心仪的照片吧:

总结
至此我们从手动获取图片到利用 Python 实现自动化,而且通过本文你可以学习 Python 的 PIL 模块和静态方法。好了,我们下一篇文章再见!
