1,安装jdk8
java下载地址
如下图:
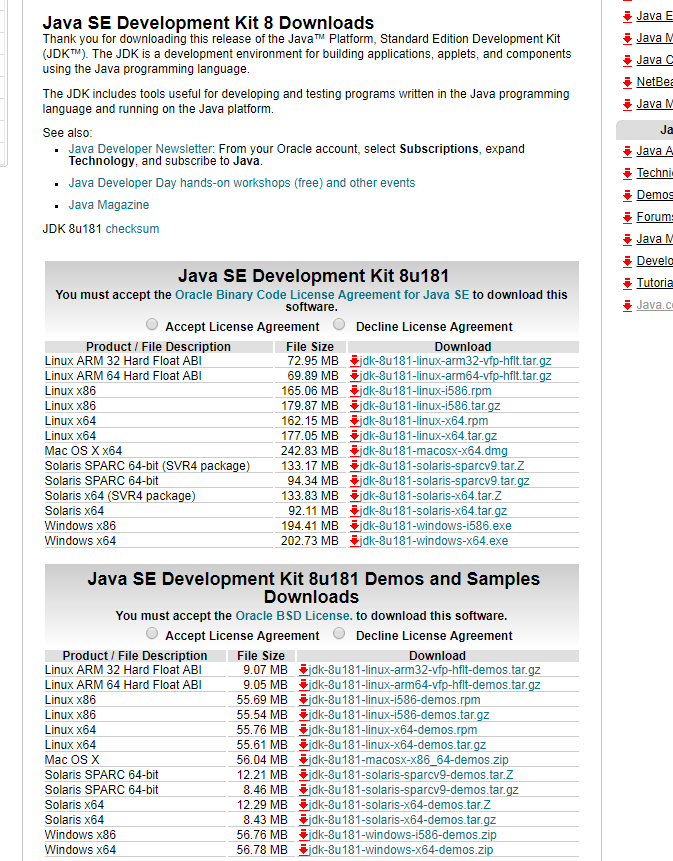
jdk-8u121-windows-x64.exe
安装好了后,配置环境变量
CLASSPATH .;%JAVA_HOME%\lib\dt.jar;%JAVA_HOME%\lib\tools.jar
JAVA_HOME C:\Program Files\Java\jdk1.8.0_181
PATH %JAVA_HOME%\bin;C:\Program Files\Java\jre1.8.0_181\bin;D:\soft\node-v10.8.0-win-x64;D:\soft\node-v10.8.0-win-x64\node_global;
分别执行 java javac java -version
Java安装完成了...........其他安装案例
2,es-rtf安装
下载地址:https://github.com/medcl/elasticsearch-rtf
1.运行环境

a.JDK8+
b.系统可用内存>2G
2.下载

git clone git://github.com/medcl/elasticsearch-rtf.git -b master --depth 1
3.运行

Mac/Linux:

cd elasticsearch/bin
./elasticsearch
sudo -u ops ES_JAVA_OPTS="-Xms2024m -Xmx2024m"  ./bin/elasticsearch  -d
Windows:

cd elasticsearch/bin
elasticsearch.bat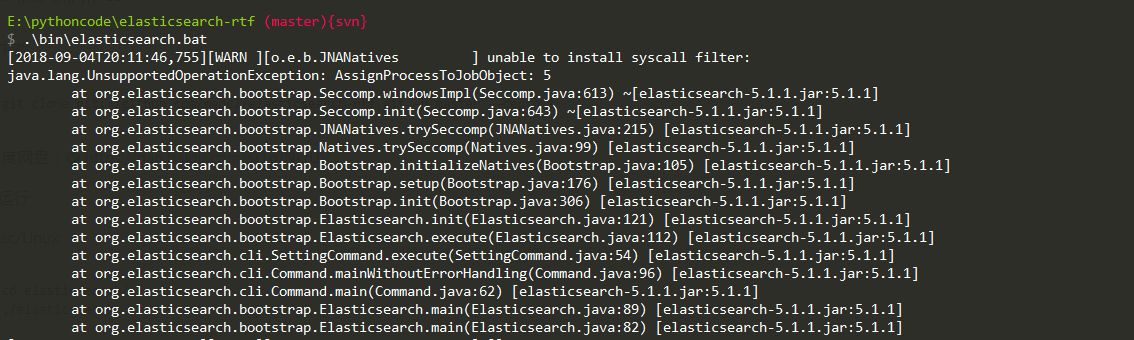
修改配置文件:
elasticsearch.yml
network.host: 0.0.0.0
#
# Set a custom port for HTTP:
#
http.port: 9200

http.cors.enabled: true
http.cors.allow-origin: "*"
http.cors.allow-methods: OPTIONS,HEAD,GET,POST,PUT,DELETE
http.cors.allow-headers: "X-Requested-With,Content-Type,Content-Length, X-User"
jvm.options
-Xms512m
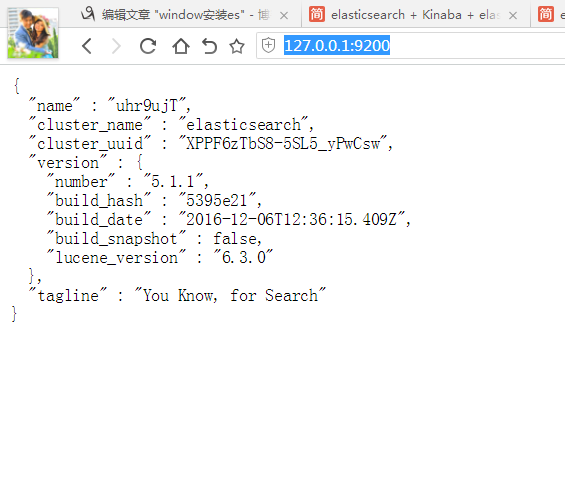
-Xmx512m访问:http://127.0.0.1:9200/
**es-rtf安装成功后接下来安装elasticsearch-head(elasticsearch一个管理工具)
下载地址
安装nodejs


一、安装node.js

1.前往node.js官网下载并安装工具,这里安装路径选到D盘,D:\Program Files\nodejs

 安装完毕在命令行输入以下命令测试是否安装成功,正确会出现版本号
     npm -v

 2.改变原有的环境变量,

  (1)我们要先配置npm的全局模块的存放路径以及cache的路径,例如我希望将以上两个文件夹放在NodeJS的主目录下,便在NodeJs下建立"node_global"及"node_cache"两个文件夹,输入以下命令改变npm配置

    npm config set prefix "D:\Program Files\nodejs\node_global"
    npm config set cache "D:\Program Files\nodejs\node_cache"


    2)在系统环境变量添加系统变量NODE_PATH,输入路径D:\Program Files\nodejs\node_global\node_modules,此后所安装的模块都会安装到改路径下

      (3)在命令行输入以下命令试着安装express(注:“-g”这个参数意思是装到global目录下,也就是上面说设置的“D:\Program Files\nodejs\node_global”里面。)
      npm install express -g
       安装完毕后可以看到.\node_global\node_modules\express 已经有内容

      (4)在命令行输入node进入编辑模式,输入以下代码测试是否能正常加载模块:
      require('express')
      假设成功,可以看到有输出。假设出错,检查NODE_PATH的路径。


二、安装淘宝npm(cnpm)

 1.安装cnpm

   (1)输入以下命令
   npm install -g cnpm --registry=https://registry.npm.taobao.org

    (2)输入cnpm -v输入是否正常,这里肯定会出错。

    (3)添加系统变量path的内容

  因为cnpm会被安装到D:\Program Files\nodejs\node_global下,而系统变量path并未包含该路径。在系统变量path下添加该路径即可正常使用cnpm。


需要详细了解cnpm的朋友请前往官网https://npm.taobao.org/ 查看
在cmd中输入npm install -g cnpm –registry=https://registry.npm.taobao.org 即可将npm指向国内镜像源,之后输入cnpm -v
安装node
-
git clone git://github.com/mobz/elasticsearch-head.git -
cd elasticsearch-head -
cnpm install -
cnpm run start
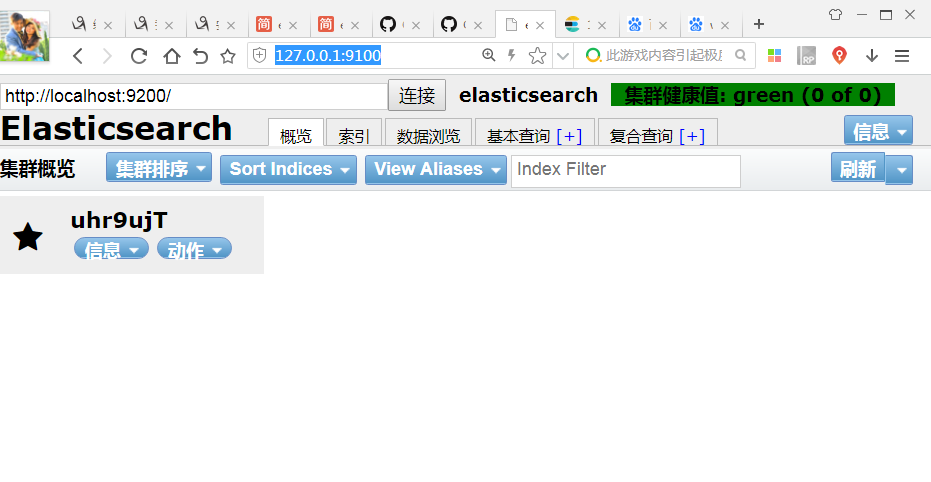
打开:http://127.0.0.1:9100/
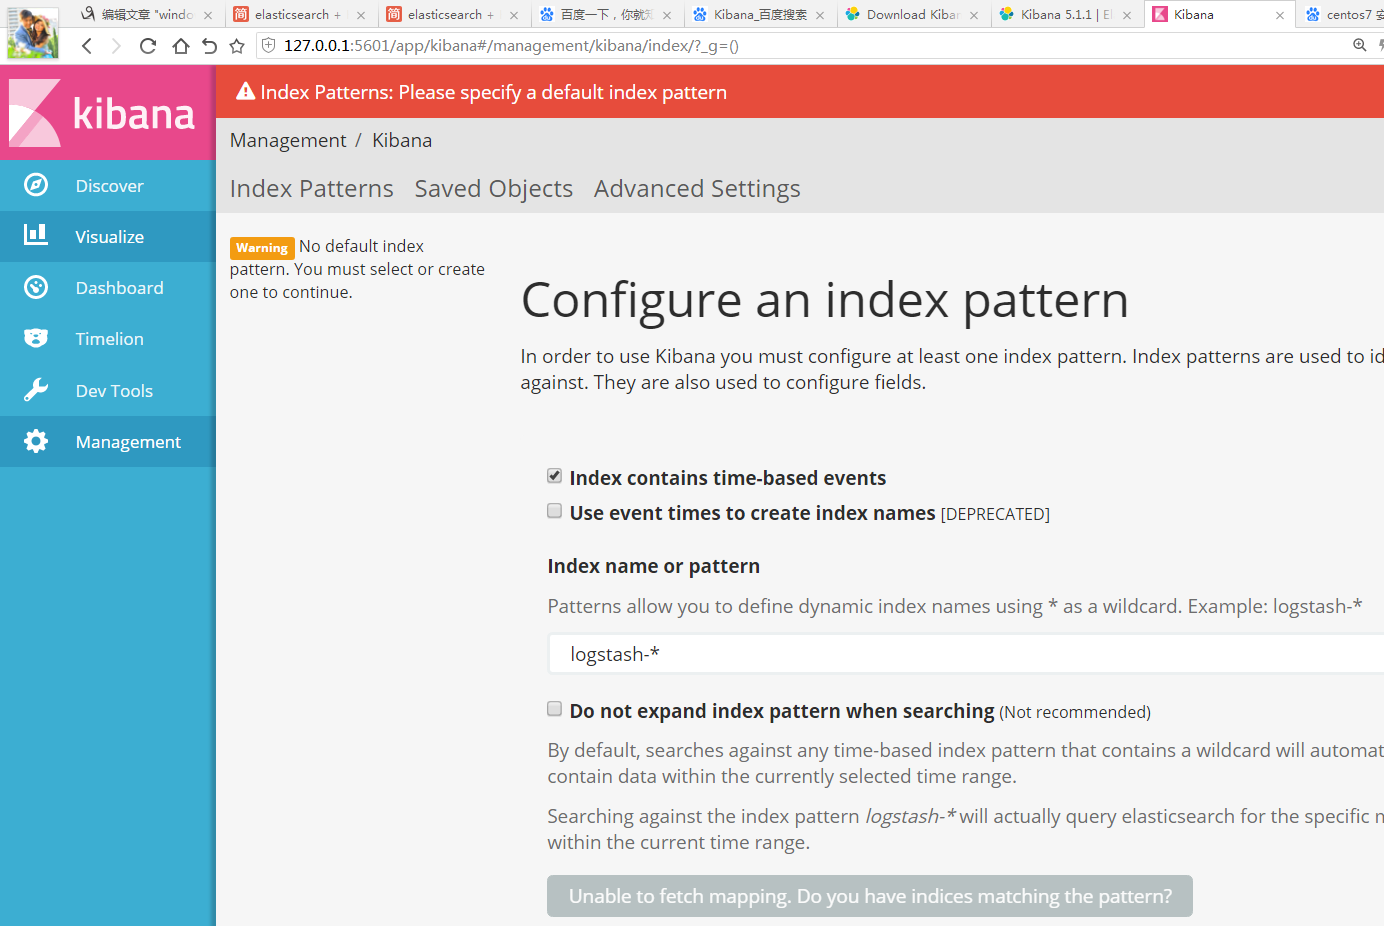
Kibana 安装 (elasticsearch 一个操作工具)
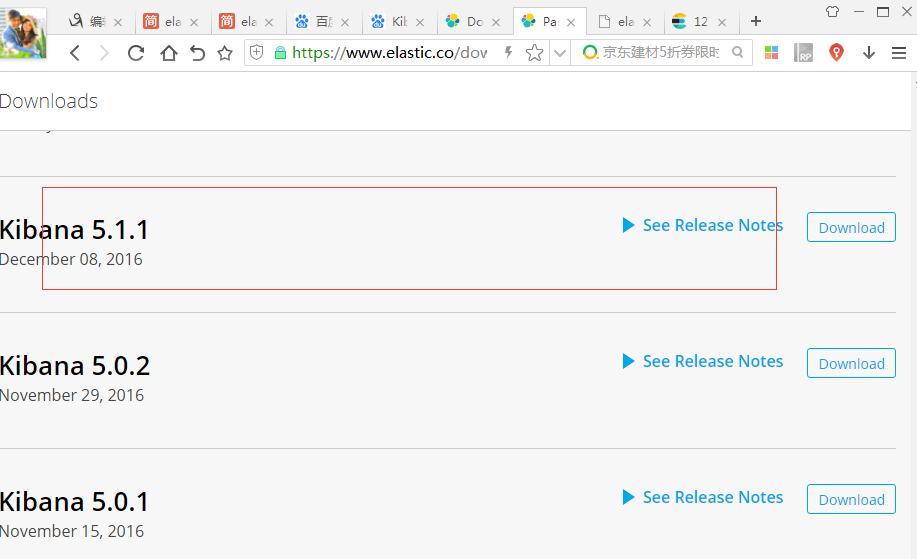
kibana版本必须和es版本一致
es的版本信息 5.1.1
{
  "name" : "uhr9ujT",
  "cluster_name" : "elasticsearch",
  "cluster_uuid" : "XPPF6zTbS8-5SL5_yPwCsw",
  "version" : {
    "number" : "5.1.1",#es的版本信息
    "build_hash" : "5395e21",
    "build_date" : "2016-12-06T12:36:15.409Z",
    "build_snapshot" : false,
    "lucene_version" : "6.3.0"
  },
  "tagline" : "You Know, for Search"
}
下载地址 https://www.elastic.co/downloads/kibana
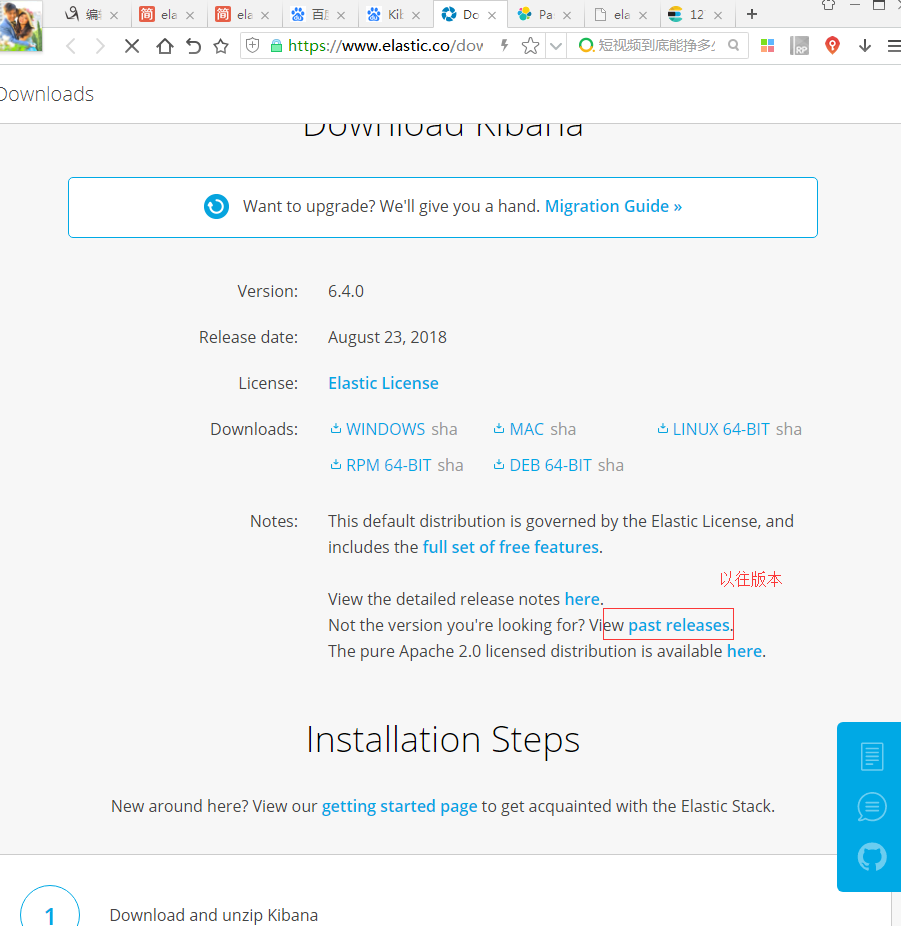

下载后解压,然后执行文件
E:\pythoncode\kibana-5.1.1\bin {svn}
$ .\kibana.bat
  log   [14:16:33.701] [info][status][plugin:kibana@5.1.1] Status changed from uninitialized to green - Ready
  log   [14:16:33.782] [info][status][plugin:elasticsearch@5.1.1] Status changed from uninitialized to yellow - Waiting for Elasticsearch
  log   [14:16:33.835] [info][status][plugin:console@5.1.1] Status changed from uninitialized to green - Ready
  log   [14:16:34.338] [info][status][plugin:timelion@5.1.1] Status changed from uninitialized to green - Ready
  log   [14:16:34.351] [info][listening] Server running at http://localhost:5601
  log   [14:16:34.360] [info][status][ui settings] Status changed from uninitialized to yellow - Elasticsearch plugin is yellow
  log   [14:16:38.907] [info][status][plugin:elasticsearch@5.1.1] Status changed from yellow to yellow - No existing Kibana index found
  log   [14:16:41.540] [info][status][plugin:elasticsearch@5.1.1] Status changed from yellow to green - Kibana index ready
  log   [14:16:41.544] [info][status][ui settings] Status changed from yellow to green - Ready