文章目录
- 一、VirtualApp 简介
- 二、配置 VirtualApp 编译环境
- 1、Android Studio 3.0
- 2、NDK 版本 ( Android NDK r10e )
- 3、配置远程仓库
- 三、编译运行 VirtualApp 官方示例
- 四、编译好的 VirtualApp 官方源码
- 总结 ( 编译配置如下 )
一、VirtualApp 简介
VirtualApp GitHub 地址 : https://github.com/asLody/VirtualApp

二、配置 VirtualApp 编译环境
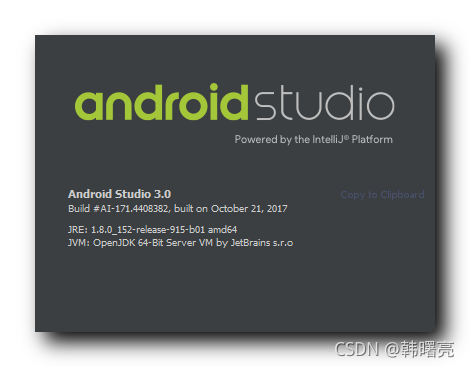
1、Android Studio 3.0
编译 VirtualApp , 需要使用 Android Studio 3.0 版本的 IDE , 否则编译会失败 ;
参考博客 :
- 【错误记录】Android Studio 编译报错 ( Could not determine java version from ‘11.0.8‘. | Android Studio 降级 ) , 在该博客中 , 使用 Android Studio 4.2.1 , 报错 Could not determine java version from '11.0.8'. ; ( 版本太高了 )
- 【错误记录】Android Studio 编译报错 ( This Gradle plugin requires a newer IDE able to request IDE model leve ) , 在该博客中 , 使用 Android Studio 2.3 , 报错 Error:This Gradle plugin requires a newer IDE able to request IDE model level 3. For Android Studio this means version 3.0+ ; ( 版本太低了 )
最终使用 Android Studio 3.0 , 完成了 VirtualApp 的编译 ;
2、NDK 版本 ( Android NDK r10e )
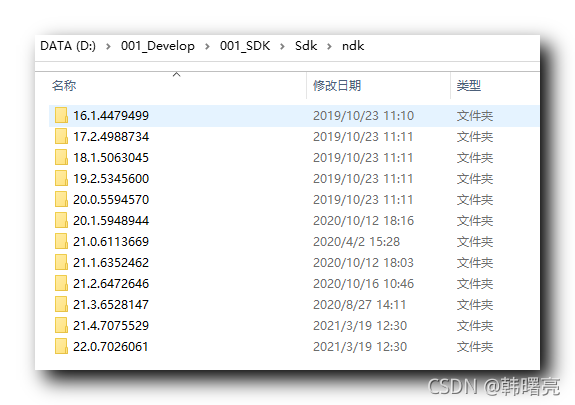
该项目在 2017 年停止维护 , 使用的开发环境 , SDK , NDK 都比较老 , 这里也要使用相应版本的环境配置 , 尤其是 NDK 比较复杂 , 如果版本使用的不对 , 直接报错 ;
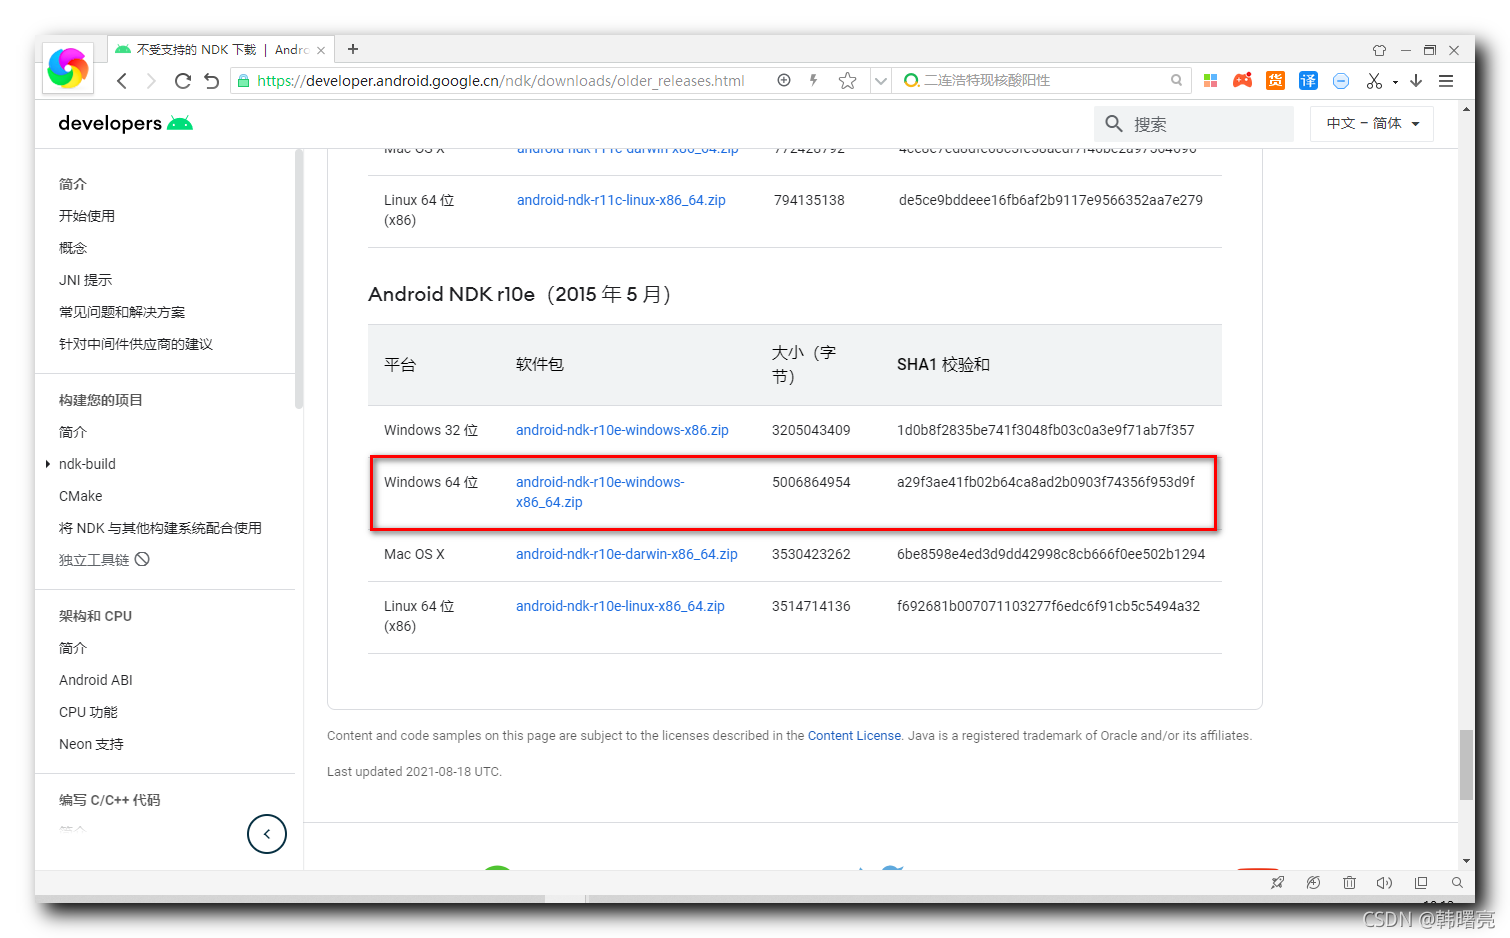
这里使用 Android NDK r10e(2015 年 5 月)的版本 ;
当前 SDK 中已经不支持 16 以下的 NDK 版本 ;
如果要下载老版本的 NDK , 要到 https://developer.android.google.cn/ndk/downloads/older_releases.html 页面下载 , 下载 Android NDK r10e(2015 年 5 月)下的 Windows 64 位 android-ndk-r10e-windows-x86_64.zip 版本 ; ( 点击上述链接也可以下载 )
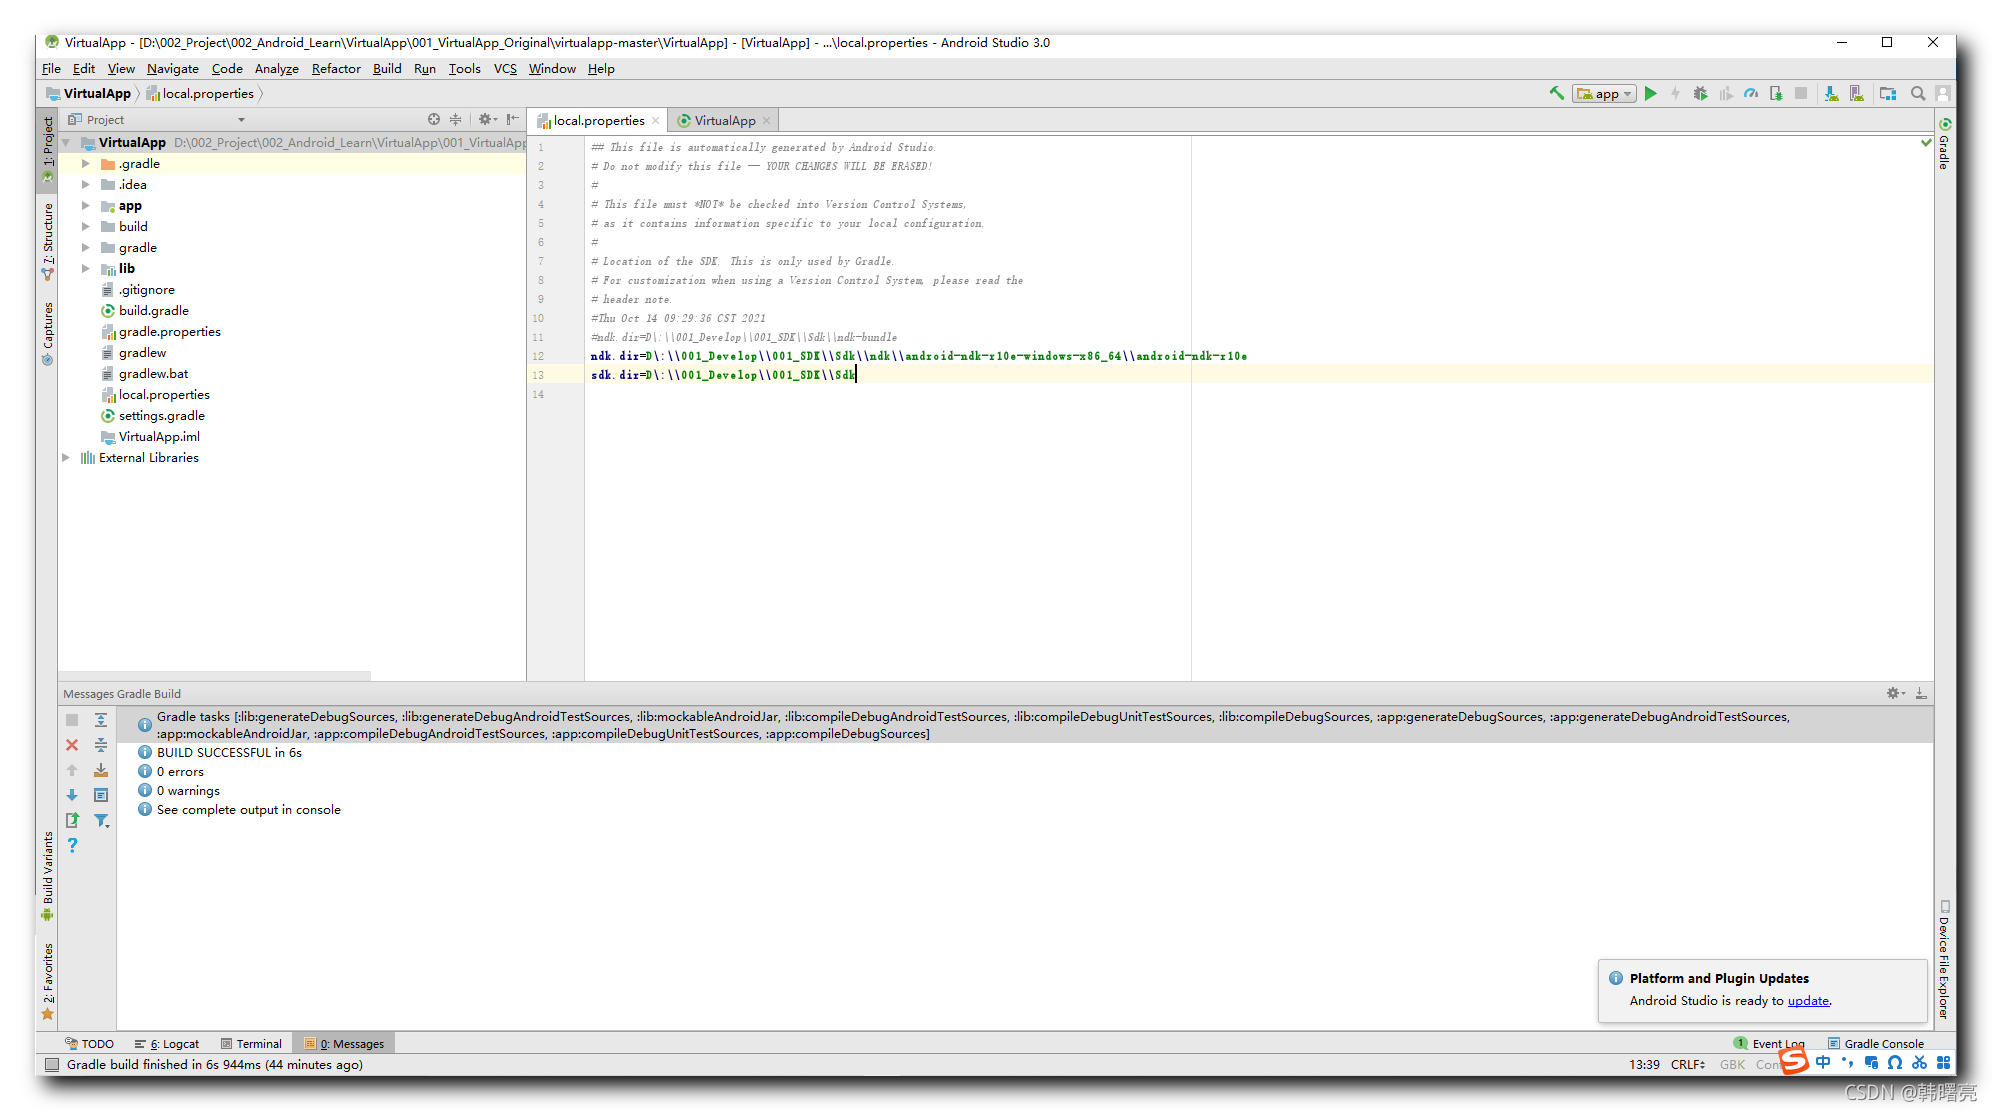
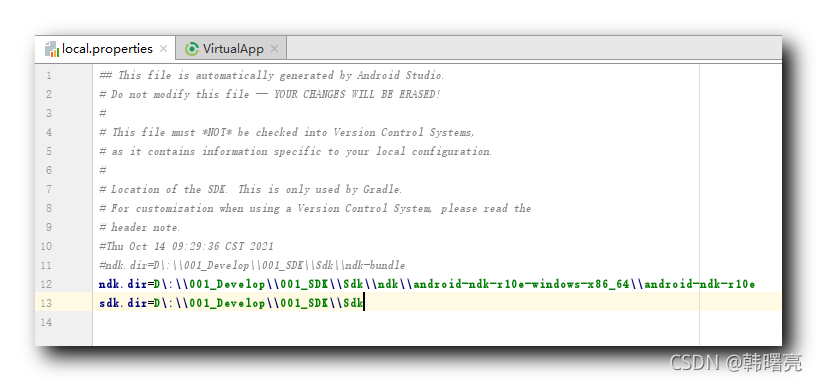
下载后解压 , 并在 local.properties 配置文件中配置 ndk 路径 ;
ndk.dir=D\:\\001_Develop\\001_SDK\\Sdk\\ndk\\android-ndk-r10e-windows-x86_64\\android-ndk-r10e
sdk.dir=D\:\\001_Develop\\001_SDK\\Sdk
参考博客 【错误记录】Android Studio 编译报错 ( VirtualApp 编译 NDK 报错 | Error:A problem occurred configuring project ‘: ) ;
3、配置远程仓库
配置远程仓库 : 如果不配置 , 无法下载编译所需的依赖库 , 翻了墙也会下载失败 ;
在根目录下的 build.gradle 中的 buildscript.repositories 和 allprojects.repositories 中 , 添加如下两个远程仓库 , 否则编译环境依赖库下载都会出现问题 ;
google()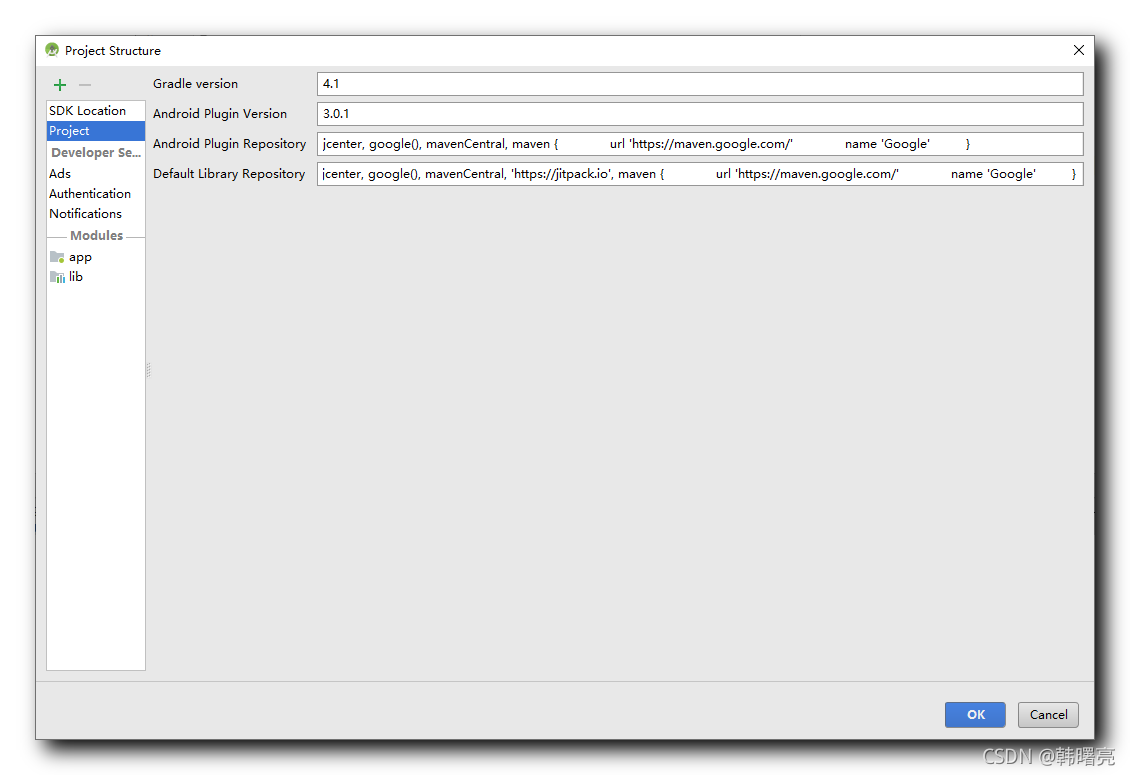
mavenCentral()配置完毕后的样式 :
// Top-level build file where you can add configuration options common to all sub-projects/modules.

buildscript {
    repositories {
        jcenter()
        google()
        mavenCentral()
        maven {
            url 'https://maven.google.com/'
            name 'Google'
        }
    }
    dependencies {
        classpath 'com.android.tools.build:gradle:3.0.1'
        //classpath 'com.android.tools.build:gradle:3.2.1'
        classpath 'com.android.tools.build:gradle-experimental:0.11.0'
        // NOTE: Do not place your application dependencies here; they belong
        // in the individual module build.gradle files
    }
}

allprojects {
    repositories {
        jcenter()
        google()
        mavenCentral()
        maven {
            url "https://jitpack.io"
        }
        maven {
            url 'https://maven.google.com/'
            name 'Google'
        }
    }
}

task clean(type: Delete) {
    delete rootProject.buildDir
}
三、编译运行 VirtualApp 官方示例
上述配置完成后 , 即可成功编译 VirtualApp 官方示例 ;
运行效果 :
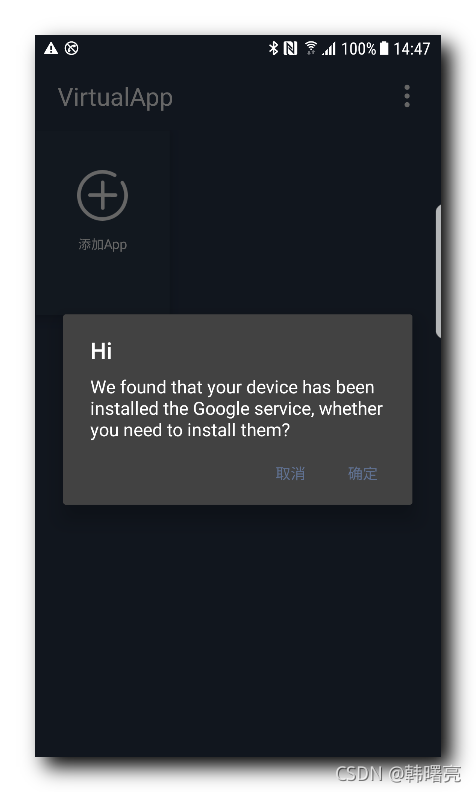
选择一款应用 , 安装该应用 ;
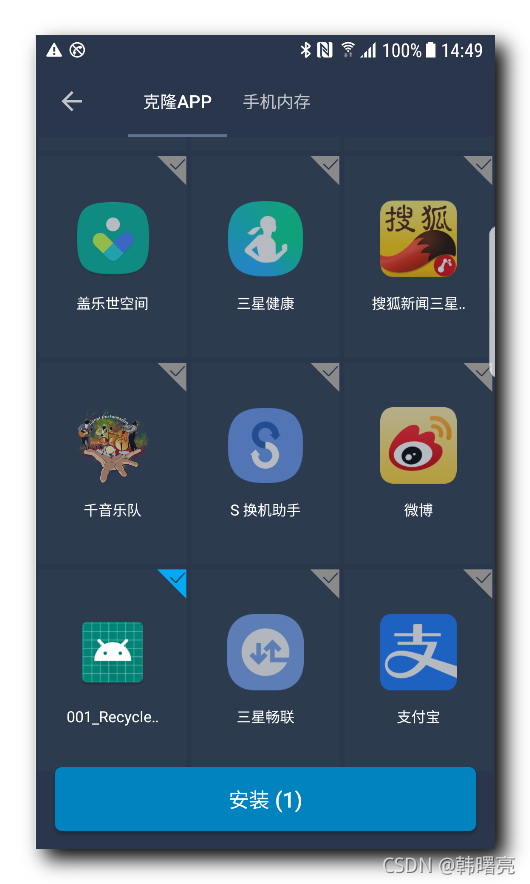
安装完毕后的应用 ;

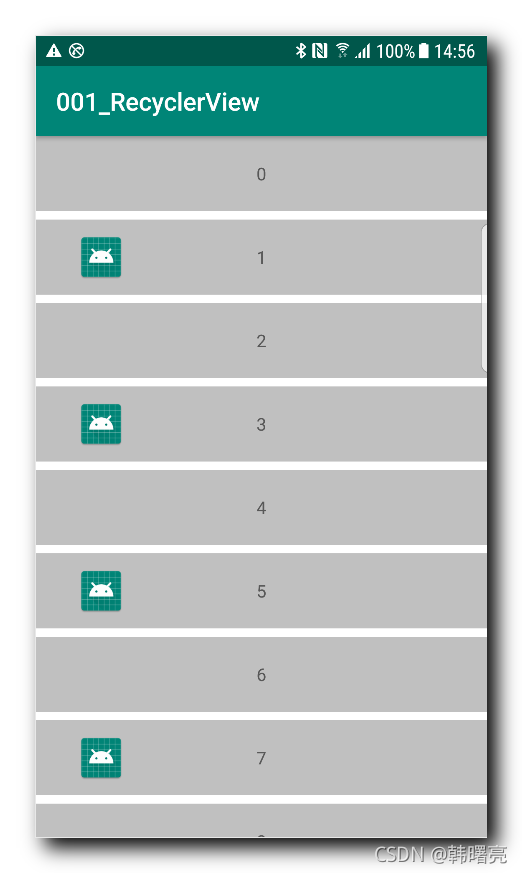
运行插件应用后的效果 ;
四、编译好的 VirtualApp 官方源码
该经过了修改 , 可以运行 ;
总结 ( 编译配置如下 )
// Top-level build file where you can add configuration options common to all sub-projects/modules.

buildscript {
    repositories {
        jcenter()
        google()
        mavenCentral()
        maven {
            url 'https://maven.google.com/'
            name 'Google'
        }
    }
    dependencies {
        classpath 'com.android.tools.build:gradle:3.0.1'
        //classpath 'com.android.tools.build:gradle:3.2.1'
        classpath 'com.android.tools.build:gradle-experimental:0.11.0'
        // NOTE: Do not place your application dependencies here; they belong
        // in the individual module build.gradle files
    }
}

allprojects {
    repositories {
        jcenter()
        google()
        mavenCentral()
        maven {
            url "https://jitpack.io"
        }
        maven {
            url 'https://maven.google.com/'
            name 'Google'
        }
    }
}

task clean(type: Delete) {
    delete rootProject.buildDir
}


