简单的讲一下磁盘分区的步骤
大致分为:分区 、格式化 、 挂载
操作步骤
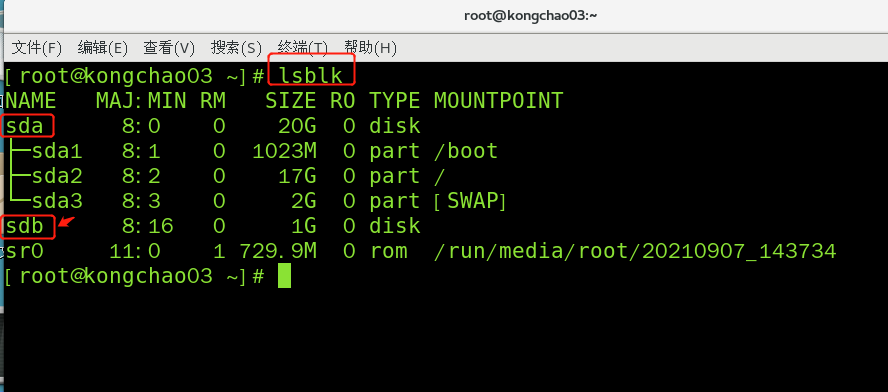
查看所有设备挂载情况
指令:lsblk 或者lsblk -f
[root@localhost ~]# lsblk
NAME   MAJ:MIN RM   SIZE RO TYPE MOUNTPOINT
sda      8:0    0    20G  0 disk
├─sda1   8:1    0  1023M  0 part /boot
├─sda2   8:2    0    17G  0 part /
└─sda3   8:3    0     2G  0 part [SWAP]
sr0     11:0    1 729.9M  0 rom  /run/media/root/20210907_143734
[root@localhost ~]# 
这里sda1、2、3分别代表第一块硬盘的第一分区第二分区...
分区实验
步骤1:新建一块硬盘
在x虚拟机菜单中,设置增加一块硬盘,完成后重启可以生效识别
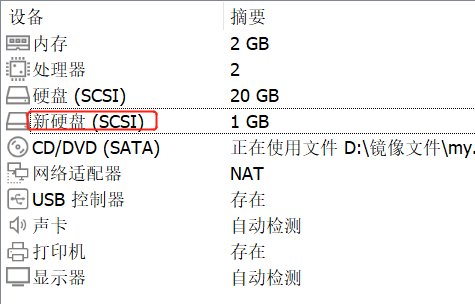
使用lsblk命令查看
操作步骤2: 虚拟机硬盘分区
分区指令:fdisk /dev/sdb 开始对/dev/sdb磁盘分区
m        显示命令列表

p        显示磁盘分区同fdisk -l

n        新增分区

d        删除分区

w        写入并退出
[root@localhost ~]# fdisk /dev/sdb
欢迎使用 fdisk (util-linux 2.23.2)。

更改将停留在内存中,直到您决定将更改写入磁盘。
使用写入命令前请三思。

Device does not contain a recognized partition table
使用磁盘标识符 0xdf03b737 创建新的 DOS 磁盘标签。

命令(输入 m 获取帮助):m
命令操作
   a   toggle a bootable flag
   b   edit bsd disklabel
   c   toggle the dos compatibility flag
   d   delete a partition
   g   create a new empty GPT partition table
   G   create an IRIX (SGI) partition table
   l   list known partition types
   m   print this menu
   n   add a new partition
   o   create a new empty DOS partition table
   p   print the partition table
   q   quit without saving changes
   s   create a new empty Sun disklabel
   t   change a partition's system id
   u   change display/entry units
   v   verify the partition table
   w   write table to disk and exit
   x   extra functionality (experts only)
命令(输入 m 获取帮助):n
Partition type:
   p   primary (0 primary, 0 extended, 4 free)
   e   extended
Select (default p): p
分区号 (1-4,默认 1):1
起始 扇区 (2048-2097151,默认为 2048):
将使用默认值 2048
Last 扇区, +扇区 or +size{K,M,G} (2048-2097151,默认为 2097151):
将使用默认值 2097151
分区 1 已设置为 Linux 类型,大小设为 1023 MiB
命令(输入 m 获取帮助):w
The partition table has been altered!
Calling ioctl() to re-read partition table.
正在同步磁盘。
步骤3:虚拟机硬盘分区格式化
格式化磁盘,格式化之后才会分配UUID
mkfs -t ext4 /dev/sdb1

lsblk -f
步骤4:mount挂载
挂载语法:mount 设备名称 挂载目录 (挂载目录是任意的)
[root@localhost ~]# cd /
[root@localhost /]# mkdir /mnt/disk1
[root@localhost /]# mount /dev/sdb1 /mnt/disk1
[root@localhost /]# lsblk -f


