OpenAI 刚刚发布了 Shap-E,这是一种基于文本提示和图像创建 3D 资产的生成模型,能够生成带纹理的网格和神经辐射场 ,从而实现各种 3D 输出。
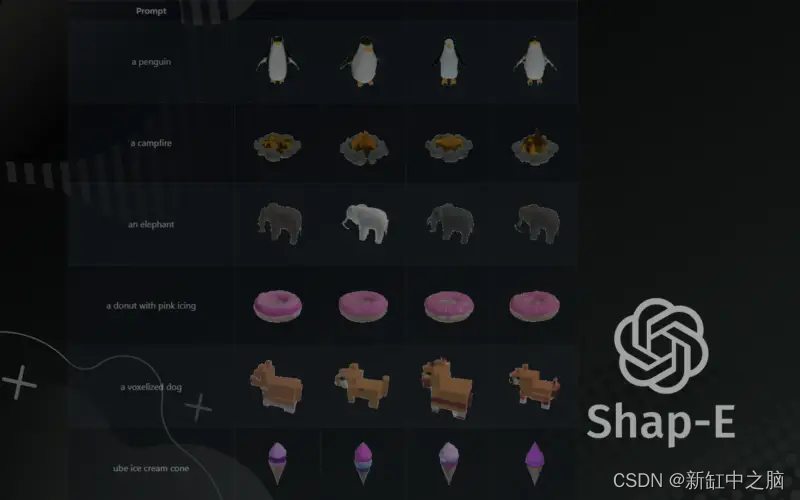
在本教程中,我们将引导你在 Google Colab(免费)上设置 Shap-E,运行代码以根据文本提示和图像生成 3D 对象。 感谢 Google Colab,你不需要强大的 GPU,因为我们将使用 Google 提供的GPU。
我们正在运行的代码可以在这里找到(取自 openai/shap-e Github):
- sample_text_to_3d.ipynb – 从文本生成 3D 模型的代码
- sample_image_to_3d.ipynb – 从图像生成 3D 模型的代码
1、快速演示
在这个简短的演示中,我们将在 Google Colab 上安装和运行 Shap-E。
2、在 Google Colab 上设置 Shap-E
打开 Google Colab。
单击“文件”>“新建笔记本”以创建一个新的 Colab 笔记本。
3、在 Google Colab 上启用 GPU
然后,我们需要在我们的Colab笔记本启用图形处理单元 (GPU)。 它通常是深度学习等资源密集型任务所必需的。
要在 Google Colab 中启用 GPU,请按照以下步骤操作:
-
已打开新的 Colab 笔记本。
-
单击顶部工具栏中的“运行时”菜单。
-
从下拉菜单中选择“更改运行时类型”。
-
在“运行时类型”对话框中,从“硬件加速器”中选择“GPU”
-
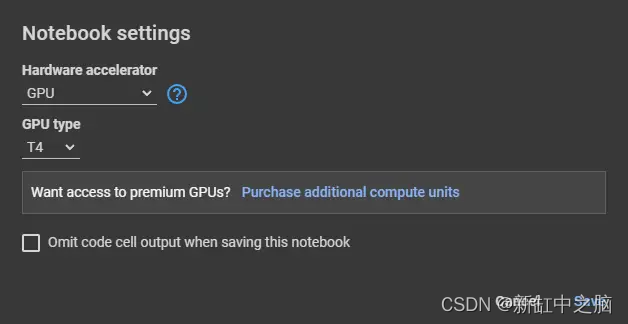
单击“保存”以应用更改。
4、安装Shap-E
在 Google Colab 中,我们需要先从 GitHub 克隆 Shap-E 存储库,然后安装所需的包。 为此,请按照下列步骤操作:
步骤 1. 在 Colab 笔记本的第一个单元格中,粘贴以下代码:
!git clone https://github.com/openai/shap-e.git
此命令将 Shap-E 存储库从 GitHub 克隆到你的 Colab 环境。 它会为你下载使用 Shap-E 的代码、示例和所需文件。
通过单击播放按钮或按 Shift + Enter 运行单元格。

步骤 2. 在新单元格中,粘贴以下代码:
%cd shap-e
此命令将当前工作目录更改为 shap-e 文件夹,这是我们在上一步中克隆 Shap-E 存储库的位置。 我们需要在这个文件夹中安装所需的包。

通过单击播放按钮或按 Shift + Enter 运行单元格。
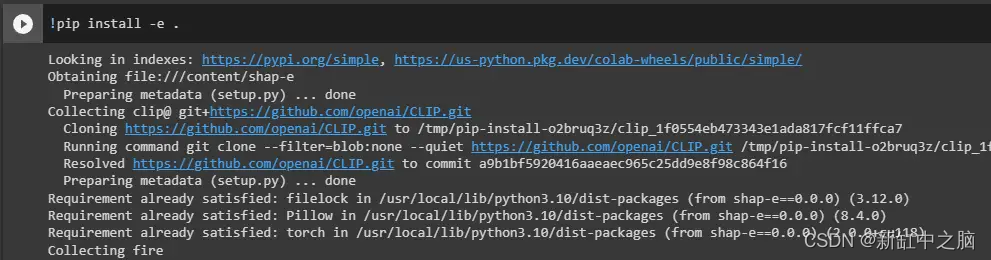
步骤 3. 在另一个新单元格中,粘贴以下代码:
!pip install -e .
此命令会在你的 Colab 环境中安装 Shap-E 所需的包。 -e 标志以“可编辑”模式安装包,这意味着对包文件所做的任何更改都将反映在已安装的包中,而无需重新安装。
运行单元以完成安装。
现在已克隆 Shap-E 存储库并安装了所需的包,可以继续使用本教程前面提供的代码生成 3D 对象。
5、使用 Shap-E 从文本生成 3D 对象
要根据文本提示生成 3D 对象,请执行以下步骤:
步骤 1. 在 Colab 笔记本的新单元格中,粘贴以下代码:
import torch
from shap_e.diffusion.sample import sample_latents
from shap_e.diffusion.gaussian_diffusion import diffusion_from_config
from shap_e.models.download import load_model, load_config
from shap_e.util.notebooks import create_pan_cameras, decode_latent_images, gif_widget
device = torch.device('cuda' if torch.cuda.is_available() else 'cpu')
xm = load_model('transmitter', device=device)
model = load_model('text300M', device=device)
diffusion = diffusion_from_config(load_config('diffusion'))
batch_size = 4
guidance_scale = 15.0
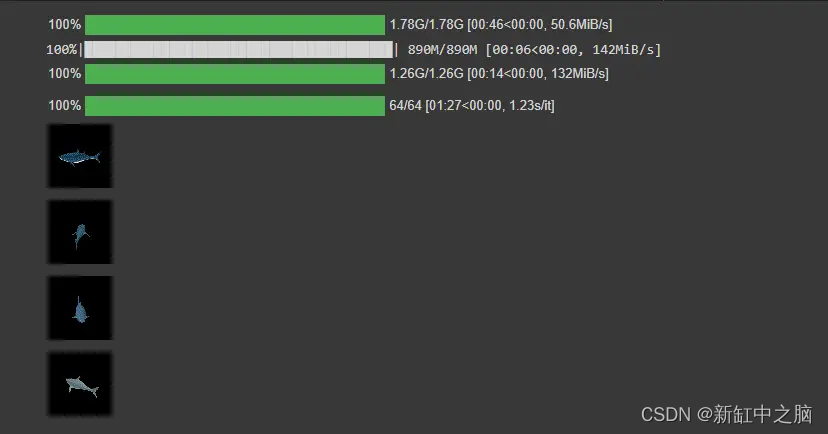
prompt = "a shark"
latents = sample_latents(
batch_size=batch_size,
model=model,
diffusion=diffusion,
guidance_scale=guidance_scale,
model_kwargs=dict(texts=[prompt] * batch_size),
progress=True,
clip_denoised=True,
use_fp16=True,
use_karras=True,
karras_steps=64,
sigma_min=1e-3,
sigma_max=160,
s_churn=0,
)
render_mode = 'nerf' # you can change this to 'stf'
size = 64 # this is the size of the renders; higher values take longer to render.
cameras = create_pan_cameras(size, device)
for i, latent in enumerate(latents):
images = decode_latent_images(xm, latent, cameras, rendering_mode=render_mode)
display(gif_widget(images))
此代码设置必要的导入、加载 Shap-E 模型并配置生成参数,例如文本提示和渲染选项。 此示例中的文本提示是一条鲨鱼,但您可以将其更改为您想要生成的任何对象。
Step 2. 运行cell根据文字提示生成3D物体。 输出将显示为动画 GIF,从不同角度显示生成的 3D 对象。
可以通过更改代码中的 prompt、render_mode 和 size 变量来试验不同的文本提示和呈现选项。
6、将生成的 3D 对象保存为网格
要将生成的 3D 对象保存为网格文件(PLY 格式),请执行以下步骤:
步骤 1. 在一个新单元格中,粘贴以下代码:
from shap_e.util.notebooks import decode_latent_mesh

for i, latent in enumerate(latents):
    with open(f'example_mesh_{i}.ply', 'wb') as f:
        decode_latent_mesh(xm, latent).tri_mesh().write_ply(f)
步骤 2. 运行单元将生成的 3D 对象保存为 PLY 文件。 这些文件将保存在你的 Colab 环境中的 shap-e 文件夹中。
它们将保存为名为 example_mesh_0.ply 的文件。
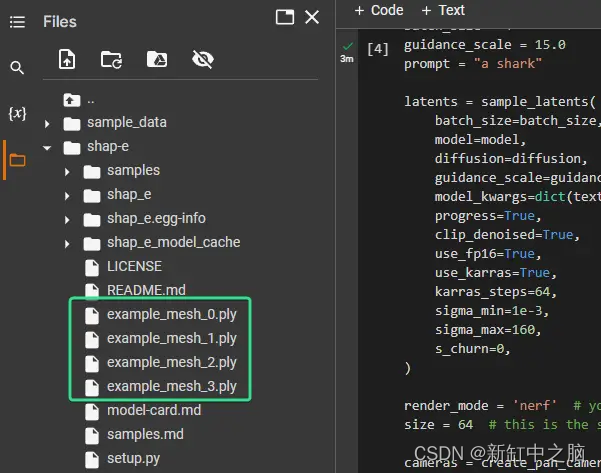
第 3 步。要将生成的 PLY 文件下载到本地计算机,请单击 Colab 左侧栏中的文件夹图标,导航到 shape-e 文件夹,然后右键单击要下载的 PLY 文件。 选择“下载”将它们保存到你的本地计算机。
现在您可以在任何支持 PLY 文件的 3D 建模软件中使用这些生成的 3D 对象。

7、使用 Shap-E 从图像生成 3D 对象
还可以使用 Shap-E 从图像生成 3D 对象。
为此,首先我们将使用示例中提供的示例图像。
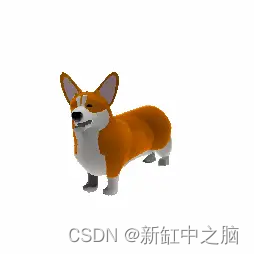
首先下载该图像并将其上传到 Google Colab 的 shap-e 目录中。
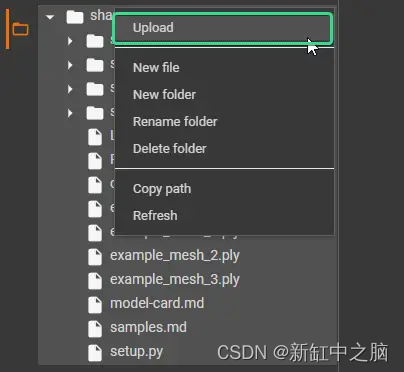
只需将鼠标悬停在左侧文件浏览器中的目录上,你就会看到一个三点菜单。 点击它然后点击上传,上传corgi.png。
接下来,假设你启用了 GPU 并安装了 Shap-E,运行以下代码:
import torch
from shap_e.diffusion.sample import sample_latents
from shap_e.diffusion.gaussian_diffusion import diffusion_from_config
from shap_e.models.download import load_model, load_config
from shap_e.util.notebooks import create_pan_cameras, decode_latent_images, gif_widget
from shap_e.util.image_util import load_image
device = torch.device('cuda' if torch.cuda.is_available() else 'cpu')
xm = load_model('transmitter', device=device)
model = load_model('image300M', device=device)
diffusion = diffusion_from_config(load_config('diffusion'))
batch_size = 4
guidance_scale = 3.0
image = load_image("example_data/corgi.png")
latents = sample_latents(
batch_size=batch_size,
model=model,
diffusion=diffusion,
guidance_scale=guidance_scale,
model_kwargs=dict(images=[image] * batch_size),
progress=True,
clip_denoised=True,
use_fp16=True,
use_karras=True,
karras_steps=64,
sigma_min=1e-3,
sigma_max=160,
s_churn=0,
)
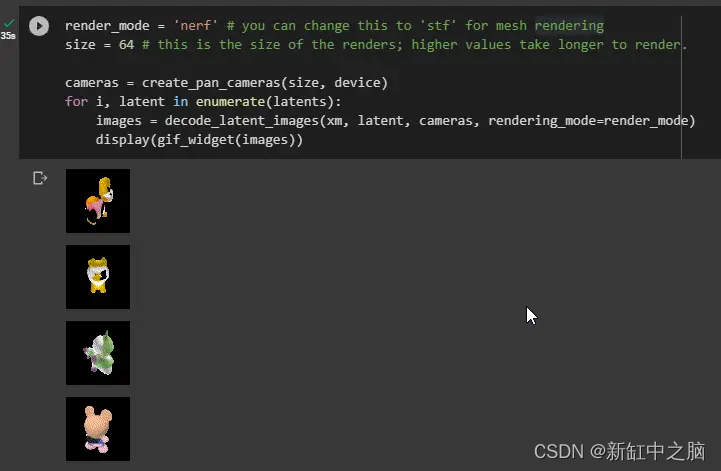
render_mode = 'nerf' # you can change this to 'stf' for mesh rendering
size = 64 # this is the size of the renders; higher values take longer to render.
cameras = create_pan_cameras(size, device)
for i, latent in enumerate(latents):
images = decode_latent_images(xm, latent, cameras, rendering_mode=render_mode)
display(gif_widget(images))
结果似乎并不那么好。 但希望通过一些调整或使用其他图像,你会得到更好的结果。
8、结束语
OpenAI 的 Shap-E 是一个强大的工具,使用户能够从文本和图像生成 3D 对象。
通过利用 Google Colab,你可以轻松设置和运行 Shap-E,无需任何复杂的安装或强大的硬件。
原文链接:Shap-E实战3D模型生成 — BimAnt


