把生成的代理对象存到ioc容器中,service就可以拿到代理对象并注入,就可以调用dao中的方法。
1、修改applicationContext.xml
<?xml version="1.0" encoding="UTF-8"?>
<beans xmlns="http://www.springframework.org/schema/beans"
       xmlns:xsi="http://www.w3.org/2001/XMLSchema-instance"
       xmlns:context="http://www.springframework.org/schema/context"
       xmlns:aop="http://www.springframework.org/schema/aop"
       xmlns:tx="http://www.springframework.org/schema/tx"
       xsi:schemaLocation="http://www.springframework.org/schema/beans
       http://www.springframework.org/schema/beans/spring-beans.xsd
        http://www.springframework.org/schema/context
        http://www.springframework.org/schema/context/spring-context.xsd
        http://www.springframework.org/schema/aop
        http://www.springframework.org/schema/aop/spring-aop.xsd
        http://www.springframework.org/schema/tx
        http://www.springframework.org/schema/tx/spring-tx.xsd">


    <!--开启注解的扫描,希望处理servicce和dao,controller不需要spring框架去处理-->
    <context:component-scan base-package="com.cnstrong">
        <!--配置哪些注解不扫描-->
        <context:exclude-filter type="annotation" expression="org.springframework.stereotype.Controller" />
    </context:component-scan>

    <!--spring整合Mybatis框架-->
    <!--配置连接池-->
    <bean id="dataSource" class="com.mchange.v2.c3p0.ComboPooledDataSource">
        <property name="driverClass" value="com.mysql.jdbc.Driver"></property>
        <property name="jdbcUrl" value="jdbc:mysql:///ssm"></property>
        <property name="user" value="root"></property>
        <property name="password" value="123456"></property>
    </bean>
    <!--配置SqlSessionFactory工厂-->
    <bean id="sqlSessionFactory" class="org.mybatis.spring.SqlSessionFactoryBean">
        <property name="dataSource" ref="dataSource"></property>
    </bean>
    <!--配置AccountDao接口所在包-->
    <bean id="mapperScanner" class="org.mybatis.spring.mapper.MapperScannerConfigurer">
        <property name="basePackage" value="com.cnstrong.dao" />
    </bean>
</beans>
2、删除resources下的SqlMapConfig.xml
3、修改AccountDao
@Repository public interface AccountDao {...
4、修改AccountServiceImpl为:
package com.cnstrong.service.impl;

import com.cnstrong.dao.AccountDao;
import com.cnstrong.domain.Account;
import com.cnstrong.service.AccountService;
import org.springframework.beans.factory.annotation.Autowired;
import org.springframework.stereotype.Service;

import java.util.List;
@Service("accountService")
public class AccountServiceImpl implements AccountService {

    @Autowired
    private AccountDao accountDao;

    @Override
    public List<Account> findAll() {
        System.out.println("业务层,查询所有账户...");
        return accountDao.findAll();
    }

    @Override
    public void saveAccount(Account account) {
        System.out.println("业务层,保存账户...");
        accountDao.saveAccount(account);
    }
}
5、修改AccountController为:
package com.cnstrong.controller;

import com.cnstrong.domain.Account;
import com.cnstrong.service.AccountService;
import org.springframework.beans.factory.annotation.Autowired;
import org.springframework.stereotype.Controller;
import org.springframework.ui.Model;
import org.springframework.web.bind.annotation.RequestMapping;
import org.springframework.web.servlet.ModelAndView;

import java.util.List;

/**
 * 账户web
 */
@Controller
@RequestMapping("/account")
public class AccountController {
    @Autowired
    private AccountService accountService;

    @RequestMapping("/findAll")
    public String findAll(Model model){
        System.out.println("表现层:查询所有账户...");
        //调用service的方法
        List<Account> list = accountService.findAll();
        model.addAttribute("list",list);
        return "list";
    }
}
6、修改list.jsp
<%--
Created by IntelliJ IDEA.
User: DELL
Date: 2019/8/23
Time: 11:15
To change this template use File | Settings | File Templates.
--%>
<%@ page contentType="text/html;charset=UTF-8" language="java" isELIgnored="false" %>
<%@ taglib prefix="c" uri="http://java.sun.com/jsp/jstl/core" %>
<html>
<head>
<title>Title</title>
</head>
<body>
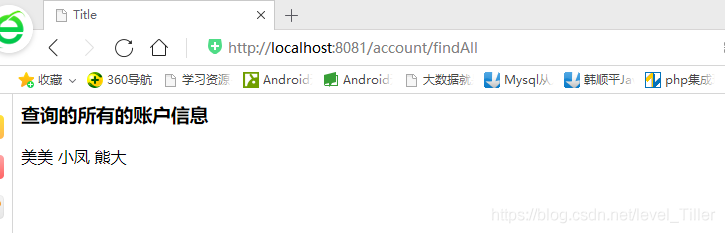
<h3>查询的所有的账户信息</h3>
<c:forEach items="${list}" var="account">
${account.name}
</c:forEach>
</body>
</html>
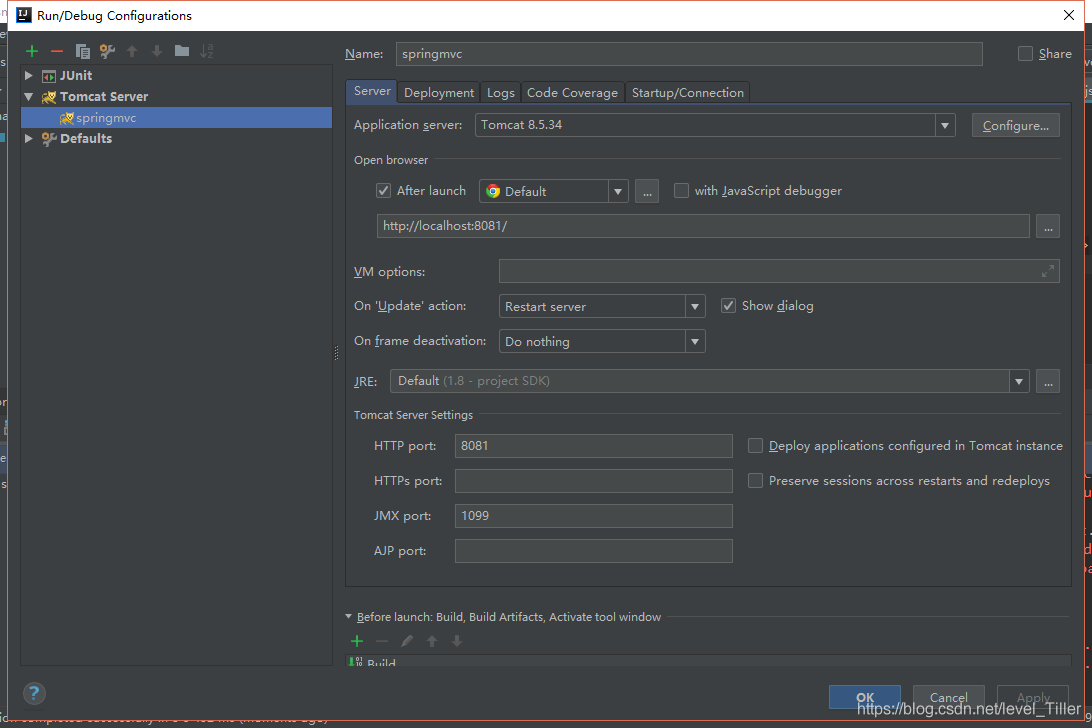
7、运行测试
选择springmvc服务器
执行结果