在“从零开始实现yolox一:数据集类”的测试代码中,使用了多线程导入数据
当使用多线程之后,即便在程序开头使用了np.random.seed(0)来设置种子,但每次得到的结果都不一样。
程序如下:
import numpy as np
import matplotlib.pyplot as plt
import matplotlib.patches as patches
import torch
from torch.utils.data import DataLoader
from utils.dataloader import YoloDataset, yolo_dataset_collate
import os
os.environ["KMP_DUPLICATE_LIB_OK"] = "TRUE"
if __name__ == '__main__':
"""设置种子"""
np.random.seed(0)
"""获得数据集类的相关初始化参数"""
train_annotation_path = '2007_train.txt'
with open(train_annotation_path) as f:
train_lines = f.readlines() # train_lines将是一个列表
input_shape = [640, 640]
num_classes = 4
mosaic = False
mixup = False
"""建立数据集类对象"""
train_dataset = YoloDataset(train_lines, input_shape, num_classes, is_train=True, mosaic=mosaic, mixup=mixup)
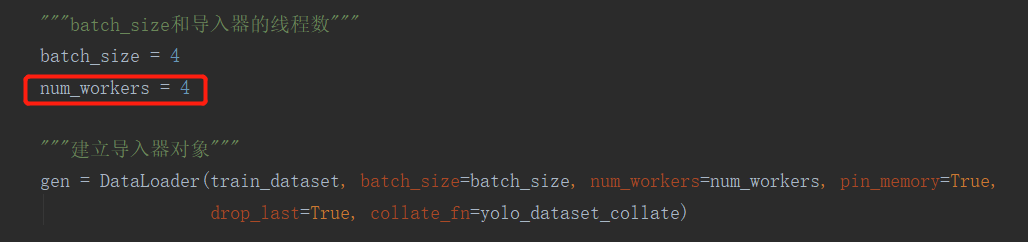
"""batch_size和导入器的线程数"""
batch_size = 4
num_workers = 4
"""建立导入器对象"""
gen = DataLoader(train_dataset, batch_size=batch_size, num_workers=num_workers, pin_memory=True,
drop_last=True, collate_fn=yolo_dataset_collate)
for iteration, batch in enumerate(gen):
images, targets = batch[0], batch[1]
images = np.transpose(images, (0, 2, 3, 1)) # 将通道调整到最后,方便绘图
ax = [0, 0, 0, 0]
for index in range(4):
ax[index] = plt.subplot(2, 2, index+1)
ax[index].imshow(images[index])
for box in targets[index]:
# center_x, center_y, w, h, _ = tuple(map(int, value) for value in box)
center_x, center_y, w, h, _ = box[0], box[1], box[2], box[3], box[4]
ax[index].add_patch(patches.Rectangle((center_x - w // 2, center_y - h // 2), w, h, facecolor="red", alpha=0.3))
# Rectangle的第一个参数最靠近0的点的坐标(这里是左上角),后面是宽和高,然后是颜色和透明度
break
plt.show()
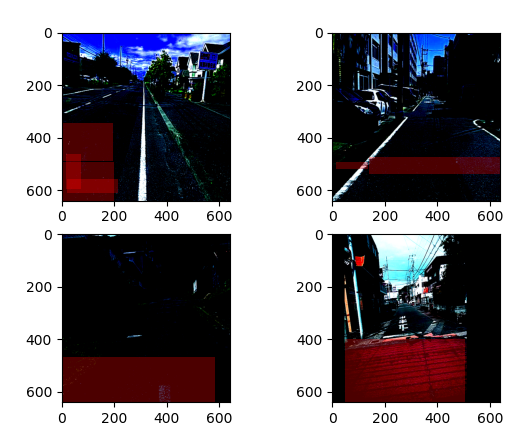
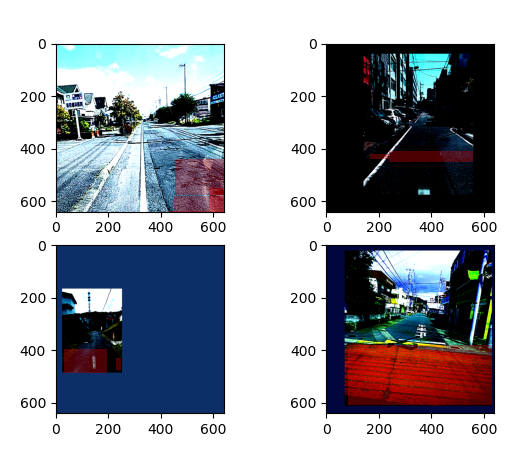
下面是程序第一次运行的结果:
下面是第二次运行的结果
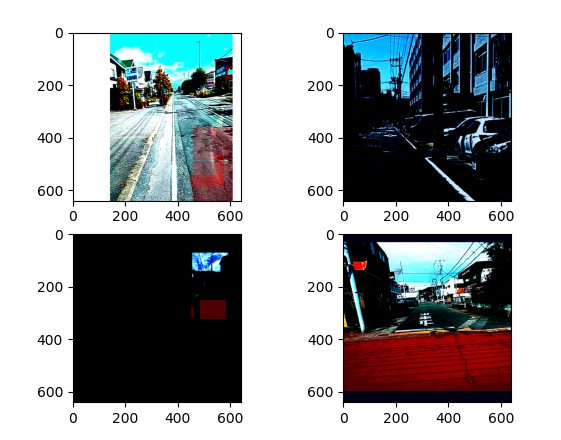
我们最开始的时候明明设置了种子,为何每次调用的结果还会有差呢?
我们可以先看看DataLoader源码的类文档:

num_workers是0的时候,使用主线程导入数据,类文档的最后一句话:

我们搜索一下多线程随机种子:dataloader-workers-random-seed

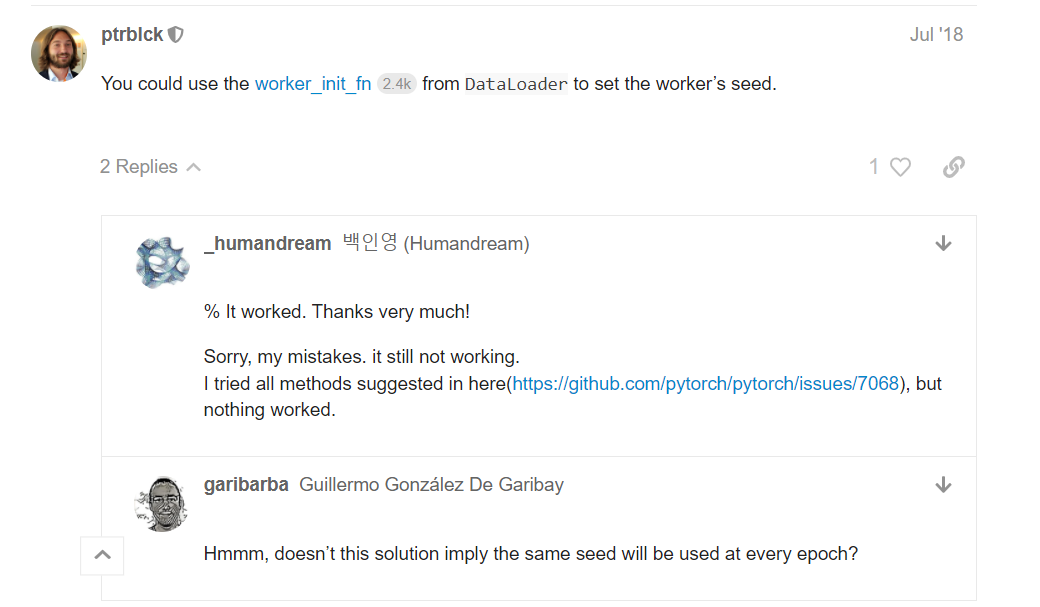
我们看到第一个链接是pytorch的社区的讨论,有人遇到了类似的问题:
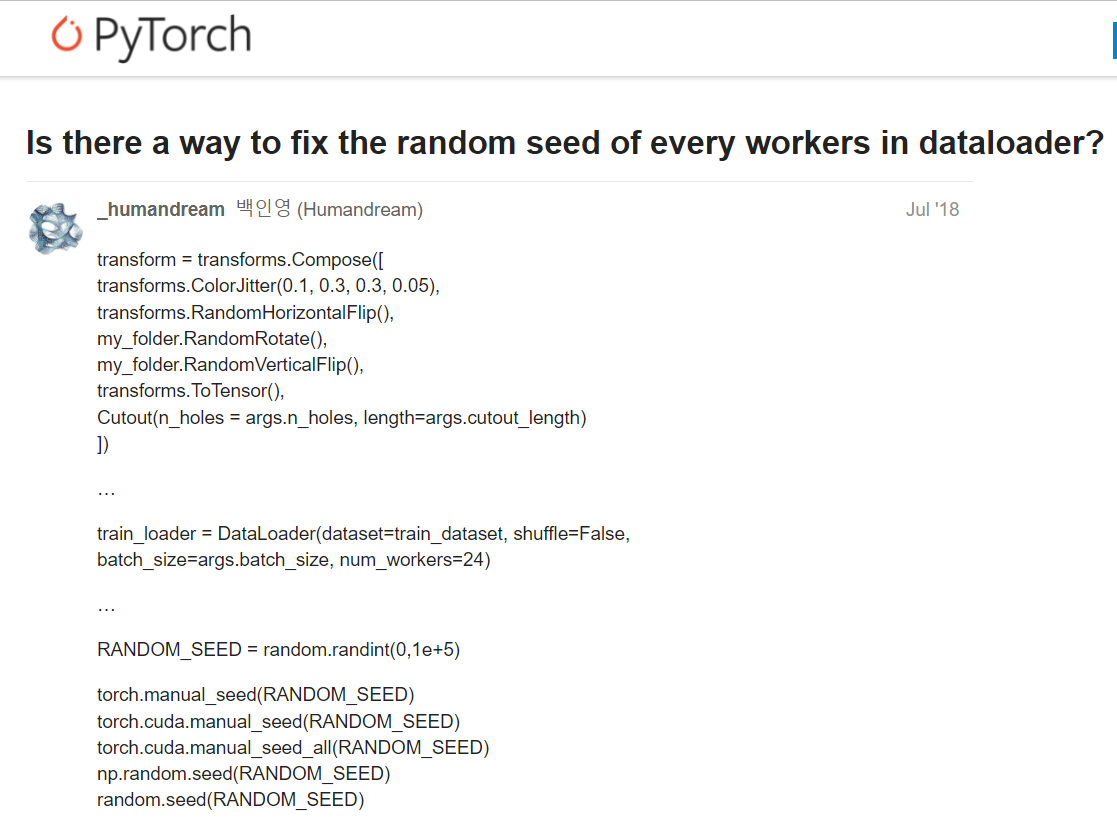
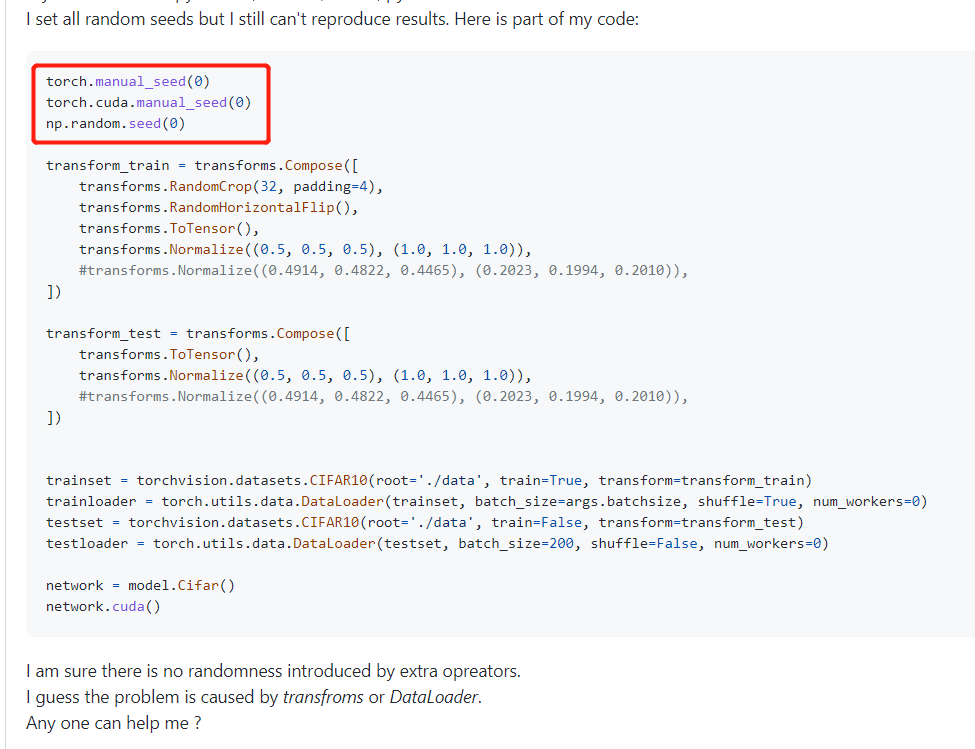
提问者把自己的代码和困惑都写出来了
下面有个高赞回答
最后提问者晒出了解决问题的链接,这是在GitHub上的提问,我们进入这个页面:https://github.com/pytorch/pytorch/issues/7068
这个页面可以需要Google浏览器

提问者说,他设置了所有的种子,但是却仍然无法复现结果
下面有各路网友的回答,但是未必所有人的回答都能解决问题,这里只能一个个试。
有一个回答试成功了,就是下面的大神的回答
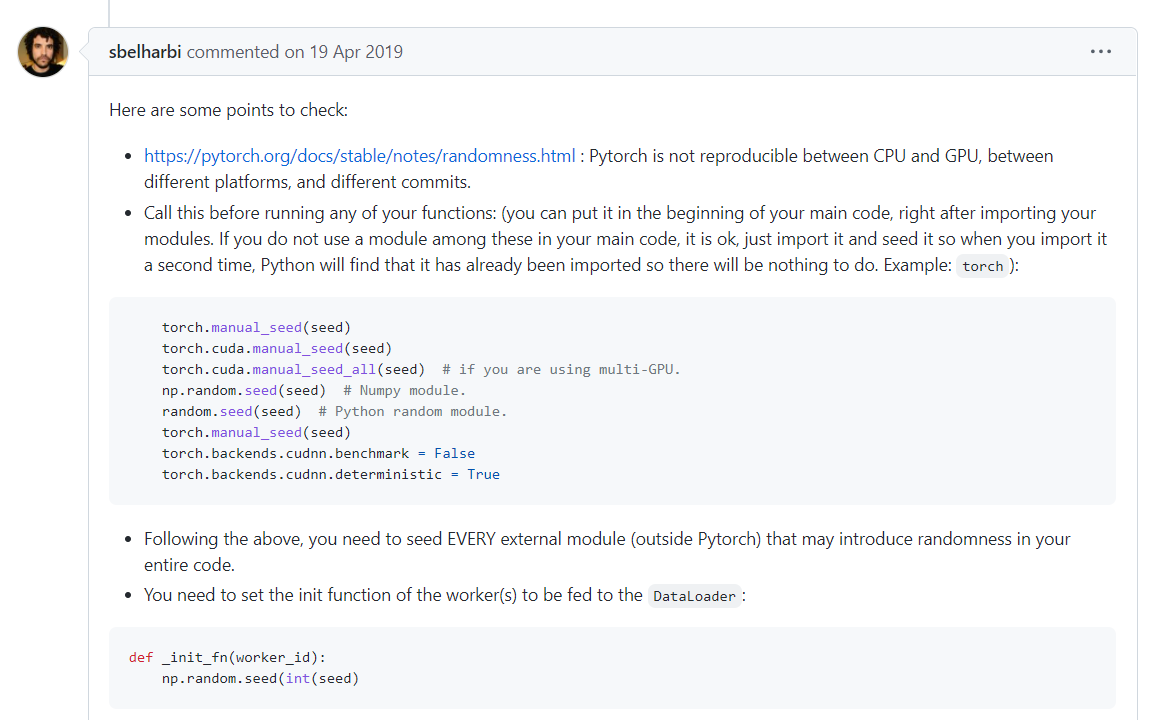
因为我们这里仅仅是测试导入器,所以不需要下面几句:
    torch.manual_seed(seed)
    torch.cuda.manual_seed(seed)
    torch.cuda.manual_seed_all(seed)  # if you are using multi-GPU.
    np.random.seed(seed)  # Numpy module.
    random.seed(seed)  # Python random module.
    torch.manual_seed(seed)
    torch.backends.cudnn.benchmark = False
    torch.backends.cudnn.deterministic = True
其余的按照大神的建议来改
先在main函数前增加一个函数:
def _init_fn(worker_id):
    np.random.seed(0)
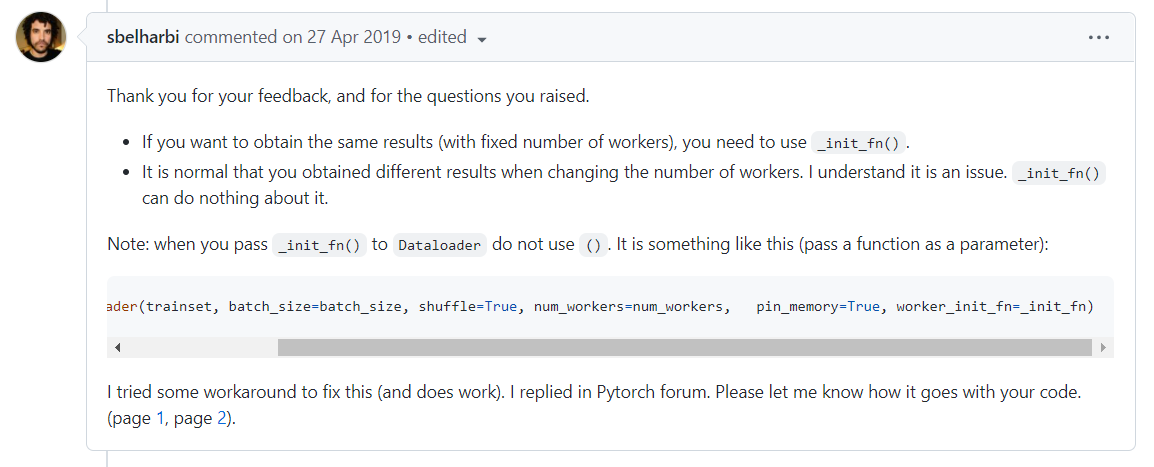
然后在main函数中,修改创建导入器的代码:

修改后的程序如下:
import numpy as np
import matplotlib.pyplot as plt
import matplotlib.patches as patches
import torch
from torch.utils.data import DataLoader

from utils.dataloader import YoloDataset, yolo_dataset_collate

import os
os.environ["KMP_DUPLICATE_LIB_OK"] = "TRUE"


def _init_fn(worker_id):
    np.random.seed(0)


if __name__ == '__main__':
    """设置种子"""
    np.random.seed(0)

    """获得数据集类的相关初始化参数"""
    train_annotation_path = '2007_train.txt'
    with open(train_annotation_path) as f:
        train_lines = f.readlines()  # train_lines将是一个列表

    input_shape = [640, 640]
    num_classes = 4
    mosaic = False
    mixup = False

    """建立数据集类对象"""
    train_dataset = YoloDataset(train_lines, input_shape, num_classes, is_train=True, mosaic=mosaic, mixup=mixup)

    """batch_size和导入器的线程数"""
    batch_size = 4
    num_workers = 4

    """建立导入器对象"""
    gen = DataLoader(train_dataset, batch_size=batch_size, num_workers=num_workers, pin_memory=True,
                     drop_last=True, collate_fn=yolo_dataset_collate, worker_init_fn=_init_fn)

    for iteration, batch in enumerate(gen):
        images, targets = batch[0], batch[1]
        images = np.transpose(images, (0, 2, 3, 1))     # 将通道调整到最后,方便绘图

        ax = [0, 0, 0, 0]
        for index in range(4):
            ax[index] = plt.subplot(2, 2, index+1)
            ax[index].imshow(images[index])
            for box in targets[index]:
                # center_x, center_y, w, h, _ = tuple(map(int, value) for value in box)
                center_x, center_y, w, h, _ = box[0], box[1], box[2], box[3], box[4]
                ax[index].add_patch(patches.Rectangle((center_x - w // 2, center_y - h // 2), w, h, facecolor="red", alpha=0.3))
                # Rectangle的第一个参数最靠近0的点的坐标(这里是左上角),后面是宽和高,然后是颜色和透明度

        break

    plt.show()
现在我们运行一下程序
再次运行:
成功!


