高斯滤波
本文学习资源来自《机器学习实践指南 案例应用解析》
代码:
import cv2
import numpy as np

fn = "test.jpg"
myimg = cv2.imread(fn)

img = cv2.cvtColor(myimg , cv2.COLOR_BGR2GRAY)

# 加上高斯噪声
param = 20
# 灰阶范围
grayscale = 256
w = img.shape[1]
h = img.shape[0]
newimg = np.zeros((h,w),np.uint8)

for x in range(0,h):
    for y in range(0,w,2):
        r1 = np.random.random_sample()
        r2 = np.random.random_sample()
        z1=param*np.cos(2*np.pi*r2)*np.sqrt((-2)*np.log(r1))
        z2=param*np.sin(2*np.pi*r2)*np.sqrt((-2)*np.log(r1))

        fxy=int(img[x,y]+z1)
        fxy1 = int(img[x,y+1]+z2)
        #f(x,y)
        if fxy<0:
            fxy_val=0
        elif fxy>grayscale-1:
            fxy_val=grayscale-1
        else:
            fxy_val=fxy
        #f(x,y+1)
        if fxy1<0:
            fxy1_val=0
        elif fxy1>grayscale-1:
            fxy1_val=grayscale-1
        else:
            fxy1_val=fxy1
        newimg[x,y]=fxy_val
        newimg[x,y+1]=fxy1_val
    print("-")

# 滤波去噪
lbimg = cv2.GaussianBlur(newimg, (3,3),1.8)
cv2.imshow('src', newimg)
cv2.imshow('dst',lbimg)
cv2.waitKey()
cv2.destroyAllWindows()
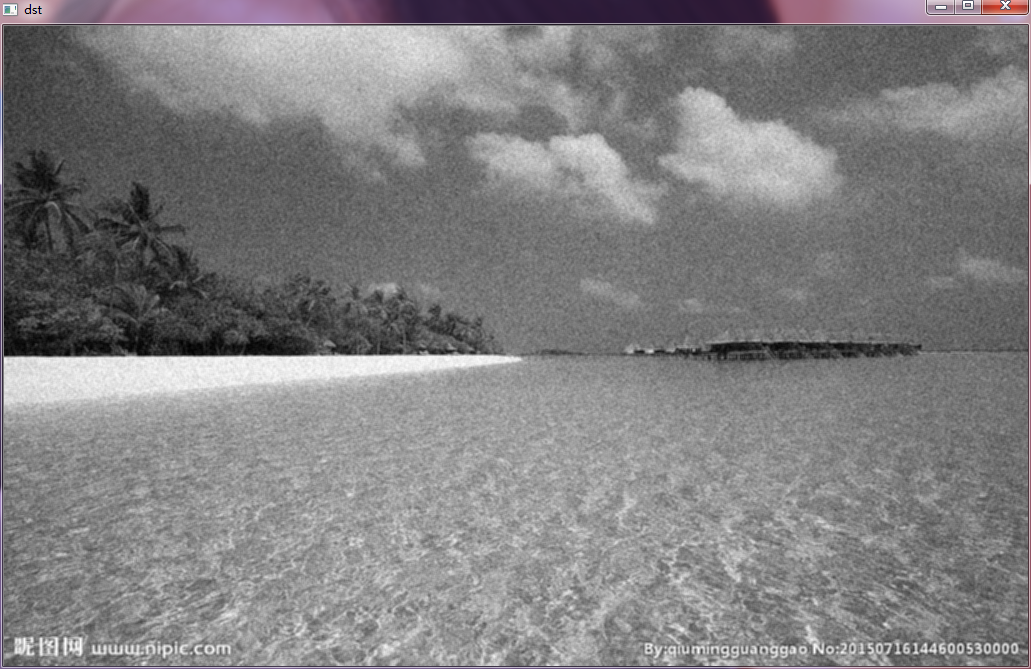
结果:
双边滤波
双边滤波(Bilateral Filter)是一种非线性的滤波方法,是结合图像的空间邻近度和像素值相似度的一种折衷处理方法,同时考虑空域信息和灰度相似性,达到保边去噪的目的。OpenCV的bilateralFilter:
cv2.bilateralFilter(src,d,sigmaColor,sigmaSpace[, dst[, borderType]]) ->dst- d 滤波时像素邻域的直径,d为负时由sigaColor计算得到;d>5时不能实时处理
- sigmaColor sigmaSpace 表示颜色空间和坐标空间的滤波系数sigma可简单的赋值为相同的值,其值小于10时几乎没有效果,值大于150时为油画效果。
代码示例:
双边滤波对椒盐噪声的滤波:
# -*- coding: utf-8 -*-
# coding=utf-8
# 线性锐化滤波,拉普拉斯图像变换
import cv2
import numpy as np

fn = "test.jpg"
myimg = cv2.imread(fn)

img=cv2.cvtColor(myimg,cv2.COLOR_BGR2GRAY)

# 加上椒盐噪声
# 灰阶范围
w = img.shape[1]
h = img.shape[0]
newimg = np.array(img)
# 噪声点数量
noisecount = 100000
for k in range(0,noisecount):
    xi = int(np.random.uniform(0,newimg.shape[1]))
    xj = int(np.random.uniform(0,newimg.shape[0]))
    newimg[xj,xi]=255
# 滤波除噪
lbimg=cv2.bilateralFilter(newimg, 5, 140,140)
cv2.imshow('src', newimg)
cv2.imshow('dst', lbimg)
cv2.waitKey()
cv2.destroyAllWindows()
原图:
结果:
双边滤波对高斯噪声的滤波
# -*- coding: utf-8 -*-
# coding=utf-8
# 线性锐化滤波,拉普拉斯图像变换
import cv2
import numpy as np

fn = "test.jpg"
myimg = cv2.imread(fn)

img=cv2.cvtColor(myimg,cv2.COLOR_BGR2GRAY)

# 加上高斯噪声
param=20
# 灰阶范围
grayscale=256
w=img.shape[1]
h=img.shape[0]
newimg=np.zeros((h,w),np.uint8)

for x in range(0,h):
    for y in range(0,w-1,2):
        r1 = np.random.random_sample()
        r2 = np.random.random_sample()
        z1=param*np.cos(2*np.pi*r2)*np.sqrt((-2)*np.log(r1))
        z2=param*np.sin(2*np.pi*r2)*np.sqrt((-2)*np.log(r1))

        fxy=int(img[x,y]+z1)
        fxy1 = int(img[x,y+1]+z2)
        #f(x,y)
        if fxy<0:
            fxy_val=0
        elif fxy>grayscale-1:
            fxy_val=grayscale-1
        else:
            fxy_val=fxy
        #f(x,y+1)
        if fxy1<0:
            fxy1_val=0
        elif fxy1>grayscale-1:
            fxy1_val=grayscale-1
        else:
            fxy1_val=fxy1
        newimg[x,y]=fxy_val
        newimg[x,y+1]=fxy1_val
# 滤波去噪
lbimg=cv2.bilateralFilter(newimg,3, 140, 140)
cv2.imshow('src',newimg)
cv2.imshow('dst',lbimg)
cv2.waitKey()
cv2.destroyAllWindows()
结果:
卷积滤波
卷积滤波的基本思想是:将卷积核矩阵的中心依次放在图像矩阵的每一个像素的位置上,将卷积核的每一个元素分别和图像矩阵对应位置的元素相乘,最终将乘积累加起来,作为卷积结果。
python的 filter2D函数进行卷积滤波:
cv2.filter2D(src, ddepth, kernel[, dst[, anchor[, delta[, borderType]]]]) ->dst卷积滤波对图像锐化
# -*- coding: utf-8 -*-
# coding=utf-8
# 线性锐化滤波,拉普拉斯图像变换
import cv2
import numpy as np

fn = "test.jpg"
myimg = cv2.imread(fn)

img=cv2.cvtColor(myimg,cv2.COLOR_BGR2GRAY)
myh = np.array([[0,1,0],[1,-4,1],[0,1,0]])
jpimg = cv2.filter2D(img,-1,myh)

cv2.imshow('src',img)
cv2.imshow('dst',jpimg)
cv2.waitKey()
cv2.destroyAllWindows()
结果:
拉普拉斯算子进行二维卷积计算,对图像锐化处理
# -*- coding: utf-8 -*-
# coding=utf-8
# 线性锐化滤波,拉普拉斯图像变换
import cv2
import numpy as np
from scipy import signal

fn = "test.jpg"
myimg = cv2.imread(fn)

img=cv2.cvtColor(myimg,cv2.COLOR_BGR2GRAY)
srcimg = np.array(img,np.double)
myh = np.array([[0,1,0],[1,-4,1],[0,1,0]])
myj = signal.convolve2d(srcimg, myh, mode="Same")
jpimg = img-myj

cv2.imshow('src',img)
cv2.imshow('dst',jpimg)
cv2.waitKey()
cv2.destroyAllWindows()
python环境有问题未验证通过。


