一、服务注册与发现
这里会用到Spring Cloud Netflix,该项目是Spring Cloud的子项目之一,主要内容是对Netflix公司一系列开源产品的包装,它为Spring Boot应用提供了自配置的Netflix OSS整合。通过一些简单的注解,开发者就可以快速的在应用中配置一下常用模块并构建庞大的分布式系统。它主要提供的模块包括:服务发现(Eureka),断路器(Hystrix),智能路由(Zuul),客户端负载均衡(Ribbon)等。
这里的核心内容是服务发现模块:Eureka
创建“服务注册中心”
1.创建基于web的Maven项目(springcloud)
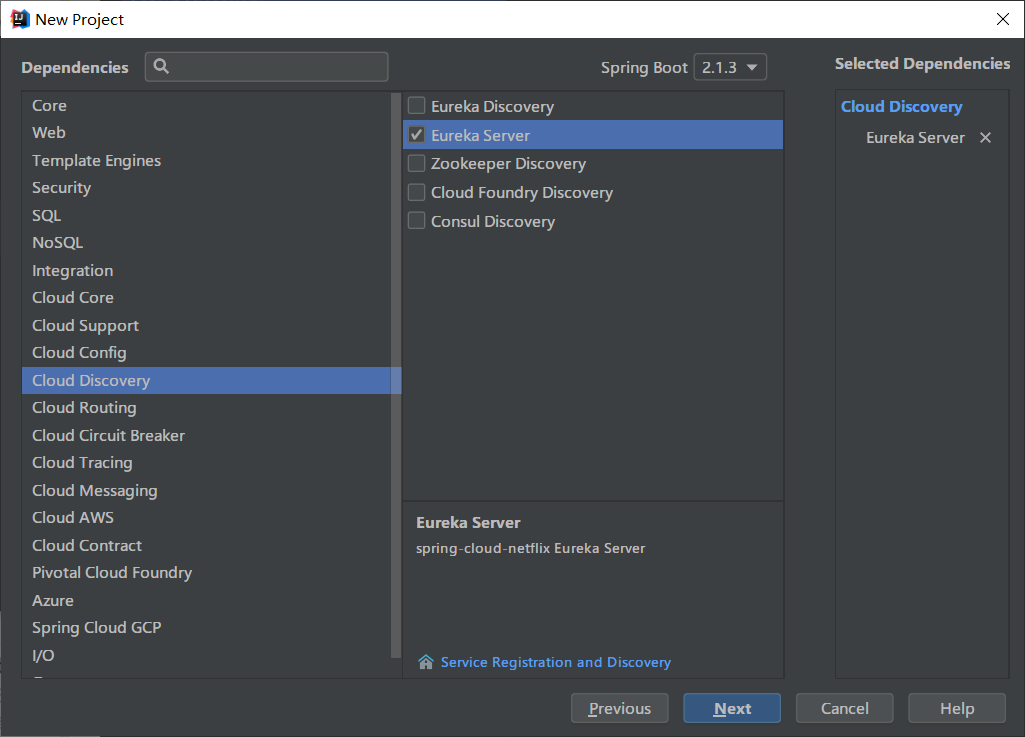
2.创建服务注册中心。在springcloud项目中创建SpringBoot项目(springboot):
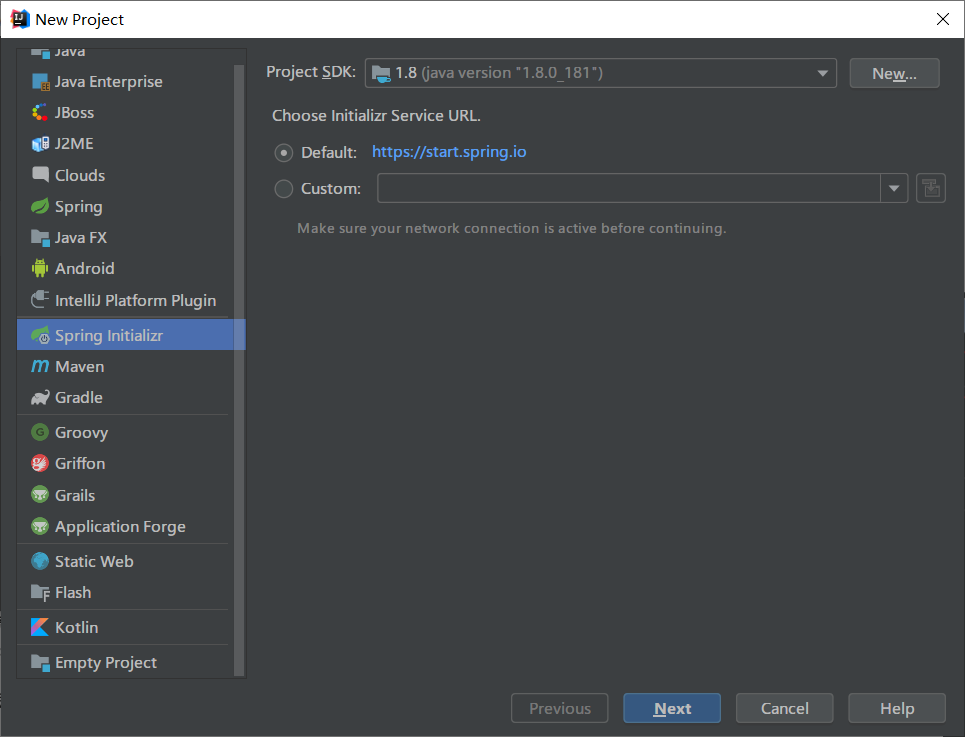

勾选Cloud Discovery–>Eureka server。以方便导包
3编写springboot项目
3.1查看pom.xml文件
<?xml version="1.0" encoding="UTF-8"?>
<project xmlns="http://maven.apache.org/POM/4.0.0" xmlns:xsi="http://www.w3.org/2001/XMLSchema-instance"
         xsi:schemaLocation="http://maven.apache.org/POM/4.0.0 http://maven.apache.org/xsd/maven-4.0.0.xsd">
    <modelVersion>4.0.0</modelVersion>
    <parent>
        <groupId>org.springframework.boot</groupId>
        <artifactId>spring-boot-starter-parent</artifactId>
        <version>2.1.3.RELEASE</version>
        <relativePath/> <!-- lookup parent from repository -->
    </parent>
    <groupId>com.hand</groupId>
    <artifactId>springclouddemo</artifactId>
    <version>0.0.1-SNAPSHOT</version>
    <name>springclouddemo</name>
    <description>Demo project for Spring Boot</description>

    <properties>
        <java.version>1.8</java.version>
        <spring-cloud.version>Greenwich.RELEASE</spring-cloud.version>
    </properties>

    <dependencies>
        <dependency>
            <groupId>org.springframework.cloud</groupId>
            <artifactId>spring-cloud-starter-netflix-eureka-server</artifactId>
        </dependency>

        <dependency>
            <groupId>org.springframework.boot</groupId>
            <artifactId>spring-boot-starter-test</artifactId>
            <scope>test</scope>
        </dependency>
    </dependencies>

    <dependencyManagement>
        <dependencies>
            <dependency>
                <groupId>org.springframework.cloud</groupId>
                <artifactId>spring-cloud-dependencies</artifactId>
                <version>${spring-cloud.version}</version>
                <type>pom</type>
                <scope>import</scope>
            </dependency>
        </dependencies>
    </dependencyManagement>

    <build>
        <plugins>
            <plugin>
                <groupId>org.springframework.boot</groupId>
                <artifactId>spring-boot-maven-plugin</artifactId>
            </plugin>
        </plugins>
    </build>

    <repositories>
        <repository>
            <id>spring-milestones</id>
            <name>Spring Milestones</name>
            <url>https://repo.spring.io/milestone</url>
        </repository>
    </repositories>

</project>
4在启动类上加上注解 如下
通过@EnableEurekaServer注解启动一个服务注册中心提供给其他应用进行对话。这一步非常的简单,只需要在一个普通的Spring Boot应用中添加这个注解就能开启此功能,比如下面的例子:
package com.hand;

import org.springframework.boot.SpringApplication;
import org.springframework.boot.autoconfigure.SpringBootApplication;
import org.springframework.cloud.netflix.eureka.server.EnableEurekaServer;

@SpringBootApplication
@EnableEurekaServer
public class SpringclouddemoApplication {

    public static void main(String[] args) {
        SpringApplication.run(SpringclouddemoApplication.class, args);
    }

}
5 修改application.yml文件
yml文件的好处,天然的树状结构,一目了然
---
#端口号
server:
  port: 8760
eureka:
  instance:
    hostname: localhost
  client:
    # eureka.client.registerWithEureka :表示是否将自己注册到Eureka Server,默认为true。
    # 由于当前这个应用就是Eureka Server,故而设为false
    register-with-eureka: false
    # eureka.client.fetchRegistry :表示是否从Eureka Server获取注册信息,默认为true。因为这是一个单点的Eureka Server,
    # 不需要同步其他的Eureka Server节点的数据,故而设为false。
    fetch-registry: false
    service-url:
      # eureka.client.serviceUrl.defaultZone :设置与Eureka Server交互的地址,
      #查询服务和注册服务都需要依赖这个地址。默认是
      defaultZone: http://${eureka.instance.hostname}:${server.port}/eureka/
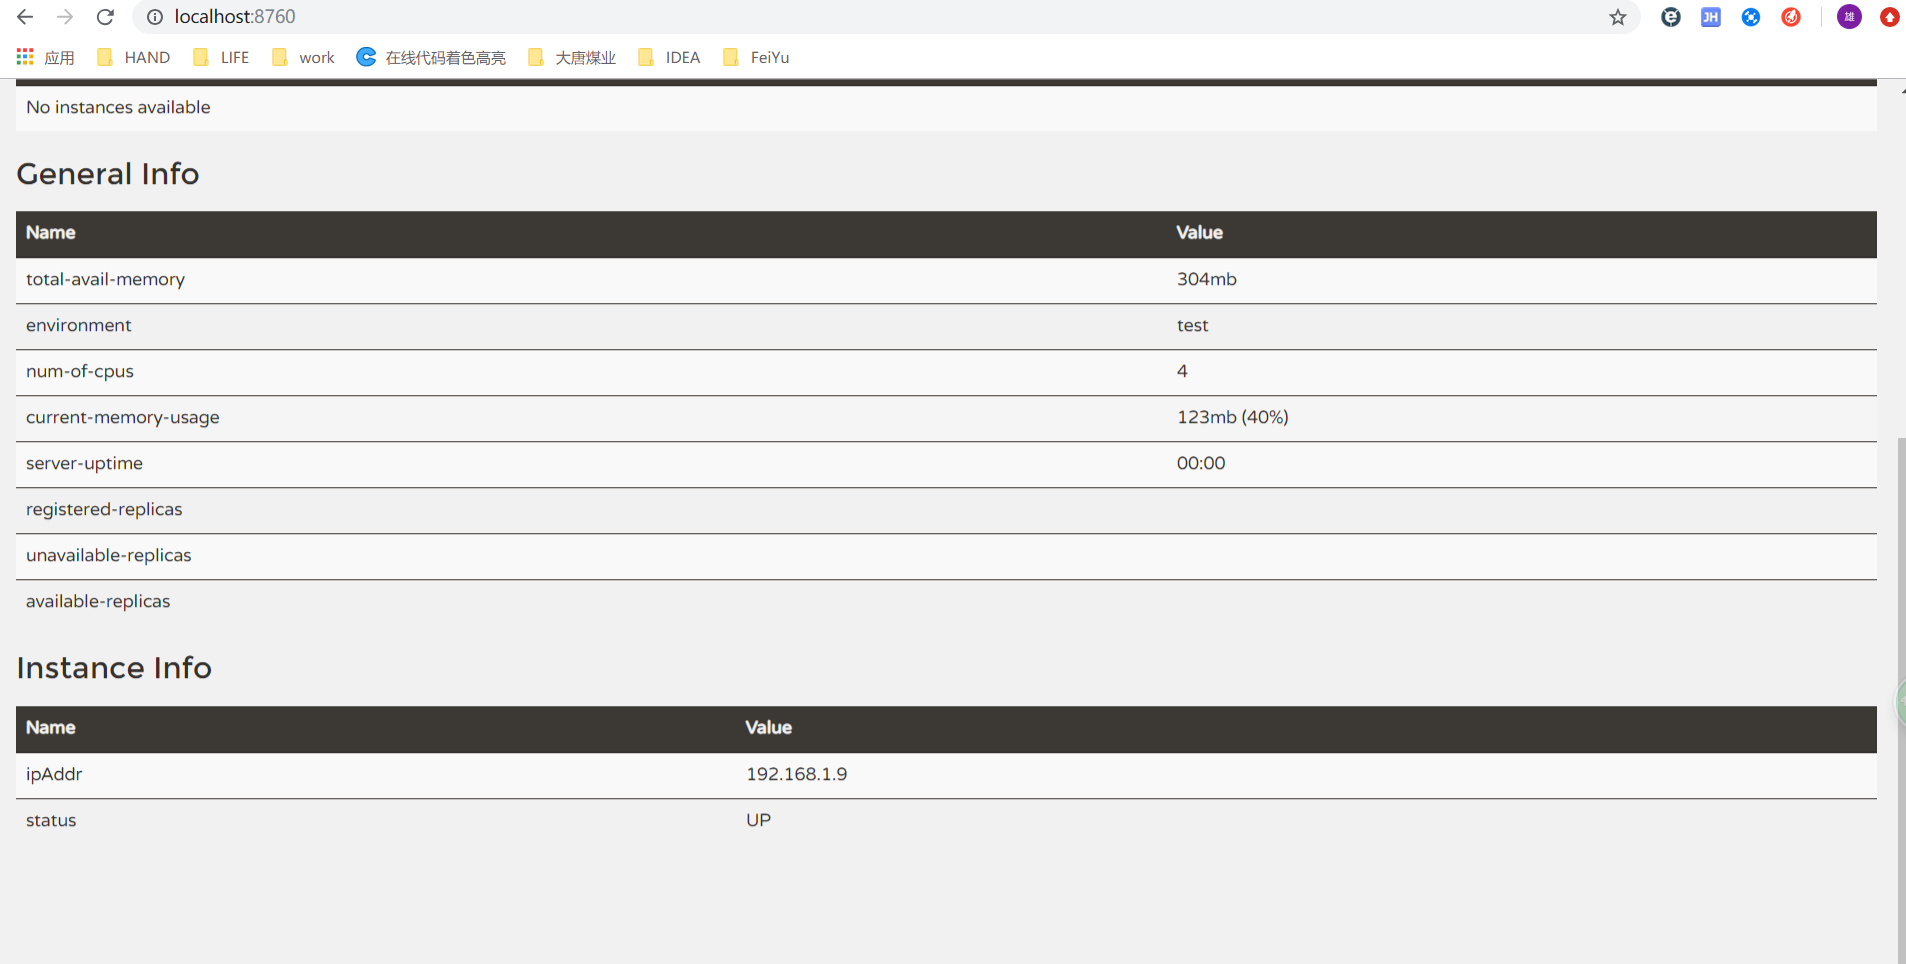
6 启动项目后访问
http://localhost:8760
可以看到下面的页面,其中还没有发现任何服务:
7.搭建服务端(生产者)
创建springBoot项目同上
查看pom.xml文件
<?xml version="1.0" encoding="UTF-8"?>
<project xmlns="http://maven.apache.org/POM/4.0.0" xmlns:xsi="http://www.w3.org/2001/XMLSchema-instance"
         xsi:schemaLocation="http://maven.apache.org/POM/4.0.0 http://maven.apache.org/xsd/maven-4.0.0.xsd">
    <modelVersion>4.0.0</modelVersion>
    <parent>
        <groupId>org.springframework.boot</groupId>
        <artifactId>spring-boot-starter-parent</artifactId>
        <version>2.1.3.RELEASE</version>
        <relativePath/> <!-- lookup parent from repository -->
    </parent>
    <groupId>com.hand</groupId>
    <artifactId>producer</artifactId>
    <version>0.0.1-SNAPSHOT</version>
    <name>producer</name>
    <description>Demo project for Spring Boot</description>

    <properties>
        <java.version>1.8</java.version>
        <spring-cloud.version>Greenwich.RELEASE</spring-cloud.version>
    </properties>

    <dependencies>
        <dependency>
            <groupId>org.springframework.cloud</groupId>
            <artifactId>spring-cloud-starter-netflix-eureka-server</artifactId>
        </dependency>

        <dependency>
            <groupId>org.springframework.boot</groupId>
            <artifactId>spring-boot-starter-test</artifactId>
            <scope>test</scope>
        </dependency>
    </dependencies>

    <dependencyManagement>
        <dependencies>
            <dependency>
                <groupId>org.springframework.cloud</groupId>
                <artifactId>spring-cloud-dependencies</artifactId>
                <version>${spring-cloud.version}</version>
                <type>pom</type>
                <scope>import</scope>
            </dependency>
        </dependencies>
    </dependencyManagement>

    <build>
        <plugins>
            <plugin>
                <groupId>org.springframework.boot</groupId>
                <artifactId>spring-boot-maven-plugin</artifactId>
            </plugin>
        </plugins>
    </build>

    <repositories>
        <repository>
            <id>spring-milestones</id>
            <name>Spring Milestones</name>
            <url>https://repo.spring.io/milestone</url>
        </repository>
    </repositories>

</project>
8修改application.yml文件
注:端口不能与上面的相同。这里的服务name:service-hi 可以根据自己情况定义。
---
server:
  port: 8762
eureka:
  client:
    service-url:
      defaultZone: http://localhost:8760/eureka/
spring:
  application:
    name: service-producer
9 编写启动类
package com.hand.producer;

import org.springframework.beans.factory.annotation.Value;
import org.springframework.boot.SpringApplication;
import org.springframework.boot.autoconfigure.SpringBootApplication;
import org.springframework.cloud.netflix.eureka.EnableEurekaClient;
import org.springframework.web.bind.annotation.RequestMapping;
import org.springframework.web.bind.annotation.RequestParam;
import org.springframework.web.bind.annotation.RestController;

@SpringBootApplication
@EnableEurekaClient
@RestController
public class ProducerApplication {

    public static void main(String[] args) {
        SpringApplication.run(ProducerApplication.class, args);
    }


    @Value("${server.port}")
    String port;

    @RequestMapping("/hi")
    public String home(@RequestParam String name) {
        return "hi " + name + ",i am from port:" + port;
    }

}
运行服务
http://localhost:8761/hi?name=xiong.zhang@hand-china.com
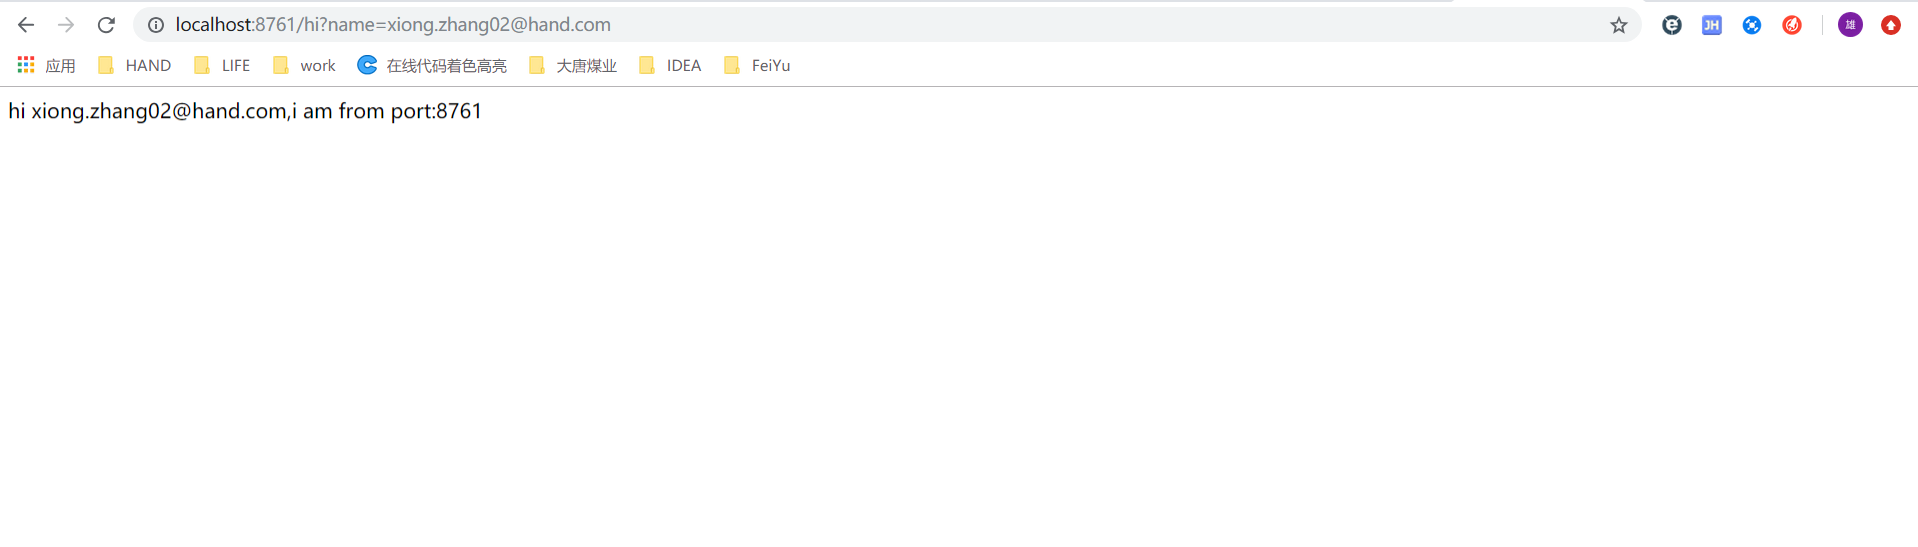
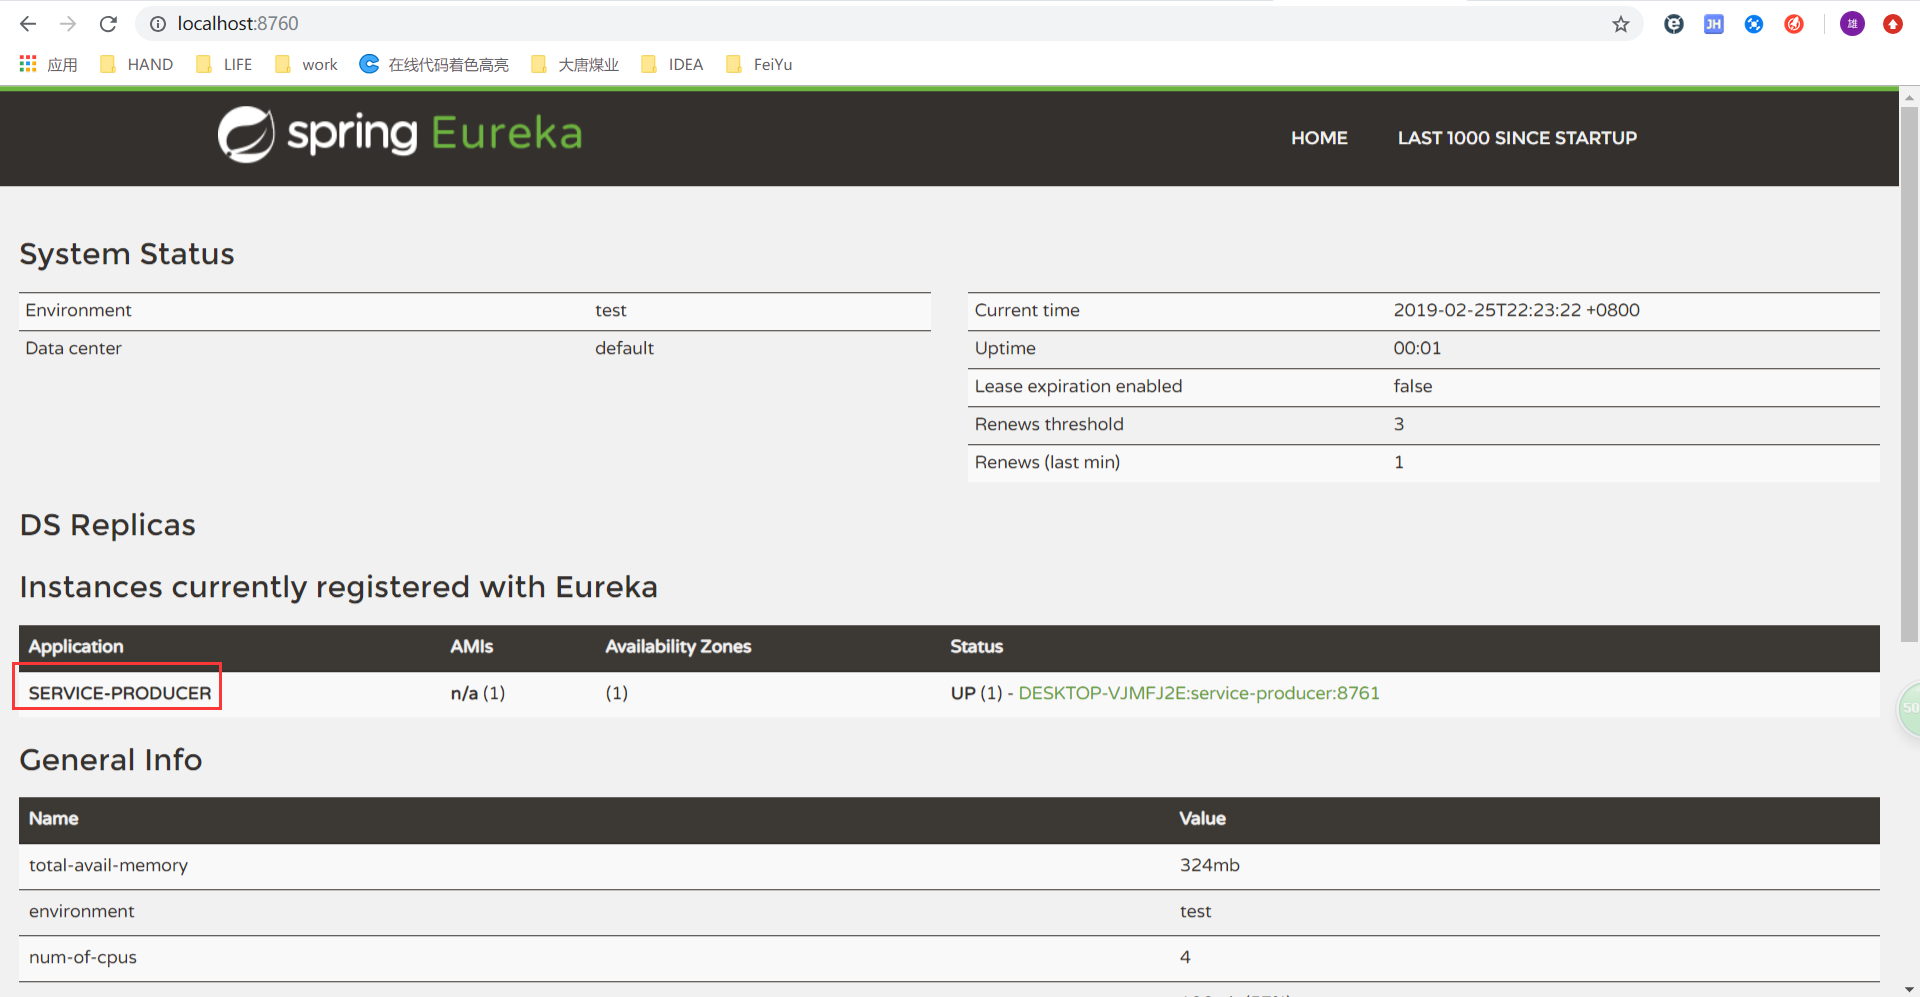
然后查看http://localhost:8760
可以看到,我们定义的服务被注册了。如下图所示:
9.创建消费者
9.1 创建消费者modul,流程如上述工程创建流程。
9.2查看pom.xml文件
<?xml version="1.0" encoding="UTF-8"?>
<project xmlns="http://maven.apache.org/POM/4.0.0" xmlns:xsi="http://www.w3.org/2001/XMLSchema-instance"
         xsi:schemaLocation="http://maven.apache.org/POM/4.0.0 http://maven.apache.org/xsd/maven-4.0.0.xsd">
    <modelVersion>4.0.0</modelVersion>
    <parent>
        <groupId>org.springframework.boot</groupId>
        <artifactId>spring-boot-starter-parent</artifactId>
        <version>2.1.3.RELEASE</version>
        <relativePath/> <!-- lookup parent from repository -->
    </parent>
    <groupId>com.hand</groupId>
    <artifactId>customer</artifactId>
    <version>0.0.1-SNAPSHOT</version>
    <name>customer</name>
    <description>Demo project for Spring Boot</description>

    <properties>
        <java.version>1.8</java.version>
        <spring-cloud.version>Greenwich.RELEASE</spring-cloud.version>
    </properties>

    <dependencies>
        <dependency>
            <groupId>org.springframework.cloud</groupId>
            <artifactId>spring-cloud-starter-netflix-eureka-server</artifactId>
        </dependency>

        <dependency>
            <groupId>org.springframework.boot</groupId>
            <artifactId>spring-boot-starter-test</artifactId>
            <scope>test</scope>
        </dependency>
    </dependencies>

    <dependencyManagement>
        <dependencies>
            <dependency>
                <groupId>org.springframework.cloud</groupId>
                <artifactId>spring-cloud-dependencies</artifactId>
                <version>${spring-cloud.version}</version>
                <type>pom</type>
                <scope>import</scope>
            </dependency>
        </dependencies>
    </dependencyManagement>

    <build>
        <plugins>
            <plugin>
                <groupId>org.springframework.boot</groupId>
                <artifactId>spring-boot-maven-plugin</artifactId>
            </plugin>
        </plugins>
    </build>

    <repositories>
        <repository>
            <id>spring-milestones</id>
            <name>Spring Milestones</name>
            <url>https://repo.spring.io/milestone</url>
        </repository>
    </repositories>

</project>
10 yml配置
---
server:
  port: 8763
eureka:
  client:
    service-url:
      defaultZone: http://localhost:8760/eureka/
spring:
  application:
    name: service-customer
feign:
  hystrix:
    enabled : true
11 编写启动类
@EnableDiscoveryClient表明标注类是消费者,加入restTemplate以消费相关的服务
package com.hand.customer;

import org.springframework.boot.SpringApplication;
import org.springframework.boot.autoconfigure.SpringBootApplication;
import org.springframework.cloud.client.discovery.EnableDiscoveryClient;
import org.springframework.cloud.client.loadbalancer.LoadBalanced;
import org.springframework.context.annotation.Bean;
import org.springframework.web.client.RestTemplate;

@SpringBootApplication
@EnableDiscoveryClient
public class CustomerApplication {

    public static void main(String[] args) {
        SpringApplication.run(CustomerApplication.class, args);
    }

    @Bean
    @LoadBalanced
    RestTemplate restTemplate() {
        return new RestTemplate();
    }

}
12 .创建service和controller
12.1 service层
package com.hand.customer.controller;

import com.hand.customer.service.HelloService;
import org.springframework.beans.factory.annotation.Autowired;
import org.springframework.web.bind.annotation.RequestMapping;
import org.springframework.web.bind.annotation.RequestParam;
import org.springframework.web.bind.annotation.RestController;

package com.hand.customer.service;

import org.springframework.beans.factory.annotation.Autowired;
import org.springframework.stereotype.Service;
import org.springframework.web.client.RestTemplate;

/**
 * Created with IntelliJ IDEA.
 * Author: Patrick
 * Date: 2019/2/25
 * Time: 23:12
 * Description:
 */
@Service
public class HelloService {
    @Autowired
    RestTemplate restTemplate;

    public String hiService(String name) {
        return restTemplate.getForObject("http://SERVICE-PRODUCER/hi?name=" + name, String.class);
    }
}
12.2 controller层
package com.hand.customer.controller;

import com.hand.customer.service.HelloService;
import org.springframework.beans.factory.annotation.Autowired;
import org.springframework.web.bind.annotation.RequestMapping;
import org.springframework.web.bind.annotation.RequestParam;
import org.springframework.web.bind.annotation.RestController;

/**
 * Created with IntelliJ IDEA.
 * Author: Patrick
 * Date: 2019/2/25
 * Time: 23:38
 * Description:
 */
@RestController
public class HelloControler {
    @Autowired
    HelloService helloService;

    @RequestMapping(value = "/hi")
    public String hi(@RequestParam String name) {
        return helloService.hiService(name);
    }
}
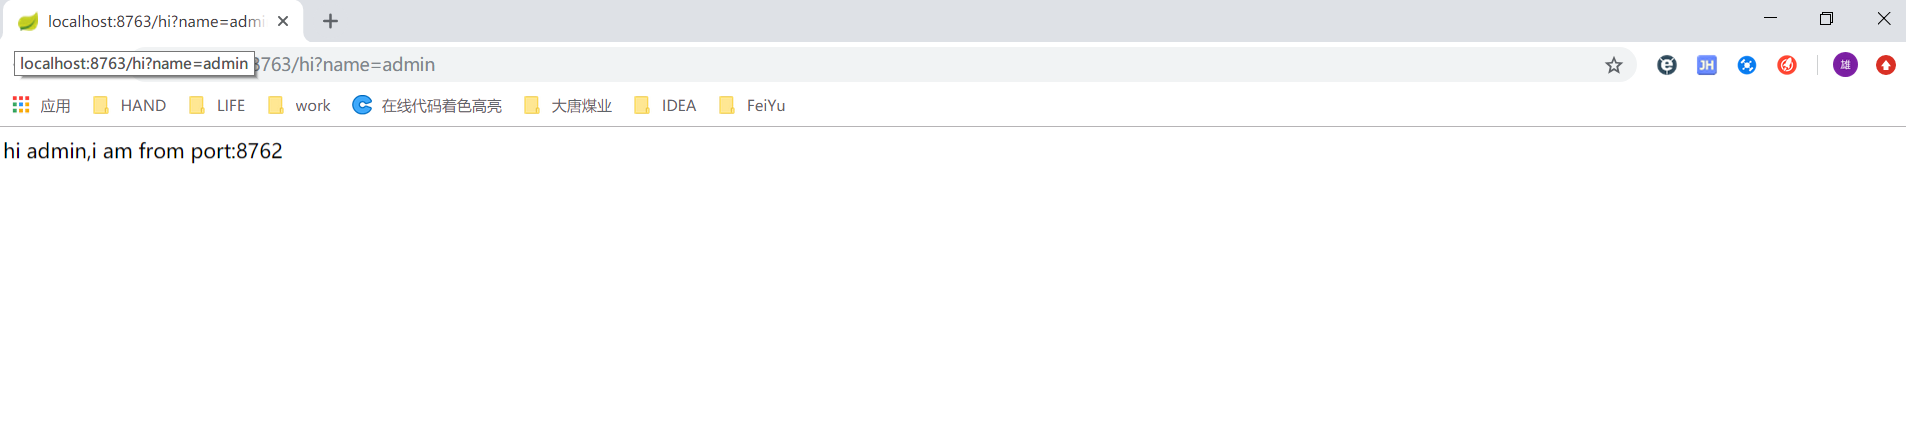
再次查看服务
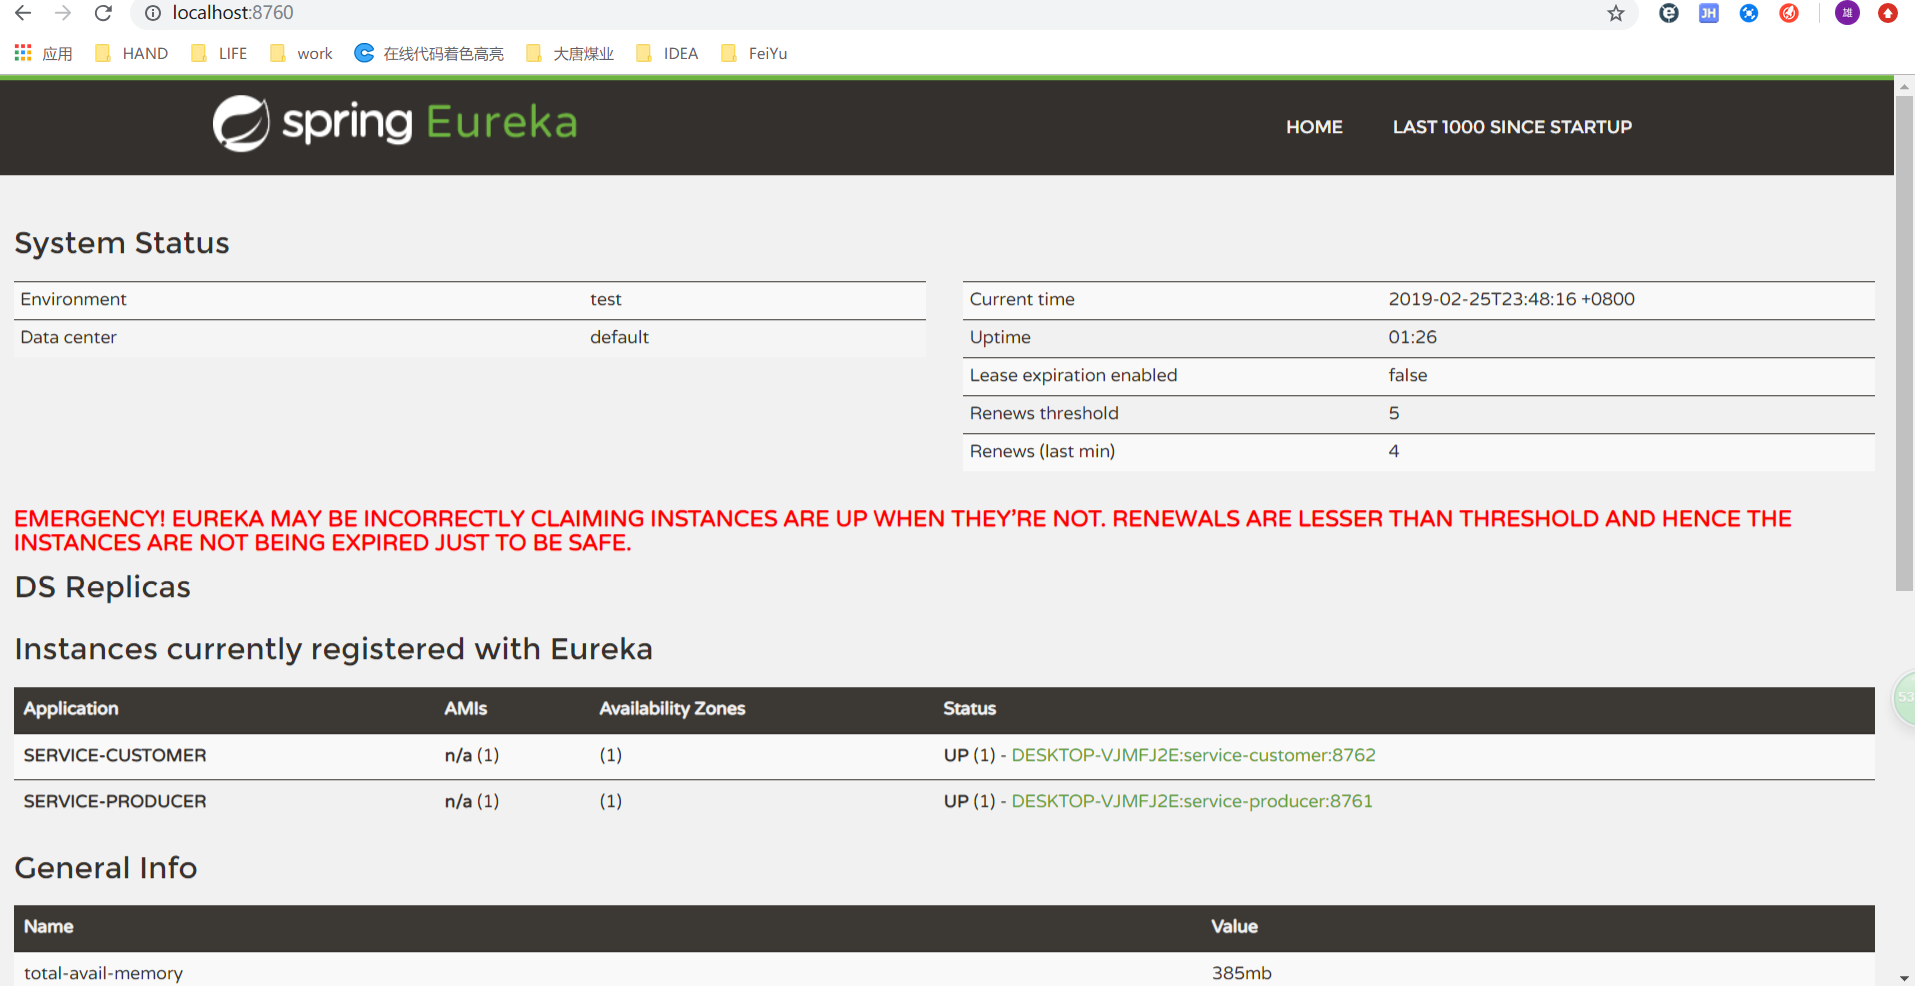
在浏览器中输入http://localhost:8763/hi?name=admin