首先需要先看一个小例子,初步了解koa。
const koa =require('koa')
const Router =require('koa-router')
//实例化Koa
const app =new koa()
const router =new Router()
// 配置路由
//ctx 上下文(content),包含了request和response信息
router.get('/', async (ctx, next) => {
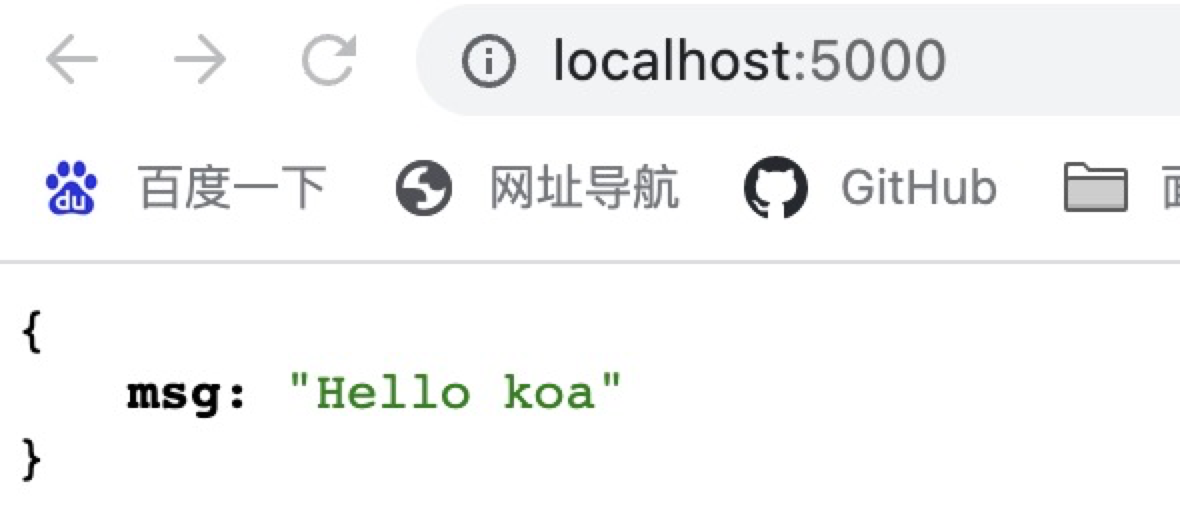
ctx.body={msg:"Hello koa"};
})
//配置路由
app.use(router.routes()); //作用:启动路由
// 作用: 这是官方文档的推荐用法,我们可以 看到 router.allowedMethods()用在了路由匹配 router.routes()之后
// 所以在当所有 路由中间件最后调用.此时根据 ctx.status 设置 response 响应头
app.use(router.allowedMethods()); // 可以不配置这个,建议配置上
app.listen(5000,()=>{
console.log('starting at port 5000');
})
通过node app.js运行,可以实现一个简易服务器
Koa 的最大特色,也是最重要的一个设计,就是中间件
//logger函数就叫做"中间件",因为它处在 HTTP Request 和 HTTP Response 中间,
//用来实现某种中间功能。app.use()用来加载中间件
const logger = (ctx, next) => {
  console.log(`${Date.now()} ${ctx.request.method} ${ctx.request.url}`);
  next();
}
app.use(logger);
每个中间件默认接受两个参数,第一个参数是 Context 对象,第二个参数是next函数。只要调用next函数,就可以把执行权转交给下一个中间件。
以下是阮一峰大佬的例子
const one = (ctx, next) => {
  console.log('>> one');
  next();
  console.log('<< one');
}
const two = (ctx, next) => {
  console.log('>> two');
  next();
  console.log('<< two');
}
const three = (ctx, next) => {
  console.log('>> three');
  next();
  console.log('<< three');
}
app.use(one);
app.use(two);
app.use(three);
//运行输出
>> one
>> two
>> three
<< three
<< two
<< one


